Bake a Small Loaf of Banana Quick Bread
This note walks through one illustrative plan for baking a small banana quick bread loaf scaled around mashed banana weight, matched to a specific pan size, and finished with a deliberate cooling-and-slicing sequence. It is a working framework for a home-cafe prep session, not a kitchen-tested result. Adjust quantities and your oven's actual behaviour as you go.
Read the note ↓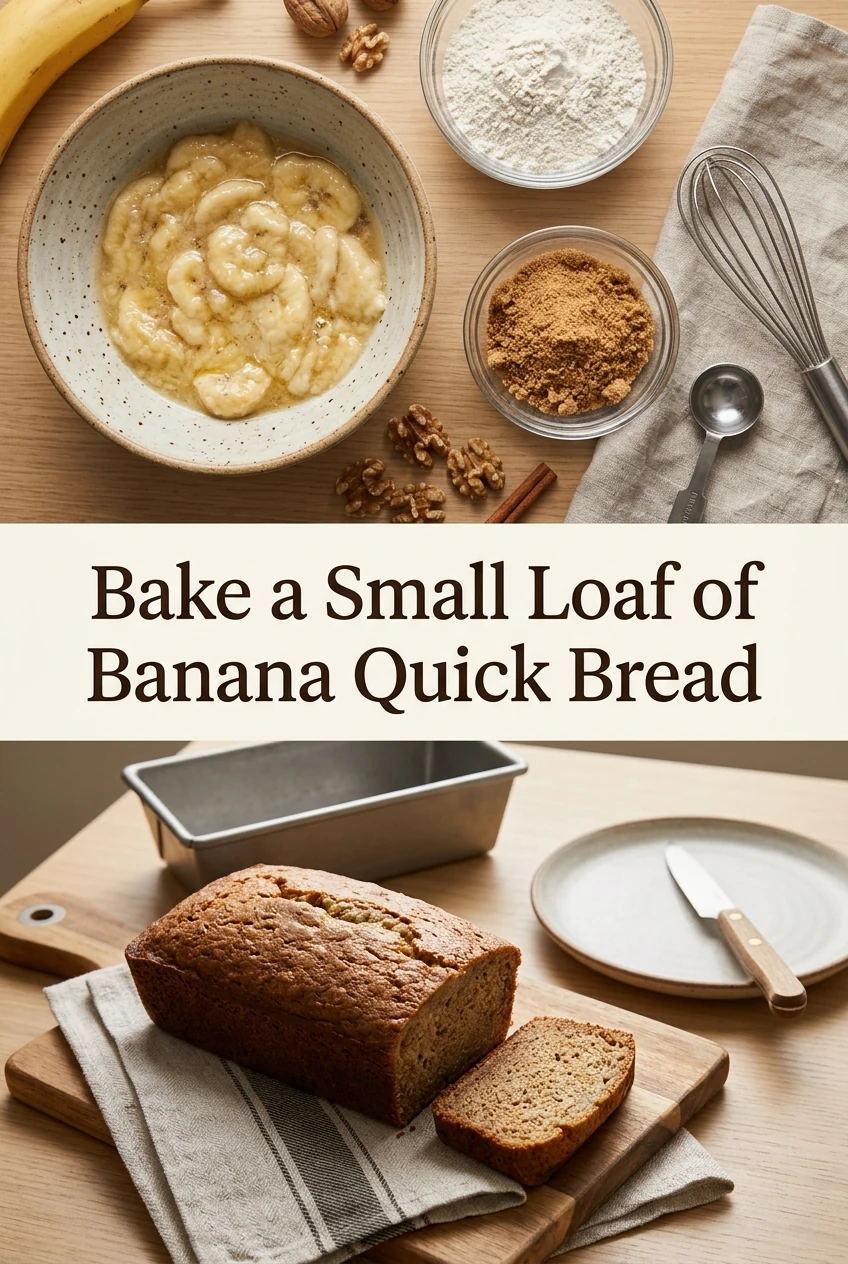
AI-generated editorial concept created for this article. The image is not a technical diagram or a tested result.
Anchor the Recipe to Mashed Banana Weight
Start by weighing your ripe bananas after peeling. For this illustrative plan, the target is 200 g of mashed banana, which comes from roughly two medium bananas depending on their size. Mash them thoroughly with a fork until no large lumps remain, then set the bowl on your scale and confirm the weight before proceeding. Every other quantity in this plan is proportioned to that 200 g anchor. Using 200 g mashed banana as the base, the remaining ingredients for one small loaf are: 160 g plain flour, 80 g caster sugar, 1 large egg, 60 ml neutral oil such as sunflower or light vegetable oil, 1 teaspoon baking powder, half a teaspoon bicarbonate of soda, a pinch of fine salt, and half a teaspoon of alcohol-free vanilla flavoring. Confirm your vanilla product is explicitly labeled alcohol-free before use. Combine the dry ingredients in one bowl and the wet ingredients, including the mashed banana, in a second bowl, then fold them together until just combined. Overmixing develops gluten and can make the crumb dense, so stop as soon as no dry streaks remain.
Match the Batter to Your Pan Dimensions
Pan size directly affects bake time and crumb structure, so measure your tin before you start. This plan is built around a loaf pan with interior dimensions of approximately 20 cm long by 10 cm wide by 6 cm deep, a common small loaf size. Lightly grease the interior with a neutral oil or line it with baking parchment cut to fit the base and long sides with a small overhang for easy lifting. Pour the prepared batter into the pan. At this scale the batter should fill the pan to roughly half to two-thirds of its depth, leaving room for the loaf to rise without overflowing. If your pan is noticeably smaller, for example 18 cm long, consider reducing the batter by about ten percent or baking any excess in a small ramekin alongside the main loaf. If your pan is larger, the loaf will spread thinner and bake faster, so begin checking earlier than the time range below.
Set Up Your Oven and Place the Pan
Preheat your oven according to its own controls and your knowledge of how it runs. A conventional starting point for a small quick bread is around 170 degrees Celsius on a fan-assisted setting or 180 degrees Celsius on a conventional setting, but your oven may run hotter or cooler than its dial suggests. Use an oven thermometer if you have one to read the actual cavity temperature. Place the pan on the middle rack. For this pan size and batter volume, a rough time range to begin checking is 40 to 50 minutes. Insert a thin skewer or wooden toothpick into the centre of the loaf; when it comes out without wet batter clinging to it, the loaf is ready to remove. The top should feel set and spring back lightly when pressed. These are indicators to observe in your own oven, not guaranteed outcomes.
Cool the Loaf Before Slicing
Cooling is not optional for clean slices. Remove the pan from the oven and place it on a wire rack. Leave the loaf in the pan for ten minutes; this resting period lets the structure firm up enough to hold together when turned out. After ten minutes, lift the loaf out using the parchment overhang or run a palette knife around the edges, then place the loaf directly on the wire rack. Allow it to cool for at least one hour before slicing. Cutting into a hot quick bread compresses the crumb and produces ragged, gummy slices. Once the loaf feels cool to the touch throughout, use a serrated bread knife and a gentle sawing motion rather than downward pressure. For a home-cafe setting where you want uniform slices, mark the top lightly with the knife at equal intervals before committing to each cut.
Store Promptly and Handle as a Perishable
Banana quick bread contains egg and mashed fruit, both of which are perishable. Once fully cooled, wrap the loaf tightly or place it in a sealed container and refrigerate it promptly. Do not leave it at room temperature for extended periods, particularly in a warm kitchen. Refrigerated slices can be brought to room temperature for serving or warmed briefly in a toaster or low oven. Do not rely on invented shelf-life figures; use your judgment about freshness and discard anything that smells or looks off. If you are prepping for a cafe service, slice only what you need for the session and keep the remainder refrigerated and covered until required.
A little more
to know.
Can I use a different oil or swap it for melted butter?
Yes, melted unsalted butter can replace the neutral oil at the same weight in this illustrative plan. Butter will add a richer flavour. Make sure it is cooled to room temperature before mixing it with the egg and banana so it does not begin to cook the egg on contact. The bake time and oven behaviour remain the same variables to watch regardless of which fat you choose.
What if I do not have exactly 200 g of mashed banana?
Scale the other ingredients proportionally. For example, if you have 180 g of mashed banana, multiply each ingredient quantity by 0.9. A simple way to do this is to write out the adjusted weights before you start mixing rather than estimating by eye. Small differences in banana weight will shift the moisture balance of the batter, which is why weighing rather than counting bananas gives you a more consistent starting point for your own adjustments.
Original editorial guidance and recipe formulations, not independently kitchen-tested. Times are estimates and depend on equipment and product directions. Cooked bases need additional cooling and refrigeration before cold serving. Images are AI-generated illustrations; appearance and yield may vary. Check actual ingredient labels, allergens, and any certification you require. We do not certify products. Read our approach.
Save to Pinterest ↗ANOTHER IDEA FOR THE COUNTER