Arrange a Small Mise en Place Bowl Set Before Making a Fruit and Matcha Iced Cup
Assembling a fruit and matcha iced cup involves at least three components that need to be added in a specific order and at specific quantities. Measuring each element into its own small bowl before you begin means you can adjust one without disturbing the others, and you avoid the common mistake of over-pouring directly from a container into a cup already holding ice. This guide covers how to set up that bowl arrangement and use it effectively.
Read the note ↓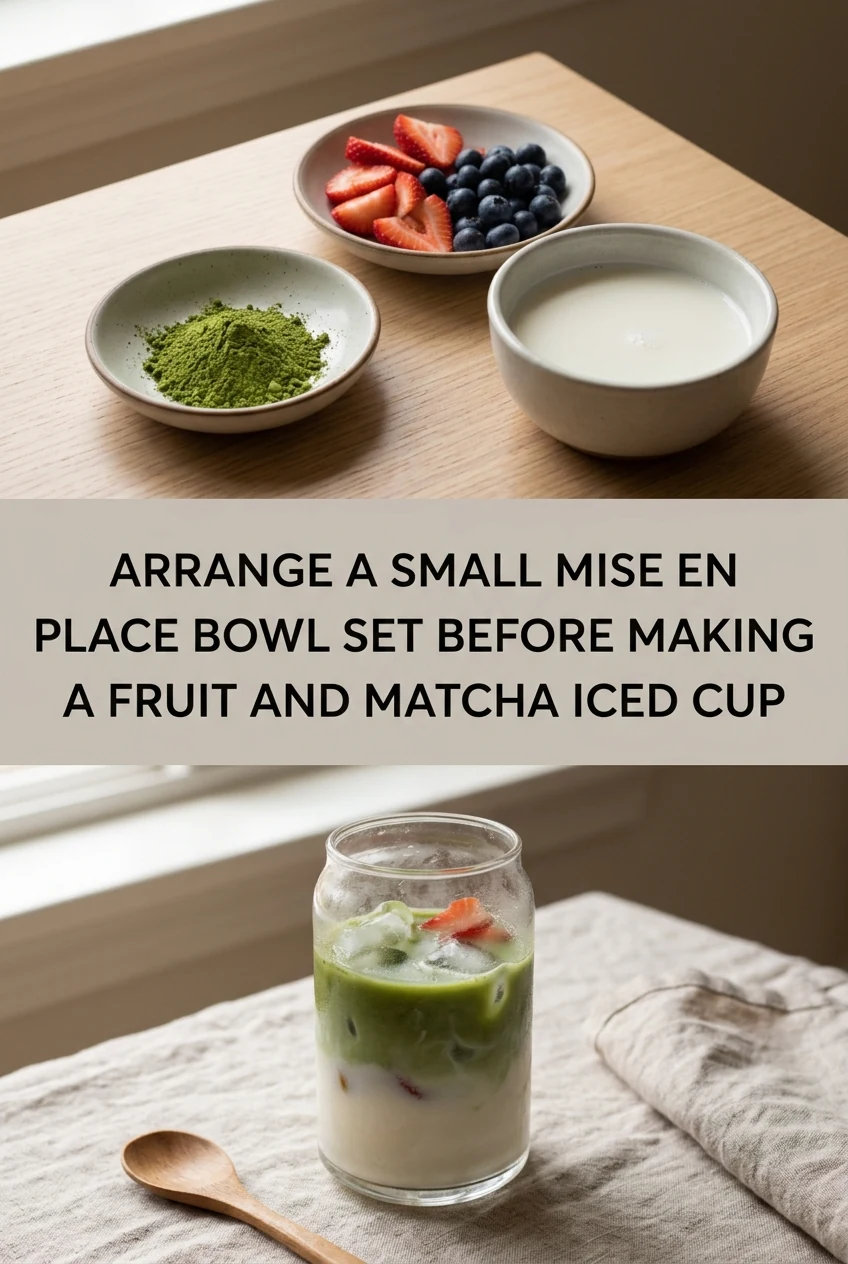
AI-generated editorial concept created for this article. The image is not a technical diagram or a tested result.
Identify Your Components and Choose Bowl Sizes
A fruit and matcha iced cup typically involves sifted matcha, a fruit base such as a strained fruit puree or cold-pressed juice, a sweetener, and water or milk for the matcha. Choose bowl sizes suited to each task. A small 150 to 250 milliliter bowl or spout cup gives you adequate clearance to whisk the matcha without splashing, while a 30 to 60 milliliter ramekin is ideal for pre-measuring sweetener. A 120 to 180 milliliter bowl works well for the fruit base portion. Arrange them left to right in the order you will add them.
Sift and Pre-Measure Matcha Into Its Bowl
Matcha clumps similarly to cocoa powder. Sift your measured amount, typically 1 to 2 grams for a single serving, into its small bowl before doing anything else. This way the matcha is ready to whisk with water the moment you need it, without pausing mid-assembly to sift. Pre-measuring also prevents the common error of scooping directly from the tin over an already-built cup, where excess powder has nowhere to go.
Whisk Matcha Separately Before Adding It to the Cup
Add a small amount of water, around 30 to 60 milliliters, heated to approximately 70 to 80 degrees Celsius, to the matcha bowl and whisk briskly in a W or M motion until no dry powder remains and a light foam forms on the surface. Whisking in the small bowl rather than directly in the cup gives you control over the matcha texture before it meets cold ingredients. Allow it to cool slightly before pouring over ice.
Pour the Fruit Base Into the Cup Before the Matcha
Add ice to your serving cup first, then pour the pre-measured fruit base over the ice. Pouring the fruit base before the matcha allows the two liquids to layer visually if desired, or to be stirred together from a clean starting point. Because the fruit base is already measured in its bowl, you avoid the guesswork of pouring from a large bottle and stopping at the right moment, which is especially difficult once ice is in the cup.
Adjust One Bowl at a Time if the Balance Is Off
If after tasting you find the drink too tart, increase the sweetener bowl measurement on your next attempt, not the fruit base. If the matcha flavor is too faint, adjust only the matcha bowl. Changing one variable at a time is the practical value of the mise en place setup. For an illustrative example: a cup built with 1.5 grams matcha, 80 milliliters fruit base and 10 grams sweetener gives you three independent levers to move individually.
A little more
to know.
Does the order of pouring affect the final flavor or just the appearance?
Primarily appearance, though pouring matcha last over ice allows the warm tea to cool immediately rather than heating the chilled fruit base. If you stir everything together anyway, order matters less for flavor, but the bowl system still protects your measurements.
How should I store leftover fruit base between sessions?
Transfer unused fruit base to a clean covered container and refrigerate at 4 degrees Celsius or below promptly. Follow any use-by guidance on the original product packaging, and discard any portion left at room temperature beyond two hours.
Original editorial guidance and recipe formulations, not independently kitchen-tested. Times are estimates and depend on equipment and product directions. Cooked bases need additional cooling and refrigeration before cold serving. Images are AI-generated illustrations; appearance and yield may vary. Check actual ingredient labels, allergens, and any certification you require. We do not certify products. Read our approach.
Save to Pinterest ↗ANOTHER IDEA FOR THE COUNTER