Aerate Whole Milk for Iced Drinks Without a Steam Wand
Cold milk foam provides a silky, distinct textural crown for iced coffee and cold brew without adding warmth. While spinning electric whisks often churn out uneven, coarse bubbles that quickly collapse into thin liquid, a standard French press plunger can produce dense microfoam manually. By leveraging the uniform resistance of a wire mesh screen, you can subdivide air pockets systematically throughout cold pasteurized milk. Understanding the mechanical stroke, volume limits, and settling time allows consistent home execution of dense, pourable foam using basic kitchen tools.
Read the note ↓
Representative category illustration reused from our editorial library; it does not depict this specific project or a tested result.
Select Cold Pasteurized Whole Milk
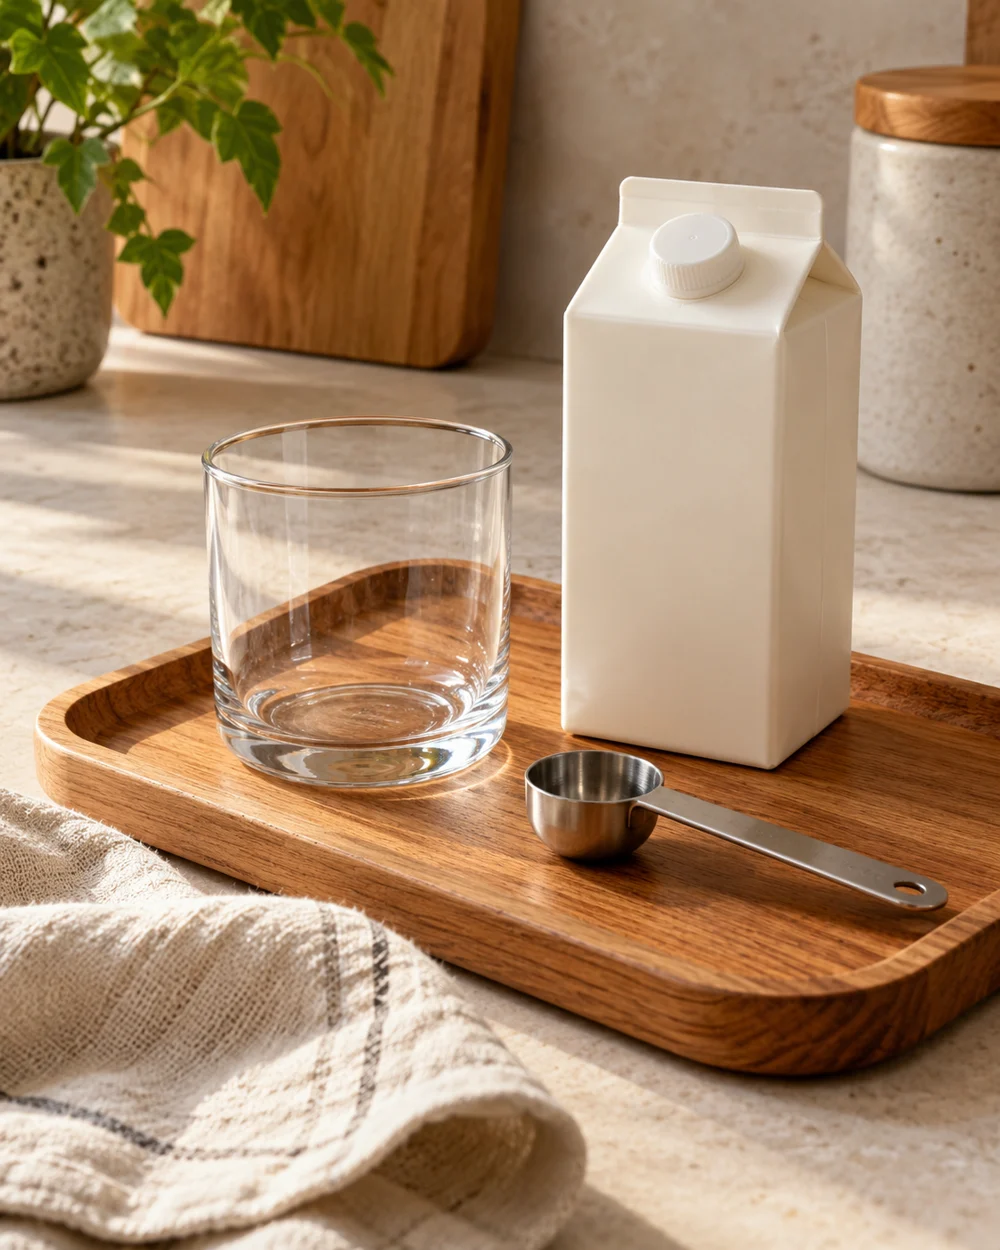
Milk fat and protein work together to stabilize foam at cold temperatures. Pasteurized whole dairy milk, chilled consistently at or below 4C (40F), yields stable bubble walls because chilled milk fats hold structural shape instead of melting. Skim milk creates high-volume, brittle foam that lacks rich mouthfeel, while warm milk collapses quickly without steam-stabilized proteins. Measure pasteurized milk directly from the refrigerator immediately before aerating, returning the carton promptly to cold storage to ensure food safety and structural foam integrity.
Calibrate Fluid Depth to Carafe Volume
A standard three-cup French press carafe requires sufficient fluid depth to submerge the mesh filter while leaving room for volume expansion. Pouring too little liquid causes the plunger to draw in harsh surface air on every stroke. Pouring too much leaves insufficient expansion volume, leading to overflow. Pour precisely 100 to 120 milliliters of cold milk into the vessel. This illustrative volume covers the filter assembly completely while permitting approximately eighty percent volumetric expansion during manual aeration.
Execute the Two-Stage Plunging Motion
Aerate the milk using a split-cycle method. First, perform four to five brisk, full-length strokes from top to bottom to introduce initial ambient air into the fluid column. Second, lower the mesh screen beneath the liquid surface and restrict your movements to short, rapid strokes entirely within the lower half of the liquid. Thirty seconds of rapid submerged pumping subdivides coarse bubbles into uniform, velvet-like micro-bubbles by repeatedly forcing the milk through the stainless steel screen.
Tap and Swirl to Refine Emulsion
Remove the plunger assembly carefully, letting excess liquid run back into the carafe. Set the glass vessel down firmly on a flat counter topped with a folded cloth towel once or twice to pop any stray large bubbles remaining near the surface. Immediately swirl the carafe in continuous circular motions for ten seconds. This gentle vortex blends the light surface foam back into the dense lower layer, creating a cohesive, wet-paint sheen that pours predictably.
Pour Over Ice Without Layer Collapse
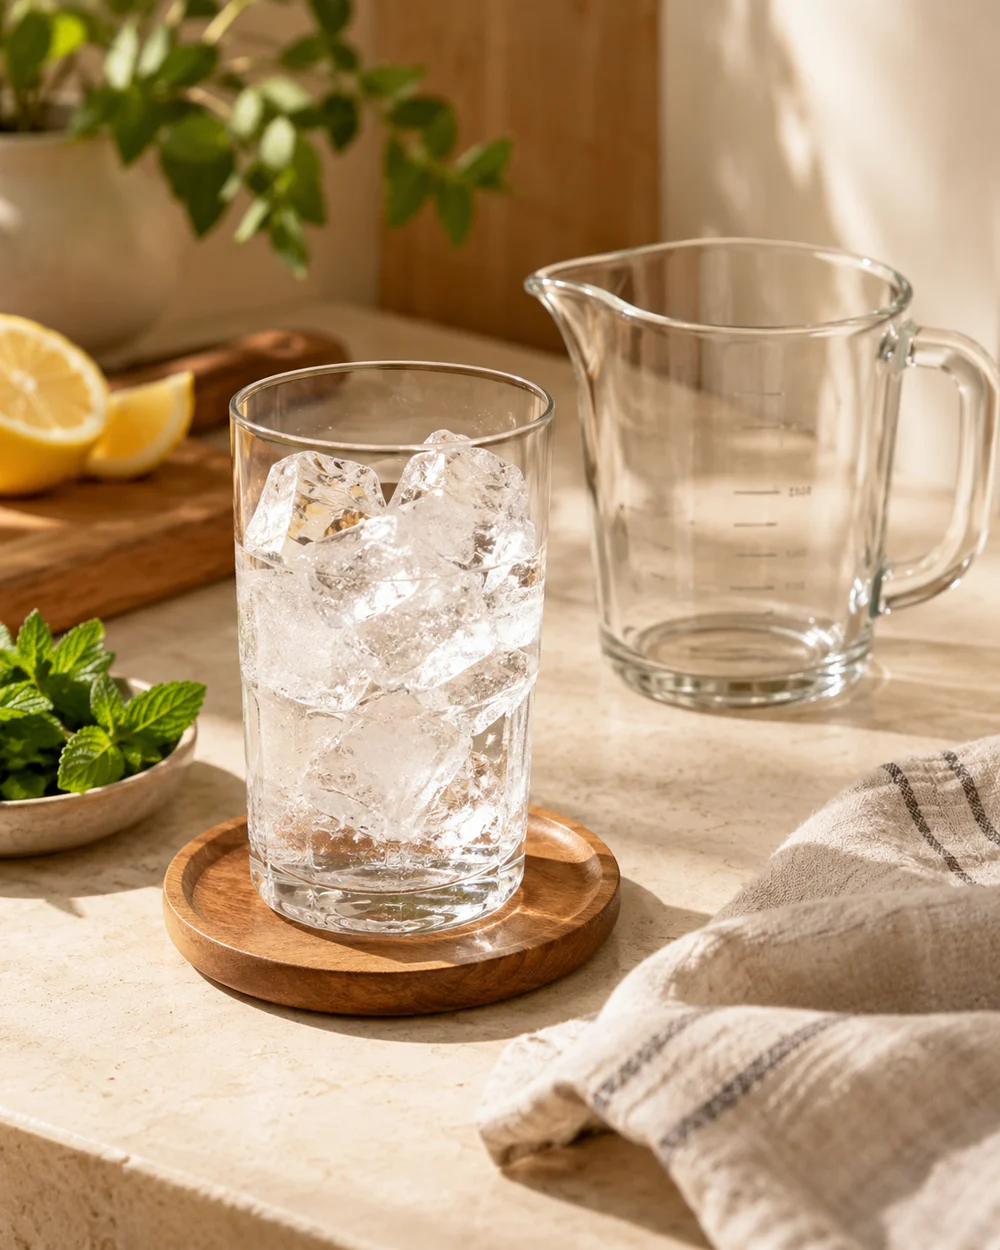
Pour the aerated cold milk over prepared iced beverages with a gentle, close-range pour to avoid piercing through the lower liquid base. Angle the glass and bring the carafe spout near the top surface of the cold brew or iced concentrate. The structured microfoam will settle as a distinct upper tier. Clean the mesh plunger immediately with hot water to remove residual dairy fats from the fine weave before drying thoroughly.
A little more
to know.
Can I hold leftover aerated milk in the refrigerator for another drink?
No. The mechanical foam structure naturally drains and separates into thin liquid within twenty minutes. Aerate only the exact volume needed for immediate consumption to ensure optimal density and avoid wasting pasteurized milk.
Why does the foam sometimes separate into dry froth and watery liquid?
Pumping the plunger too high above the fluid surface introduces excessive air that over-expands the protein matrix, creating dry surface froth. Keep the final twenty strokes strictly submerged below the milk line to ensure silkiness.
Original editorial guidance and recipe formulations, not independently kitchen-tested. Times are estimates and depend on equipment and product directions. Cooked bases need additional cooling and refrigeration before cold serving. Images are AI-generated illustrations; appearance and yield may vary. Check actual ingredient labels, allergens, and any certification you require. We do not certify products. Read our approach.
Save to Pinterest ↗ANOTHER IDEA FOR THE COUNTER