Write a Simple Drink Card for Each Recipe in a Home Café
During a busy home café session, even a familiar recipe can stall when you cannot remember whether the syrup goes in before or after the ice, or exactly how much milk a particular drink uses. A small index card written specifically for each drink removes that hesitation. It also means someone helping you can prepare a drink correctly without needing to ask. This guide covers what to put on the card, how to structure the build order and how to keep the cards usable under real serving conditions.
Read the note ↓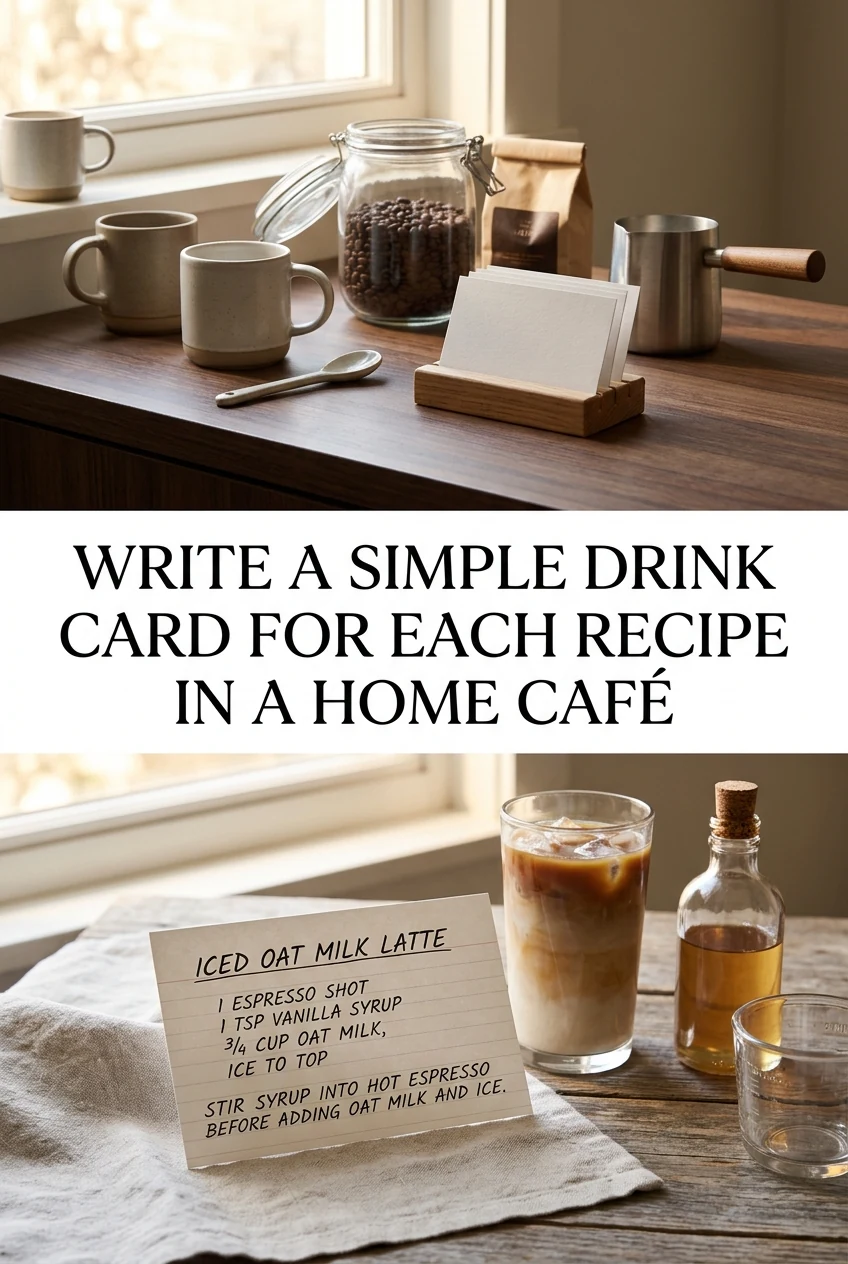
AI-generated editorial concept created for this article. The image is not a technical diagram or a tested result.
Use a Standard Card Format for Every Drink
Write each drink card on a 10 cm by 15 cm index card using the same layout every time. Put the drink name at the top, then list the glass type and size, then ingredients in the order they are added, then any finishing step such as garnish or a final stir. Consistency in layout means you can scan any card quickly without reading it fully. If you change a quantity after testing, cross out the old number and write the new one rather than rewriting the whole card, so you retain a record of what changed.
Write Quantities as Specific Numbers, Not Approximations
Write 45 ml rather than a splash, and 2 teaspoons rather than a little. Approximations that feel obvious to you will confuse someone else preparing the drink for the first time. For drinks built in a glass, note the total glass volume alongside each ingredient quantity so the helper understands the proportion. For example, a card might read: 350 ml glass, 20 ml vanilla syrup, 100 ml cold brew concentrate, 80 ml whole milk, ice to fill. That sequence is unambiguous and reproducible.
Include the Build Order as a Numbered List
Sequence matters in drink assembly. Syrup poured directly over ice tends to cling to the cubes and pool unevenly, while adding it before the ice lets it combine cleanly with liquid. Number each step on the card rather than listing ingredients as a flat group. A three-step card might read: 1. Add syrup and cold brew to glass and stir. 2. Add ice. 3. Top with milk. This numbered format prevents a helper from interpreting the ingredient list as a simultaneous dump and clarifies the build order.
Note Any Temperature or Timing Requirement
If a drink requires chilled milk, a pre-heated cup or a specific rest time after mixing, write it on the card. These are the details most likely to be skipped under pressure. A note reading milk must be cold from refrigerator, not room temperature takes three seconds to read and prevents a common error. If the drink deteriorates quickly after assembly, add a serve immediately note at the bottom so the helper knows not to prepare it ahead of the guest arriving at the table.
Store Cards in a Visible, Protected Location
Keep drink cards in a small upright card holder or clipped to a rail at eye level behind your serving station. Cards left flat on a counter get covered by equipment or splashed. If you laminate cards or slide them into clear plastic sleeves, they survive spills and can be wiped clean. Arrange them alphabetically or by drink category so retrieval is fast. A card you cannot find quickly during service provides no benefit, so the storage system matters as much as the card content itself.
A little more
to know.
Should I include the cost of ingredients on the drink card?
Cost information is useful for planning but can clutter a card used during active service. Consider keeping a separate reference sheet for costs and reserving the drink card itself solely for assembly information so it stays fast to read under pressure.
How do I handle a drink that has a variable quantity depending on cup size?
Write the recipe as a ratio rather than fixed millilitres, for example one part syrup to three parts milk to two parts coffee, and note the two or three cup sizes you use so the helper can scale the ratio to whichever cup is requested.
Original editorial guidance and recipe formulations, not independently kitchen-tested. Times are estimates and depend on equipment and product directions. Cooked bases need additional cooling and refrigeration before cold serving. Images are AI-generated illustrations; appearance and yield may vary. Check actual ingredient labels, allergens, and any certification you require. We do not certify products. Read our approach.
Save to Pinterest ↗ANOTHER IDEA FOR THE COUNTER