Weigh a Milk Portion Before Steaming to Avoid Overfilling a Small Pitcher
A 350 ml steam pitcher looks deceptively roomy before the wand enters, but milk expands as foam forms, and an overfilled pitcher spills before you finish texturing. Weighing cold milk into the pitcher before you start removes the guesswork. A kitchen scale gives you a repeatable starting volume matched to your cup size, so every session begins with the same controlled amount rather than a visual estimate that varies each time.
Read the note ↓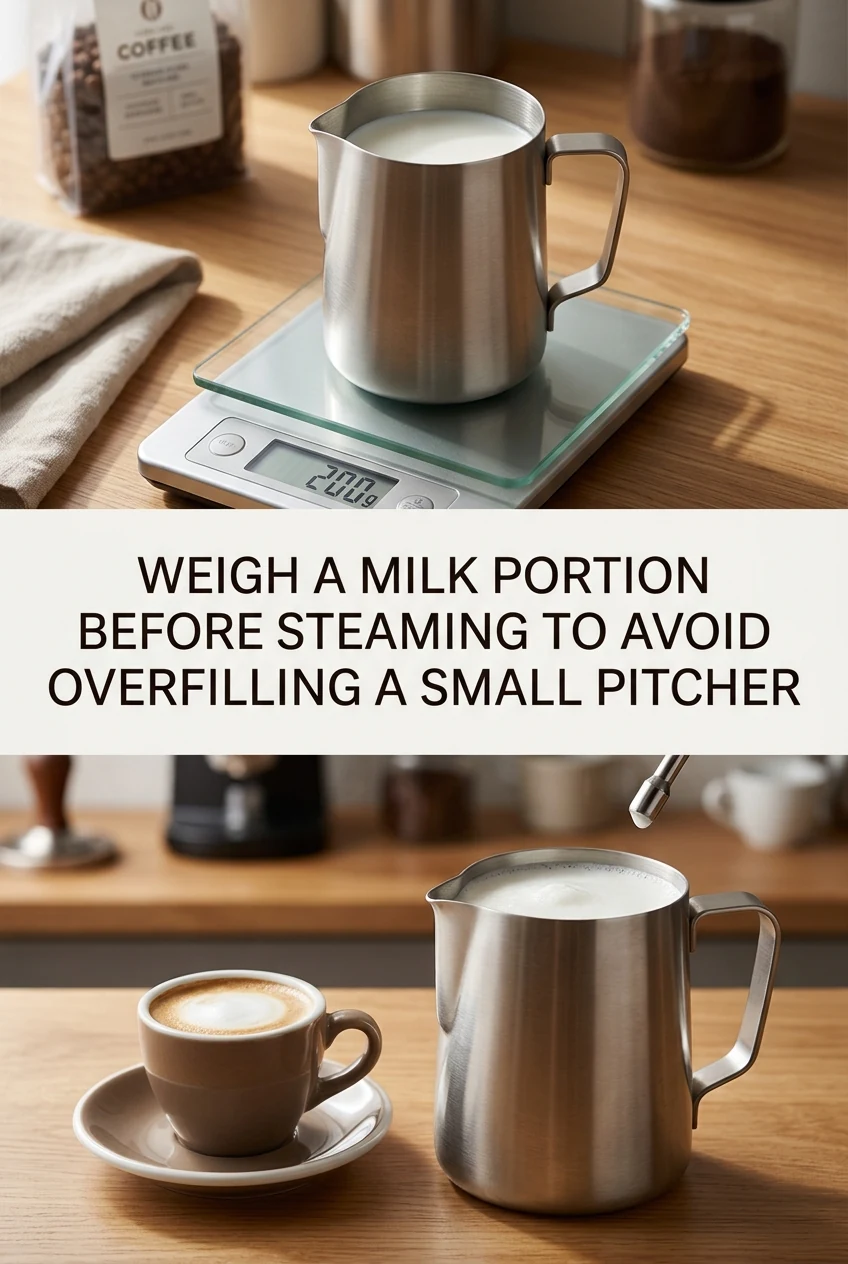
AI-generated editorial concept created for this article. The image is not a technical diagram or a tested result.
Understand Why Volume Markings on Pitchers Are Unreliable
Most small pitchers have no interior markings, and even those with etched lines are measured before foam development. Cold milk at the start occupies less space than the aerated milk at the finish. A 350 ml pitcher filled to 200 ml of cold milk can reach the spout during steaming if the foam ratio is high. Relying on a visual fill line ignores this expansion, which is why a weight measurement taken before steaming is more useful than a volume estimate made by eye.
Match the Milk Weight to Your Cup Capacity
A standard 240 ml flat white cup needs roughly 120 to 140 g of cold whole milk to produce enough textured milk after accounting for foam growth and the small amount that clings to the pitcher walls. For a 360 ml latte cup, 180 to 200 g is a practical starting range. These are illustrative starting points, not universal targets; your actual foam expansion depends on milk fat content and steam pressure, so treat your first session as a calibration run and adjust by 10 g increments.
Set Up the Scale Before You Pull the Shot
Place the empty pitcher on the scale and tare it to zero. Pour cold milk slowly until the display shows your target weight, then remove the pitcher from the scale and set it aside. Do this before pulling your espresso shot so the milk is ready the moment the shot finishes. Leaving cold milk sitting while you weigh it after the shot has already pulled wastes time and lets the shot cool, which affects the final drink temperature noticeably.
Account for Pitcher Shape When Choosing a Weight
A tall narrow 350 ml pitcher and a wide squat 350 ml pitcher hold the same total volume but behave differently during steaming. The narrow pitcher provides a deeper pool of milk at the same starting weight, making it easier to submerge the steam wand tip cleanly after initial aeration. In a wide pitcher, the shallower liquid depth may require tilting the pitcher further to keep the steam tip submerged, which can bring the milk surface closer to the spout. If you switch pitchers, test your usual weight and observe how the milk moves before committing to that number for daily use.
Record Your Working Weight on a Small Label
Once you find a milk weight that works for your pitcher and cup combination, write it on a small piece of masking tape and stick it to the base of the pitcher or the side of your scale. For example, a note reading 130 g for the small pitcher and 190 g for the large pitcher takes seconds to read and prevents the mental recalculation that leads to overfilling on busy mornings. Replace the label if it becomes unreadable rather than reverting to guessing.
A little more
to know.
Does the type of milk affect how much the volume expands during steaming?
Yes. Lower-fat milks and some plant-based alternatives foam more aggressively than whole milk, so the same starting weight can produce a larger final volume. Reduce your starting weight by about 10 g when switching milk types and observe the result before settling on a new number.
Should I weigh milk for every drink or only when learning a new pitcher?
Weighing every time is worthwhile if consistency matters to you. Once you have a reliable number for a specific pitcher and cup pairing, some home baristas switch to a marked measuring cup for speed, accepting minor variation in exchange for a faster workflow.
Original editorial guidance and recipe formulations, not independently kitchen-tested. Times are estimates and depend on equipment and product directions. Cooked bases need additional cooling and refrigeration before cold serving. Images are AI-generated illustrations; appearance and yield may vary. Check actual ingredient labels, allergens, and any certification you require. We do not certify products. Read our approach.
Save to Pinterest ↗ANOTHER IDEA FOR THE COUNTER