Warm Turmeric Oat Milk: Proportions and Stovetop Steps
Warming oat milk with ground turmeric and black pepper on a stovetop requires more attention than it might appear. Oat milk scorches easily at high heat, and ground turmeric needs sufficient warmth and time to lose its raw, starchy edge without the milk bubbling aggressively. Getting the proportions and the heat level right produces a smooth, evenly colored drink rather than a grainy or scalded one.
Read the note ↓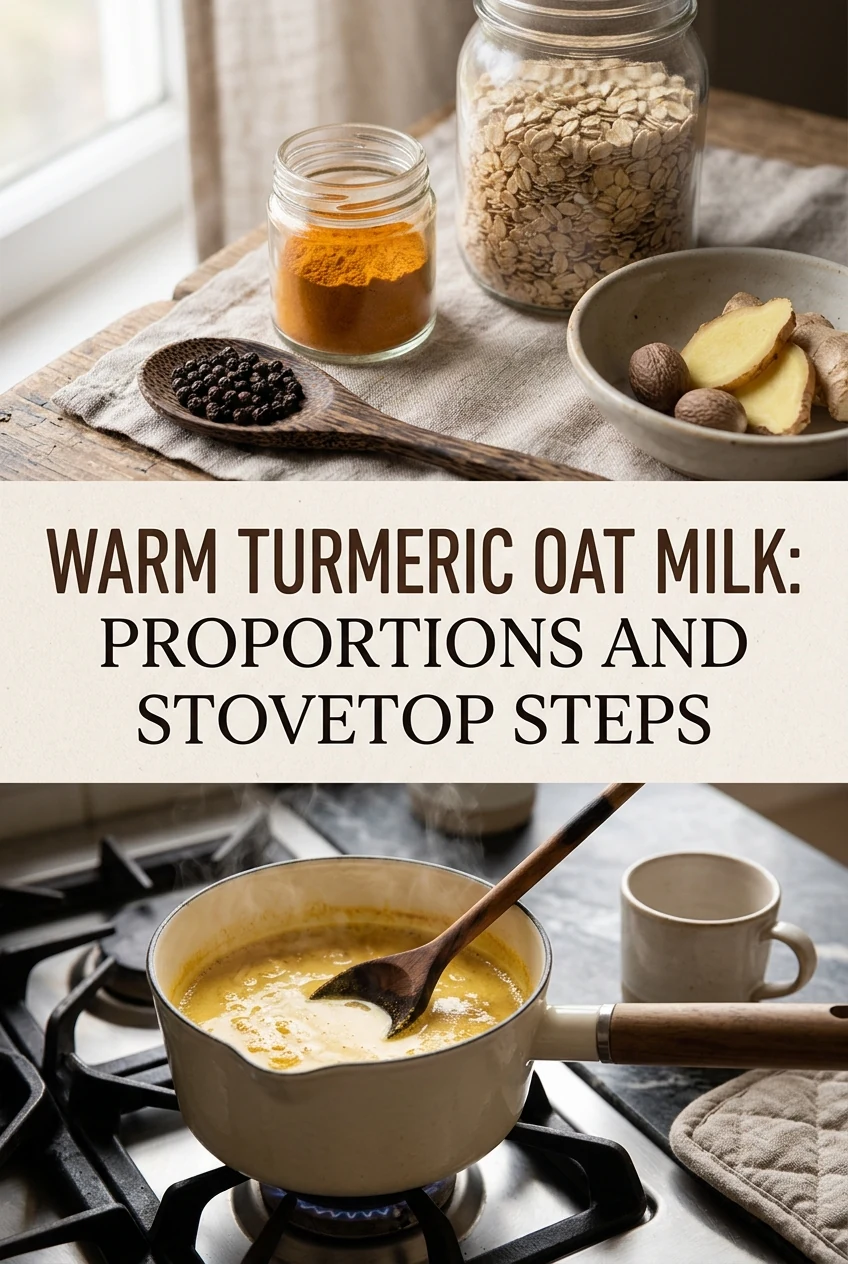
AI-generated editorial concept created for this article. The image is not a technical diagram or a tested result.
Proportions for a Single 250 ml Serving
For one serving, use 240 ml of oat milk, one quarter teaspoon of ground turmeric, and a small pinch of ground black pepper, approximately one sixteenth of a teaspoon. These quantities produce a visibly golden drink with a mild spice presence. Increasing turmeric beyond one half teaspoon per 240 ml tends to create a gritty texture and an assertive raw-spice flavor that is difficult to correct once the drink is made. Start at the lower end and adjust in future batches based on your preference.
Why Black Pepper Is Included
Ground black pepper contains piperine, which interacts with curcumin in turmeric. Including a small pinch is a standard culinary practice in turmeric-based drinks and foods. The quantity used in a single serving is small enough that it contributes no detectable heat to the finished drink. It is not a therapeutic claim; it is simply a conventional pairing that appears consistently in turmeric drink preparations. Omitting it does not ruin the drink but is worth including as a habit.
Setting Up the Stovetop Correctly
Pour the oat milk into a small saucepan. Add the ground turmeric and black pepper directly to the cold milk before turning on the heat. Stirring the spices into cold milk first helps them begin dispersing before heat causes them to clump on the pan surface. Set the burner to low heat. Oat milk contains dissolved starches that thicken and stick at temperatures above approximately 70 to 75°C, so low heat from the start is more effective than starting high and reducing.
Stirring Technique and Temperature Awareness
Stir the mixture continuously with a small whisk or a spoon, moving across the bottom of the pan to prevent any settled spice from scorching. The drink is ready when it is steaming gently and feels hot to the touch when a small amount is tested on the back of a clean spoon. This typically corresponds to around 65 to 70°C, which is warm enough to serve comfortably. Do not allow the milk to boil. Boiling causes oat milk to foam, separate, and develop a cooked flavor.
Pouring, Serving, and Handling Leftovers
Pour the finished drink immediately into a prewarmed cup to slow heat loss. Turmeric settles quickly once the liquid stops moving, so serve without delay or give the cup a brief stir before drinking. If you prepare more than one serving and have leftover warm drink, do not leave it at room temperature. Transfer it to a clean container, allow it to cool, and refrigerate at or below 4°C within two hours. Reheat gently on the stovetop rather than microwaving, which heats unevenly and can scorch the bottom layer.
A little more
to know.
Can I use a milk frother to mix the spices instead of a saucepan?
A handheld frother can blend the spices into warm oat milk effectively, but you still need to heat the milk first using a stovetop or kettle. The frother disperses rather than cooks the turmeric, so use it after the milk has reached serving temperature.
Does the type of oat milk affect how the drink behaves on the stove?
Barista-style oat milk contains added stabilizers that make it slightly more heat-tolerant and less prone to separating than standard oat milk. Either works for this drink, but standard oat milk requires more careful low-heat management to avoid a grainy or separated result.
Original editorial guidance and recipe formulations, not independently kitchen-tested. Times are estimates and depend on equipment and product directions. Cooked bases need additional cooling and refrigeration before cold serving. Images are AI-generated illustrations; appearance and yield may vary. Check actual ingredient labels, allergens, and any certification you require. We do not certify products. Read our approach.
Save to Pinterest ↗ANOTHER IDEA FOR THE COUNTER