Warm Spiced Coconut Milk on the Stovetop Without Scorching
Full-fat canned coconut milk contains a high proportion of saturated fat that settles and concentrates at the base of a pan. When heat is applied unevenly or too quickly, that fat layer scorches before the rest of the liquid warms through. Understanding how to manage heat, movement and spice contact makes the difference between a silky, fragrant drink and one with a bitter, burnt undertone that cannot be corrected once it forms.
Read the note ↓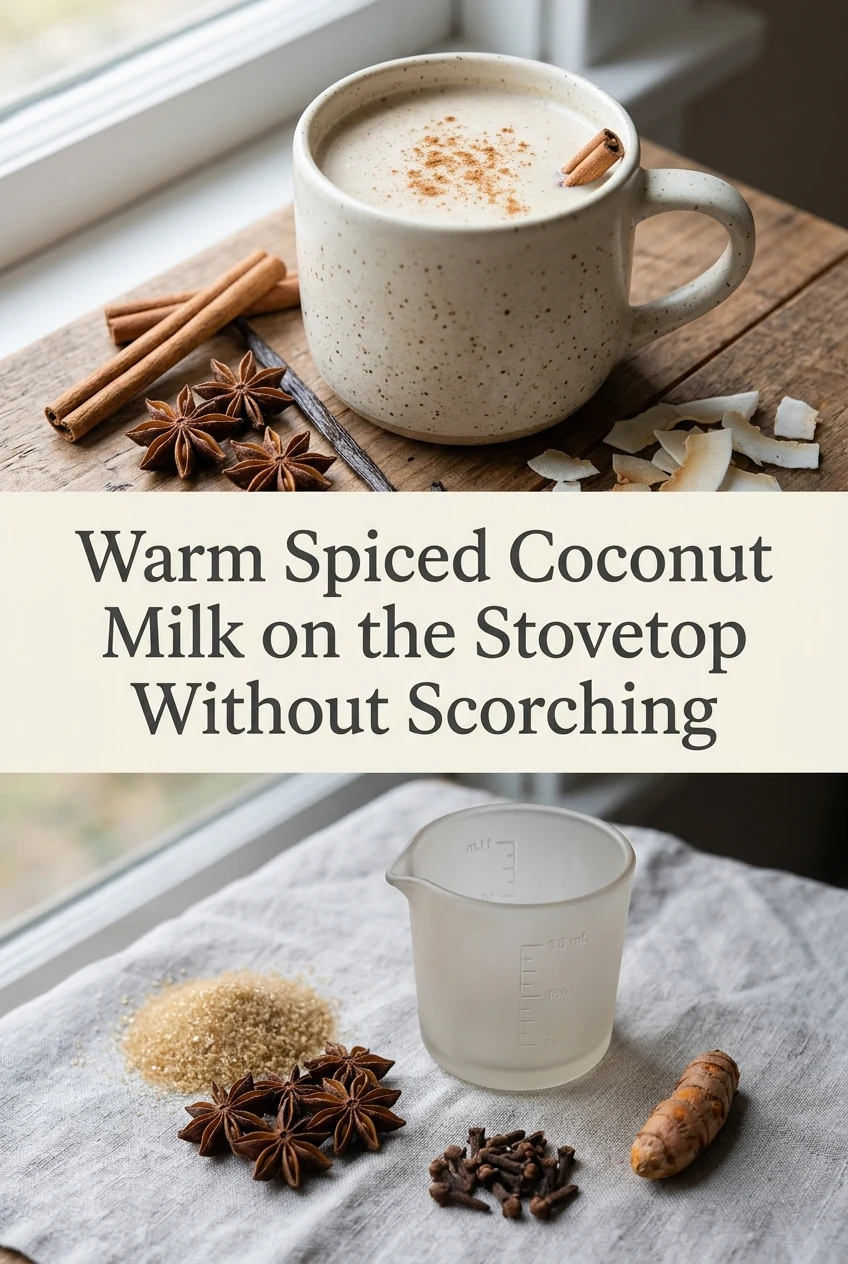
AI-generated editorial concept created for this article. The image is not a technical diagram or a tested result.
Choose the Right Pan and Starting Temperature
Use a small, heavy-based saucepan rather than a thin-walled pot. Thin bases concentrate heat in spots, which is exactly the condition that causes coconut milk fat to scorch. Keep the pan off the heat until the liquid and spices are measured inside. Starting with cold liquid in an unheated pan allows the metal and coconut milk to warm gradually together, avoiding the immediate sticking and burning that happens when liquid touches a preheated base.
Open and Combine the Coconut Milk Before Heating
Shake the can firmly before opening, or stir the contents thoroughly in a bowl first. Canned coconut milk separates into a thick cream layer and a thinner liquid layer during storage. Pouring only the cream into the pan concentrates fat further and increases scorch risk. For one serving, measure roughly 240 millilitres of well-combined coconut milk. Adding 60 millilitres of water at this stage thins the mixture slightly and provides a small buffer against scorching without diluting the flavour noticeably.
Add Whole Spices at the Right Moment
Place whole spices such as one cinnamon stick, two green cardamom pods lightly crushed, and two or three whole cloves directly into the cold liquid before heating begins. This allows the spices to release their oils gradually as the temperature rises, producing a more integrated flavour than adding them to already-hot milk. Avoid ground spices at this stage because fine particles settle and burn against the pan base faster than whole pieces do.
Stir Continuously and Watch for Steam
Once the pan is on the heat, stir with a wooden spoon or silicone spatula in slow, consistent circles that reach the base and edges of the pan. Do not walk away. The target is a gentle steam rising from the surface with small bubbles forming at the edges, not a rolling boil. A full boil causes coconut milk to break, separating the fat visibly and creating a greasy texture. Remove the pan from the heat the moment steady steam appears, which typically takes four to six minutes on medium-low.
Strain, Sweeten and Serve Promptly
Pour the warmed coconut milk through a fine mesh strainer into a prewarmed cup to catch spice pieces and any small cooked solids. Sweeten after straining rather than before, so sugar does not caramelise against the hot pan base. One teaspoon of honey or maple syrup stirred into the finished drink is a practical starting point. Serve immediately. If a second cup is needed, return the strained liquid to the pan on the lowest setting and stir constantly; do not reheat more than once.
A little more
to know.
Can I use light coconut milk instead of full-fat to reduce scorching risk?
Light coconut milk has a lower fat content and is less prone to scorching, but it also produces a noticeably thinner, less creamy drink. The technique described here manages scorching effectively with full-fat milk, so the trade-off in texture may not be necessary.
How long can I keep leftover spiced coconut milk before discarding it?
Transfer any unused portion to a sealed container and refrigerate at 4 degrees Celsius or below within two hours of preparation. Use within two days. Stir well before any gentle reheating because the fat will separate again during storage.
Original editorial guidance and recipe formulations, not independently kitchen-tested. Times are estimates and depend on equipment and product directions. Cooked bases need additional cooling and refrigeration before cold serving. Images are AI-generated illustrations; appearance and yield may vary. Check actual ingredient labels, allergens, and any certification you require. We do not certify products. Read our approach.
Save to Pinterest ↗ANOTHER IDEA FOR THE COUNTER