Warm Oat Milk for a Café Cup on the Stovetop Using a Low Flame and a Spoon
Oat milk behaves differently from dairy on a stovetop because its starch content makes it prone to scorching on the pan base and thickening unevenly when heat is applied too quickly. A low flame and continuous stirring distribute heat gently enough to keep the texture smooth and the flavor clean. Getting this right means the oat milk pours freely into a cup rather than arriving with a gummy skin or a burnt undertone.
Read the note ↓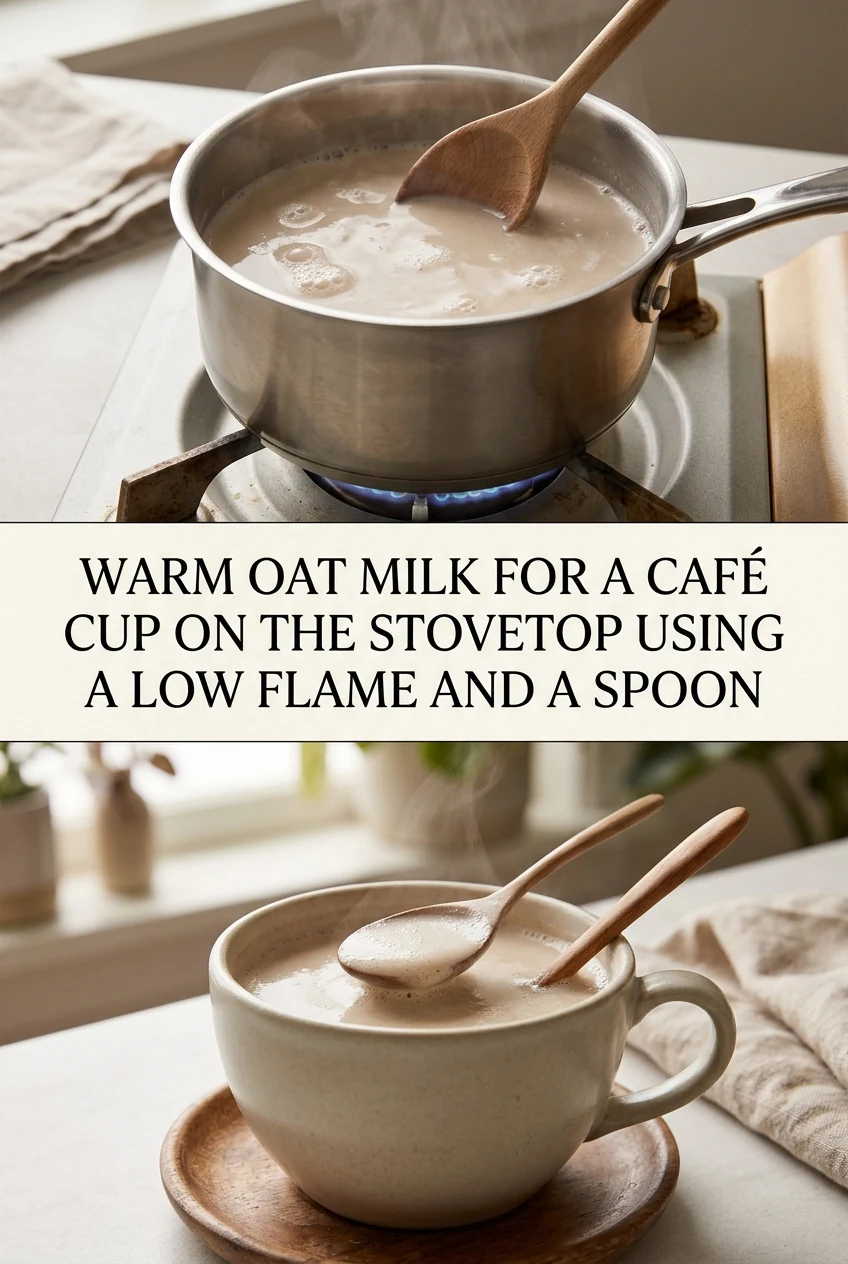
AI-generated editorial concept created for this article. The image is not a technical diagram or a tested result.
Choose a small saucepan with a heavy base
A thin-based saucepan concentrates heat in one spot, which is exactly the condition that scorches oat milk. A small saucepan with a heavier base spreads heat more evenly across the bottom surface. For one café cup, a 500 ml saucepan is a practical size because the milk layer is deep enough to stir without splashing but shallow enough to heat through quickly on a low flame without requiring a long wait.
Measure the oat milk before heating
Pour the oat milk into the cold saucepan before turning on the heat. For a single 250 ml café cup, measure approximately 220 ml into the pan, leaving a small margin because some volume is lost to the coating that clings to the pan walls. Starting with cold oat milk in a cold pan gives you a few extra seconds of gentle warming before the base temperature rises, reducing the risk of a sudden scorch.
Set the flame to its lowest practical position
Turn the burner to its lowest stable setting, which on most gas hobs is the point just above where the flame would extinguish. On an electric ring, the lowest numbered setting is the starting point. The goal is a gradual temperature rise over roughly three to four minutes rather than a rapid one. Oat milk does not need to reach a rolling simmer to be warm enough for a café cup; steam rising from the surface is a reliable visual cue to stop.
Stir continuously with a spoon from the first moment
Begin stirring as soon as the flame is on, using a long-handled spoon to reach the base and edges of the pan in a slow figure-eight or circular motion. The starch in oat milk begins to thicken before visible bubbles appear, so stirring must start early rather than only when the milk looks active. Lifting the spoon occasionally and watching whether the milk runs off cleanly rather than in a thick sheet tells you the texture is still correct.
Remove from heat before bubbles form and pour immediately
Take the pan off the flame the moment you see the first wisps of steam rising steadily from the surface. Continuing past this point risks a gummy texture and a skin forming within seconds of stopping. Pour the oat milk directly into the waiting cup without delay. If the cup is cold, warm it first with a small amount of hot water that you discard before pouring, which helps the oat milk stay warm longer after serving.
A little more
to know.
Why does my oat milk sometimes develop a thick layer on top after pouring?
A surface skin forms when oat milk is exposed to air while still hot and not moving. Pouring immediately after removing from heat and serving without delay reduces this. Stirring the cup gently once after pouring also helps disperse the skin before it sets.
Is it possible to reheat oat milk that has already been warmed once?
Reheating is possible but the texture often becomes thicker and less smooth with each heating cycle. For best results, measure only what you need for a single serving and warm it fresh each time rather than storing and reheating a portion.
Original editorial guidance and recipe formulations, not independently kitchen-tested. Times are estimates and depend on equipment and product directions. Cooked bases need additional cooling and refrigeration before cold serving. Images are AI-generated illustrations; appearance and yield may vary. Check actual ingredient labels, allergens, and any certification you require. We do not certify products. Read our approach.
Save to Pinterest ↗ANOTHER IDEA FOR THE COUNTER