Use a Plain Ingredient Checklist Before Starting a Baking Recipe
A plain ingredient checklist is a written list you run through before you open a single packet or crack an egg. It is not a mise en place tray, not a tool layout, and not a guarantee of a perfect bake. It is simply a habit of reading the full recipe, writing down every ingredient with its quantity, and confirming each one is physically in your kitchen before you begin combining anything. This small step catches a missing raising agent or an out-of-date tin before you are halfway through a batter with no way to stop.
Read the note ↓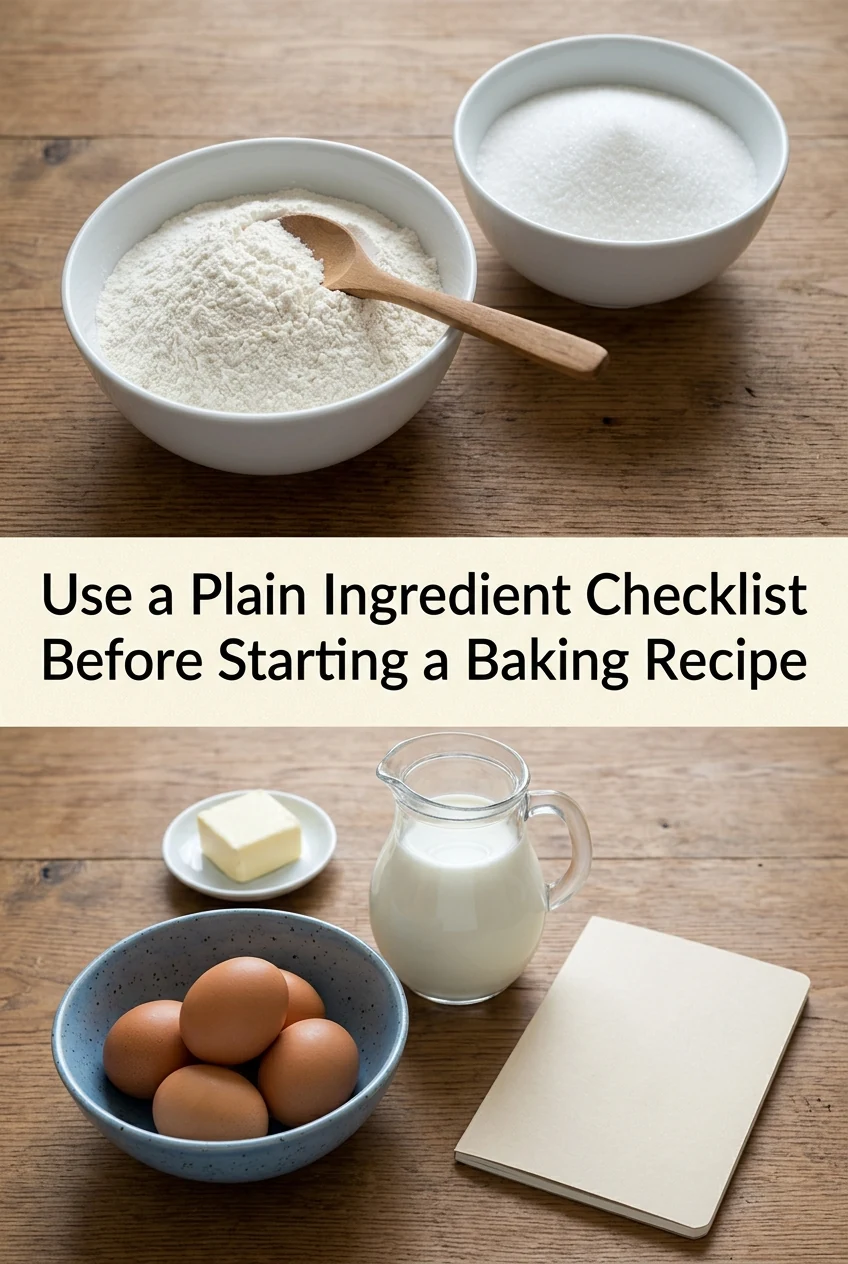
AI-generated editorial concept created for this article. The image is not a technical diagram or a tested result.
What the Checklist Actually Is
A plain ingredient checklist is a handwritten or typed column of every ingredient the recipe calls for, with the exact quantity beside each entry. You tick each item only after you have located it, checked the quantity is sufficient, and confirmed the product is suitable. This is a preparation habit, not an arrangement of bowls or a timed workflow. Distinguishing it from tool layout matters because you can have every tin and spatula ready and still discover mid-mix that you have no baking powder. The checklist addresses ingredients only and is complete before any measuring begins.
Core Items to Confirm for Most Baked Goods
Every checklist should start with flour, a raising agent, a fat, a sweetener, and a liquid. For flour, note the type the recipe specifies, such as plain, self-raising, or wholemeal, because substituting one for another changes the result in ways the recipe has not accounted for. For the raising agent, check whether the recipe needs baking powder, bicarbonate of soda, or both, and confirm the tin is not past its best-before date, since an old raising agent may perform differently. If the recipe uses eggs, count them against the quantity listed. If it calls for butter, check whether it should be cold, softened, or melted, because you will need time to bring it to the right state before you begin. Write these notes beside each entry on your list.
Recipe-Specific Ingredients and Halal Considerations
Beyond the core items, list every flavoring, spice, nut, dried fruit, or specialty ingredient the recipe names. If vanilla is required, confirm the product label states it is alcohol-free, because some vanilla extracts use an alcohol base that is not suitable for halal baking. If a recipe calls for gelatin, confirm the packet is labeled halal, as gelatin sources vary. Chocolate, cocoa powder, and any ready-made pastes should be checked against their ingredient panels if you are baking for guests with dietary requirements. Write the brand or label note beside the item on your checklist so you are not relying on memory when you reach that step.
A Worked Example: A Simple Vanilla Sponge
Suppose a recipe calls for 200 g plain flour, 1.5 tsp baking powder, 200 g caster sugar, 200 g softened unsalted butter, 3 large eggs, 2 tbsp milk, and 1 tsp alcohol-free vanilla flavoring. Your checklist has seven lines. You open the flour bag and confirm at least 200 g remains. You check the baking powder tin is within its best-before date. You weigh the sugar. You check the butter block and note it needs roughly 30 minutes at room temperature to soften, so you set it out before ticking that line. You count three eggs. You check the milk carton. You read the vanilla bottle label and confirm it states alcohol-free. Only after all seven lines are ticked do you begin measuring. This is an illustrative plan showing how the checklist works in sequence, not a tested or guaranteed baking result.
Perishables and Prompt Refrigeration
When your checklist includes dairy, eggs, or any fresh ingredient, take them from the refrigerator only when the recipe step requires them, unless the recipe specifically instructs you to bring them to room temperature first. Do not leave perishables sitting out beyond what the recipe directs. If you are baking in stages across a day, return unused perishables to the refrigerator promptly between sessions. The checklist is also a useful moment to notice if a perishable ingredient is close to or past its use-by date, which is far better to discover before baking than after. Follow the storage guidance on each product's label rather than any general rule.
A little more
to know.
Is an ingredient checklist the same as measuring everything into bowls before I start?
No, they are different steps. A checklist confirms that each ingredient is present in your kitchen and available in the right quantity before you begin. Measuring ingredients into bowls is a separate action that happens after the checklist is complete. You can use a checklist without pre-measuring anything, and many home bakers do exactly that, measuring each ingredient at the point the recipe calls for it while using the checklist only as a presence-and-quantity confirmation at the start.
What should I do if I find a missing ingredient while going through the checklist?
Stop before you begin mixing and decide whether a suitable substitute exists or whether you need to source the ingredient first. Do not proceed with a substitution unless you have checked that it is appropriate for the specific recipe, because raising agents, fats, and flours each behave differently and swapping them without guidance can affect the outcome in ways that are difficult to predict. If the ingredient is a flavoring or an add-in rather than a structural component, the decision may be simpler, but the checklist stage is the right moment to make that call, not mid-batter.
Original editorial guidance and recipe formulations, not independently kitchen-tested. Times are estimates and depend on equipment and product directions. Cooked bases need additional cooling and refrigeration before cold serving. Images are AI-generated illustrations; appearance and yield may vary. Check actual ingredient labels, allergens, and any certification you require. We do not certify products. Read our approach.
Save to Pinterest ↗ANOTHER IDEA FOR THE COUNTER