Use a Cooling Rack with a Tray Beneath Small Baked Goods
Placing a rimmed tray directly beneath a wire cooling rack is a straightforward home-cafe habit that keeps your work surface tidy and gives small baked goods a stable, well-ventilated resting spot after they leave the oven. The rack lifts each piece so air can move around it, while the tray below collects crumbs, drips, and any glaze that runs off. Neither piece of equipment does anything magical; the combination simply makes the cooling stage easier to manage and easier to clean up.
Read the note ↓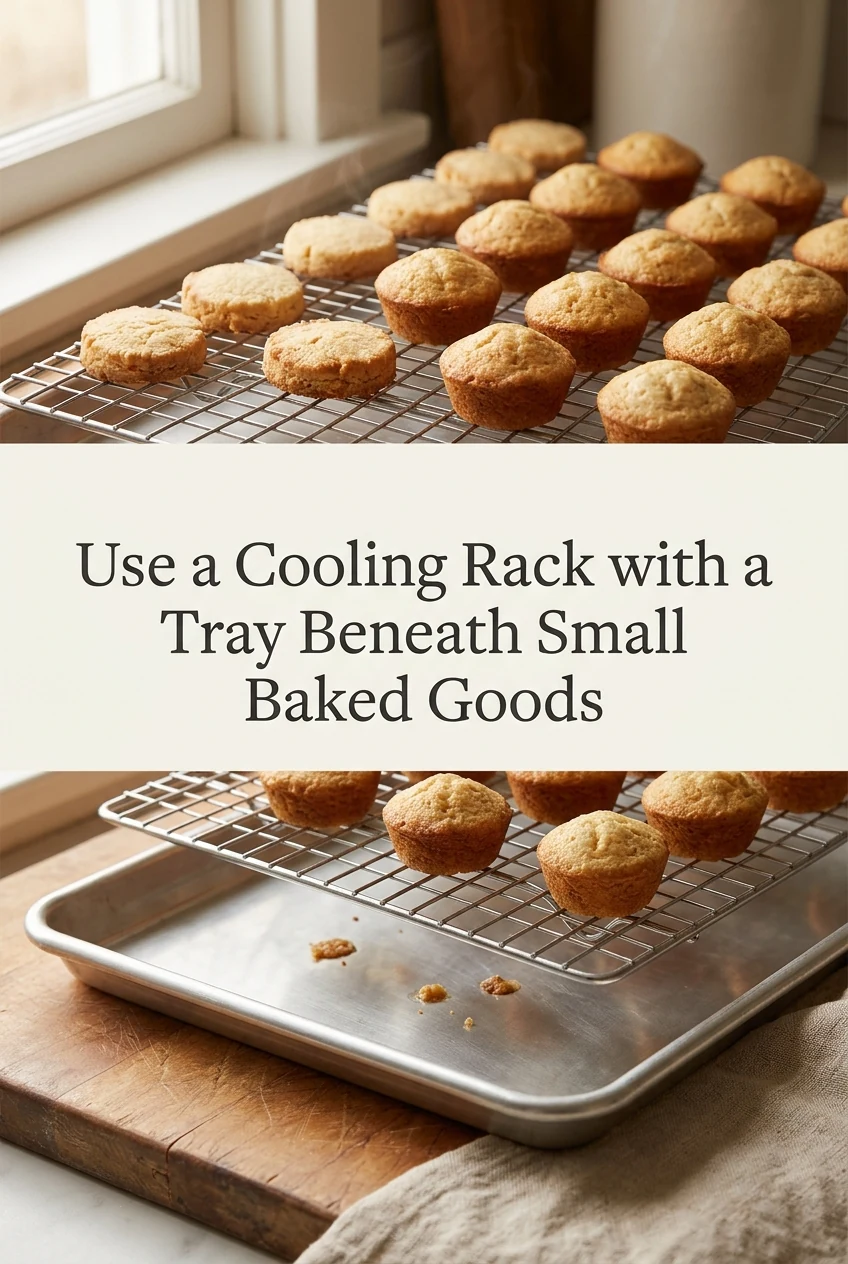
AI-generated editorial concept created for this article. The image is not a technical diagram or a tested result.
Choosing a Rack and Tray That Actually Fit
Before you bake, set the rack inside or on top of the tray and check that the rack sits flat and does not rock. A half-sheet tray measuring roughly 33 cm by 46 cm pairs naturally with a standard half-sheet cooling rack of similar dimensions. If you are working with mini muffins or small cookies, confirm that the rack's wire grid is close enough together that the pieces cannot slip through or tilt sideways. Racks with a grid spacing of about 1.5 cm to 2 cm generally support most small items without them sinking. The tray beneath should have a rim of at least 1 cm so that liquid glaze or melted icing stays contained rather than running onto the counter.
Preparing the Setup Before the Oven Timer Goes Off
Have the rack and tray ready on a heat-safe, level surface before you open the oven. A cluttered counter can cause you to set a hot pan down awkwardly, which increases the chance of tipping. Place a folded dry oven cloth or silicone trivet nearby for the hot baking pan itself. Once you remove the baked goods from the oven, follow your recipe's instruction for how long to leave them in the pan before transferring — some recipes call for a few minutes in the pan, others ask you to turn them out almost immediately. Transfer each piece to the rack using a spatula or tongs rather than your hands, spacing them so they are not touching.
A Worked Illustrative Plan: Small Date and Oat Cookies
As an illustrative plan rather than a tested result, consider a batch of 24 small date and oat cookies made with alcohol-free vanilla flavoring. Each cookie is roughly 5 cm in diameter once baked. A half-sheet cooling rack placed inside a half-sheet rimmed tray can hold all 24 cookies in four rows of six with approximately 2 cm of space between each cookie. After removing the baking sheet from the oven, the recipe might direct you to rest the cookies on the baking sheet for five minutes before moving them. You would then lift each cookie with a thin spatula and set it on the rack. The tray beneath catches any oat crumbs that fall. Cool the cookies according to your recipe's guidance rather than assuming a fixed time, since thickness, moisture content, and room temperature all affect how long cooling actually takes.
Managing Glazes and Icings Over the Tray
If you plan to drizzle a sugar glaze or a simple icing over cooled cookies or small cakes, the rack-and-tray setup is especially useful at this stage. Pour or spoon the glaze over each piece while it sits on the rack; excess glaze drips through the wire grid and pools in the tray below. You can scrape that pooled glaze back into a bowl and reuse it if it has not picked up crumbs. For a halal-compliant icing, use halal-certified icing sugar and alcohol-free vanilla flavoring, and check that any food coloring you add is also halal-certified. Once the glaze sets to the touch — the time will vary depending on the glaze consistency and room temperature — the pieces are ready to plate or store.
Storing and Cleaning Up
After cooling, follow your recipe's storage guidance. Items containing dairy, eggs, or fresh fruit fillings should be refrigerated promptly rather than left at room temperature for an extended period; do not rely on a general rule about how long baked goods last, because ingredients and preparation methods vary. To clean the rack, remove loose crumbs over a bin, then wash the rack and tray with warm soapy water, following the manufacturer's care instructions for your specific rack — some racks are dishwasher-safe and others are not. Dry both pieces fully before stacking them to prevent rust on wire racks.
A little more
to know.
Can I use parchment paper on the cooling rack to stop very small pieces from falling through?
You can, but parchment directly on the rack will block airflow underneath the pieces, which is one of the main reasons for using a rack in the first place. A better option is to choose a rack with a tighter grid spacing that physically supports the pieces, or to transfer very small items to a plate once they have firmed up enough to handle without breaking.
Does the tray beneath the rack need to be the same brand as the rack?
No. The only practical requirement is that the tray is large enough to sit under the entire footprint of the rack and has a rim tall enough to contain any drips. Measure both pieces before purchasing if you are buying them separately, and confirm the rack either fits inside the tray's rim or rests stably across the top of it without wobbling.
Original editorial guidance and recipe formulations, not independently kitchen-tested. Times are estimates and depend on equipment and product directions. Cooked bases need additional cooling and refrigeration before cold serving. Images are AI-generated illustrations; appearance and yield may vary. Check actual ingredient labels, allergens, and any certification you require. We do not certify products. Read our approach.
Save to Pinterest ↗ANOTHER IDEA FOR THE COUNTER