Strain a Hibiscus and Citrus Iced Tea Into a Clear Serving Jug
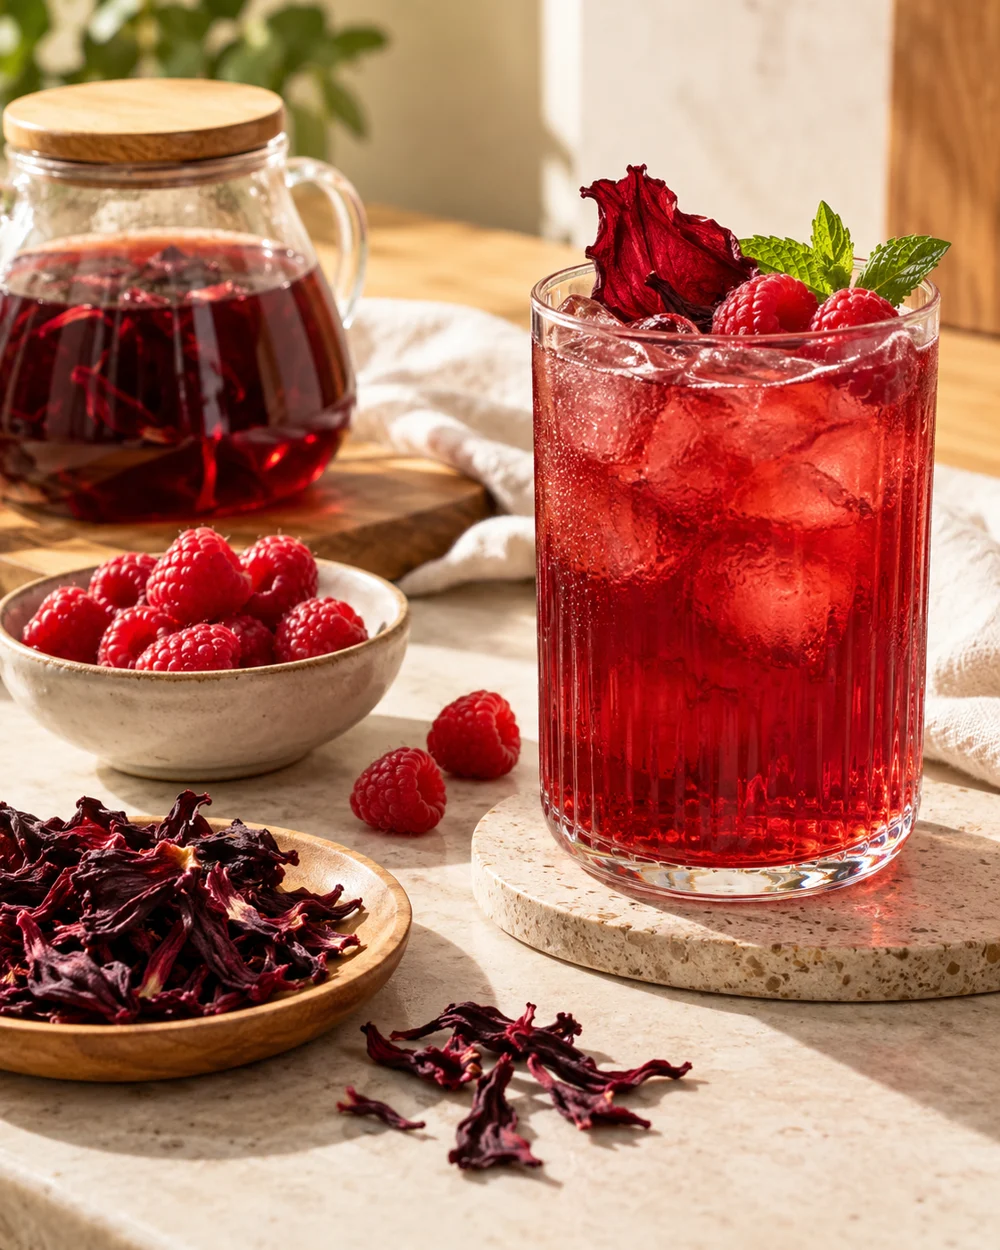
Hibiscus petals release deep ruby colour quickly but also shed fine fibres and small fragments during steeping. When citrus peel or sliced fruit is added, pith particles and pulp break off into the liquid. Left unstrained, these solids continue to steep in the cooling tea, turning the colour murky and adding an increasingly bitter edge. Straining while the tea is still warm, before chilling, captures those particles at their most suspended state and preserves the clarity that makes a glass jug visually appealing on a table.
Read the note ↓
AI-generated editorial concept created for this article. The image is not a technical diagram or a tested result.
Measure and Steep the Hibiscus Base
For one litre of finished tea, bring 750 millilitres of fresh water to a full boil, then remove it from the heat. Add 15 grams of dried hibiscus petals, which is roughly three loosely packed tablespoons. Steep for eight minutes without stirring. Stirring agitates the petals and releases more fine fibre into the liquid. The remaining 250 millilitres will be accounted for by ice added during the chilling stage, preventing dilution from becoming excessive once the drink is served cold.
Add Citrus During the Final Two Minutes of Steeping
Cut two strips of orange peel, each approximately five centimetres long, using a vegetable peeler to avoid taking too much white pith. Add them to the steeping liquid during the final two minutes only. Longer contact extracts bitter compounds from the peel. If you prefer lemon, use one strip of similar size. Avoid squeezing juice directly into the hot steep at this point because high heat dulls fresh citrus flavour and suspended pulp clouds the infusion before straining.
Set Up the Straining Station Before Pouring
Place a fine mesh sieve over the mouth of a clean, heat-tolerant clear jug. If the sieve is not fine enough to catch small fibres, line it with a single layer of dampened muslin or a clean coffee filter. Position the jug on a stable, flat surface rather than holding it. Pouring hot liquid into a held vessel is an unnecessary risk. Have a second heatproof container nearby in case you need to pause mid-pour without setting the pan down awkwardly.
Pour Slowly and Observe the Strainer
Tilt the saucepan gradually and pour in a controlled, steady stream. Watch the strainer surface: if it begins to pool with liquid rather than draining freely, the filter is clogging. Pause, lift the sieve slightly, and allow it to drain naturally before continuing. Do not press or squeeze the spent petals with a spoon, as compressing them forces fine pulp and astringent particles through the mesh, compromising the clarity of the tea.
Chill Correctly and Add Citrus for Serving
Allow the strained tea to cool at room temperature for no more than thirty minutes, then refrigerate uncovered until it reaches 4 degrees Celsius or below. Do not add ice to the warm jug to force rapid chilling, as this dilutes the concentration you measured for. Once fully chilled, add the reserved ice and fresh citrus slices for presentation. Freshly cut citrus added at serving rather than during steeping keeps the appearance bright and the flavour clean.
A little more
to know.
Why does hibiscus tea sometimes turn a duller purple rather than staying bright ruby?
The colour of hibiscus tea shifts with pH. Adding citrus juice, which is acidic, typically brightens the colour toward red. Alkaline water or baking soda can push it toward purple or blue. The peel-only method in this guide keeps the colour stable during steeping.
Can I steep the hibiscus in cold water instead to avoid the straining step while warm?
Cold steeping works and produces a cleaner liquid naturally, but it requires six to twelve hours in the refrigerator and extracts less colour intensity. The warm-steep-then-strain method gives a deeper colour result in under fifteen minutes of active preparation time.
Original editorial guidance and recipe formulations, not independently kitchen-tested. Times are estimates and depend on equipment and product directions. Cooked bases need additional cooling and refrigeration before cold serving. Images are AI-generated illustrations; appearance and yield may vary. Check actual ingredient labels, allergens, and any certification you require. We do not certify products. Read our approach.
Save to Pinterest ↗ANOTHER IDEA FOR THE COUNTER