Make a Maker-Led Cleaning Routine for a Milk Pitcher
Begin with the care instructions for your actual pitcher and the directions for the cleaning product you use. This guide describes an ordinary, instruction-led cleaning routine. It does not offer a sterilization method, and a homemade boiling or acid-rinse routine does not establish sterility. A polished appearance does not prove that a vessel is ready for food contact, and a handwritten routine should never override the product information.
Read the note ↓
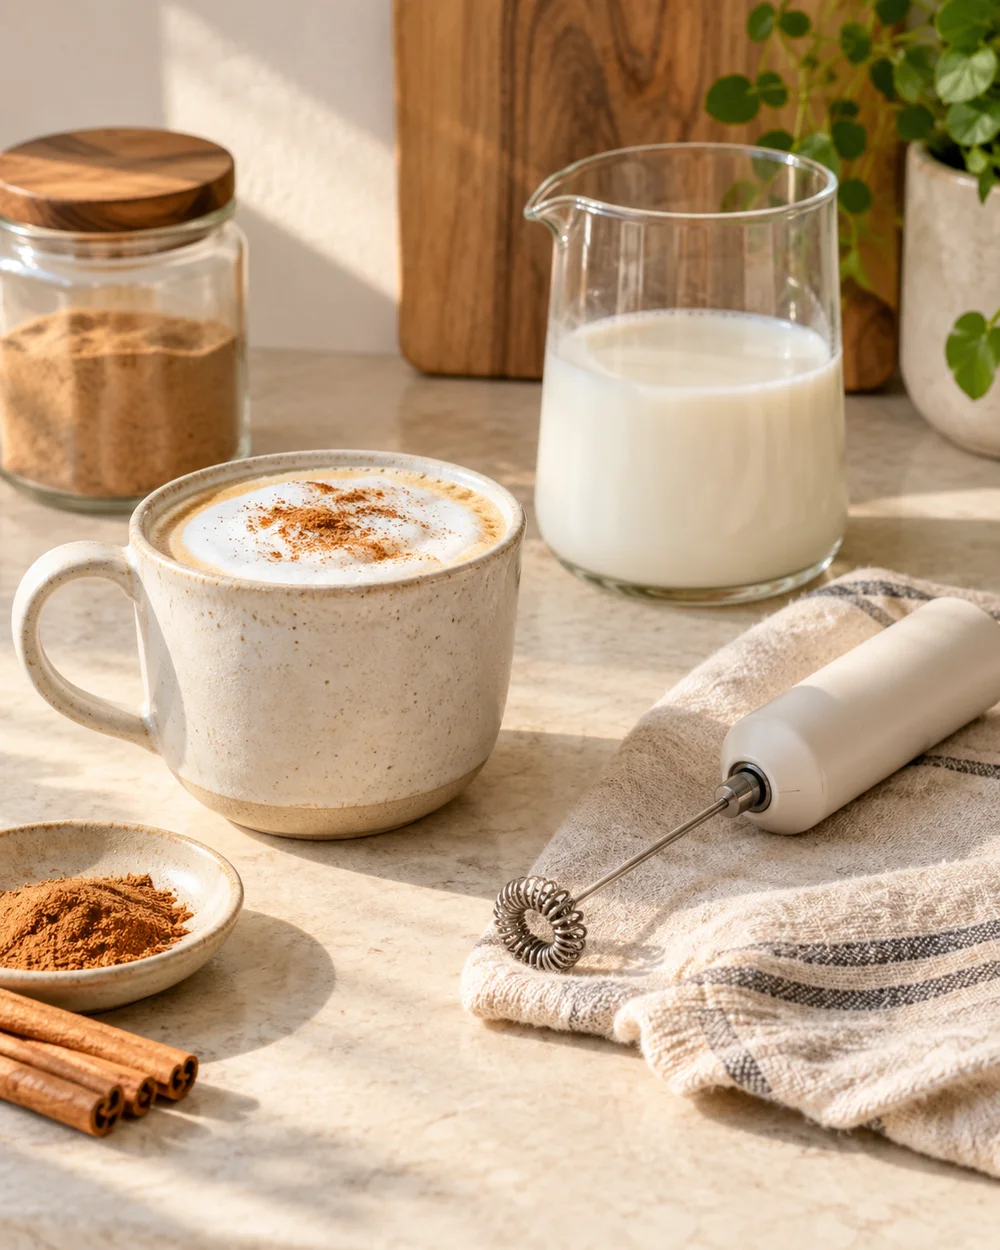
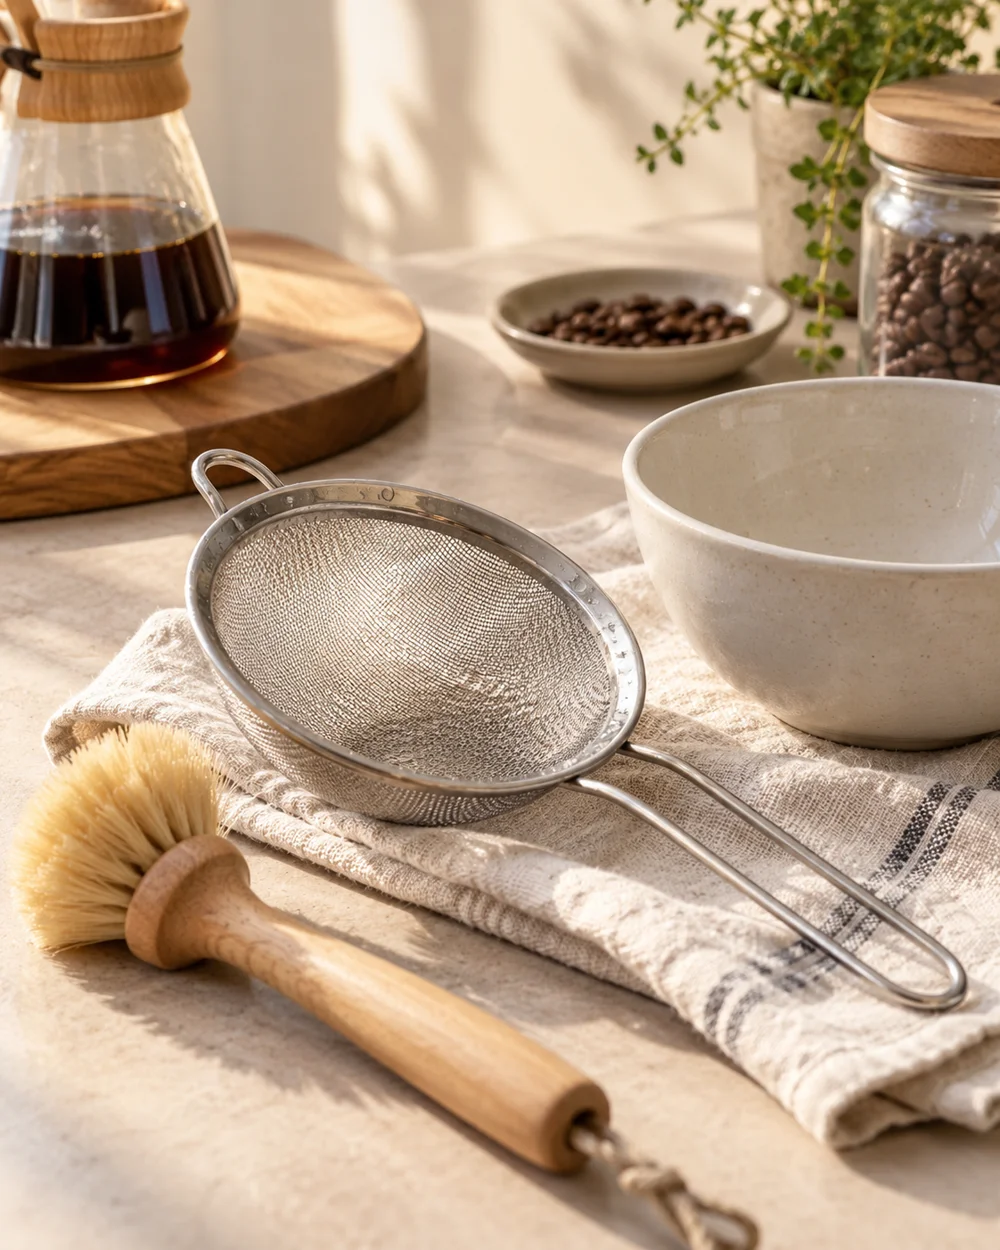
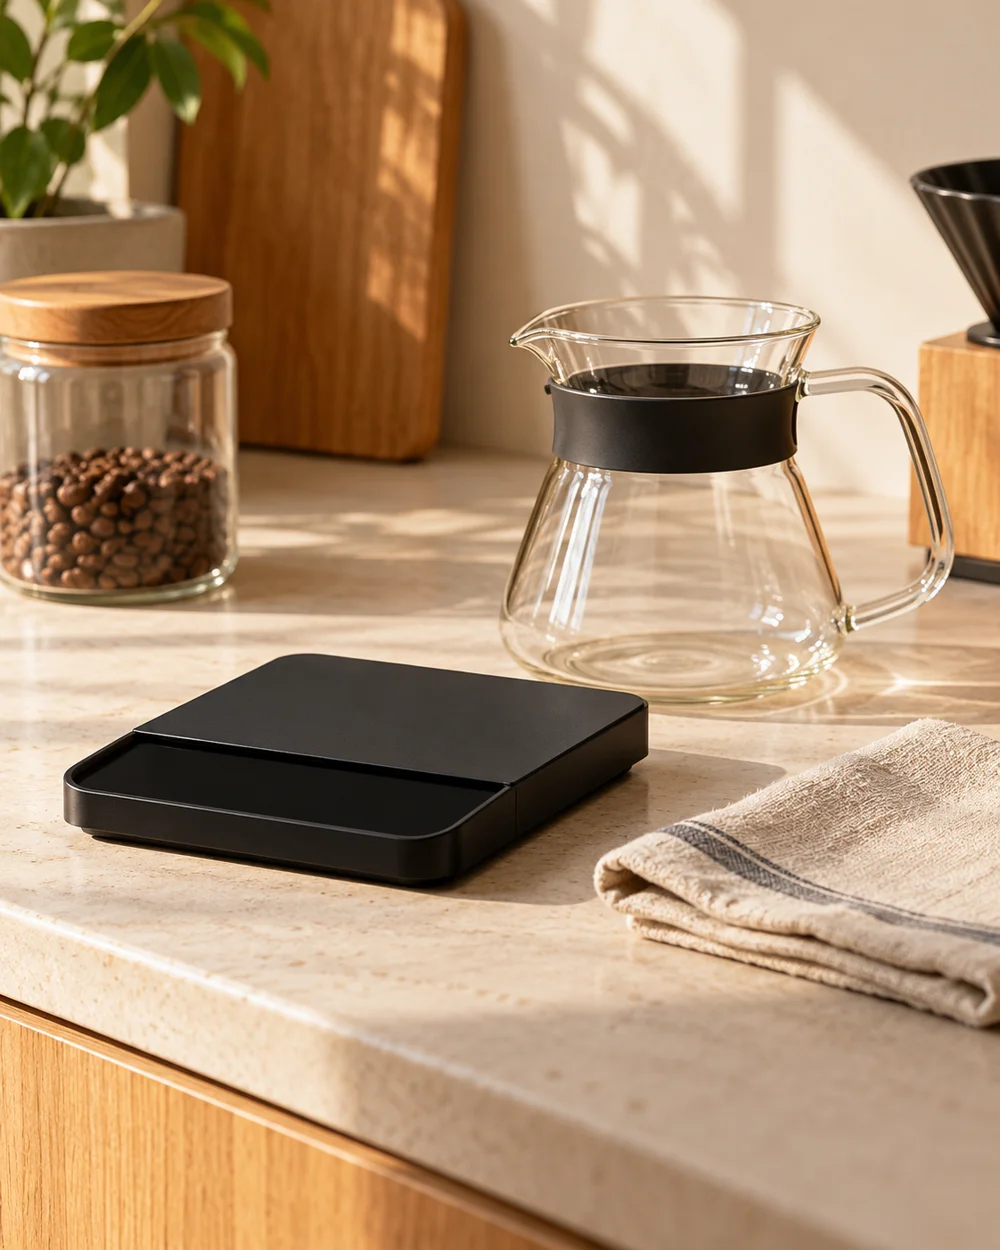
Representative category illustration reused from our editorial library; it does not depict this specific project or a tested result.
Find the applicable care information
Identify the pitcher and retain its care information where you can find it again. Check whether it has a coating, removable parts, or other features that affect cleaning. Use the maker’s instructions for those features and for any dishwasher permission. Do not assume that every item described as stainless steel shares one method. Ask the maker if the product identity or its care requirements are uncertain.
Keep used equipment separate
Choose a suitable place for a used pitcher so it cannot be confused with equipment ready for another drink. Do not return milk from a used pitcher to the original container. Keep the vessel available for the cleaning method its maker specifies. This is a workflow distinction, not a claim that a dedicated tray or a quick rinse makes the pitcher ready for food contact.
Follow the actual washing directions
Use the cleaner, dilution, washing method, and rinsing directions that apply to both the pitcher and the cleaning product. Follow the labels rather than mixing products or adding an improvised acid rinse. Do not replace a required washing step with a boiling-water soak described as sterilization. If instructions conflict or residue persists, obtain appropriate product guidance rather than increasing heat, concentration, or scrubbing force.
Inspect and dry under the directions
After the specified cleaning and rinsing steps, inspect the accessible inside wall, bottom, rim, and pouring edge. A visible film means that the routine needs attention; the absence of a film does not itself prove microbiological safety. Dry and store the pitcher under its care directions in a suitable clean food-contact area. Maintain cleaning tools under their own instructions, and avoid finishing a washed vessel with a soiled cloth.
Keep the reference current
Record the pitcher identity, the care reference, and the actual cleaning product. Keep original labels available rather than relying only on a summary. Update the note if the vessel or cleaner changes. Follow the maker’s advice about damage or conditions that make continued use unsuitable. A recurring odor, mark, or cleaning difficulty calls for specific guidance rather than a new homemade chemical recipe. Do not describe this workflow as validated sterilization.
A little more
to know.
Does boiling water alone establish sterilization here?
No. This guide does not validate a sterilization process. Follow the pitcher’s actual care instructions and the relevant cleaning product directions. A home-written exposure time or a shiny surface is not a validated sterility claim.
What if a dishwasher is permitted?
Follow the permission and any placement, temperature, part-removal, and drying conditions for that exact item. Do not transfer those directions to a different pitcher merely because it looks similar or carries the same material description.
Original editorial guidance and recipe formulations, not independently kitchen-tested. Times are estimates and depend on equipment and product directions. Cooked bases need additional cooling and refrigeration before cold serving. Images are AI-generated illustrations; appearance and yield may vary. Check actual ingredient labels, allergens, and any certification you require. We do not certify products. Read our approach.
Save to Pinterest ↗ANOTHER IDEA FOR THE COUNTER