Spoons or a Scale: Choosing How to Measure Cocoa, Honey and Milk for Drinks
If your homemade cocoa drink tastes noticeably richer one morning and thin the next, inconsistent measuring is almost certainly the cause. A heaped teaspoon of cocoa powder, a honey-coated spoon, and a casual pour of milk each introduce small but compounding variables. This guide walks through how each measuring method behaves with these three specific ingredients, so you can choose one approach, record it beside your recipe, and repeat it reliably without needing to convert between systems.
Read the note ↓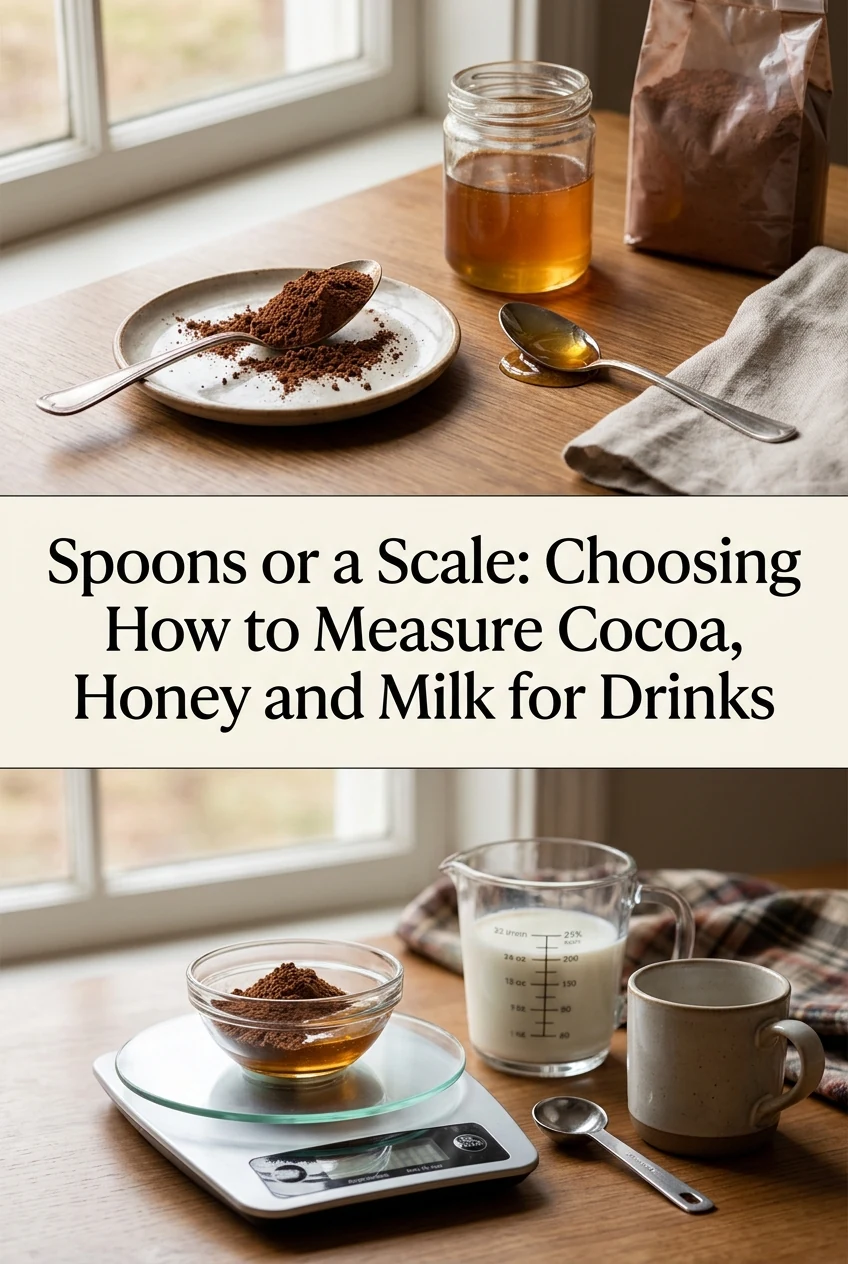
AI-generated editorial concept created for this article. The image is not a technical diagram or a tested result.
Why Cocoa Powder Behaves Differently in a Spoon
Cocoa powder is light and porous, which means it compacts under its own weight inside a container. A spoon scooped directly from the tin picks up a denser amount than one spooned from freshly sifted powder. The difference between a loosely filled teaspoon and a firmly packed one can be substantial enough to shift the drink from mild to noticeably bitter. To get consistent results with a spoon, always use the same filling gesture: spoon the powder in rather than scooping, then level the top with a straight edge.
The Sticky Spoon Problem with Honey
Honey clings to the bowl of a spoon and rarely releases completely, so the amount that actually enters your drink depends on how long you stir and whether the spoon was warm or cold. A cold spoon holds more residue than a briefly warmed one. If you prefer spoon measuring, use the same spoon size every time and stir it directly into the warm liquid rather than scraping. A kitchen scale solves the cling problem entirely: zero the scale with your cup on it, then squeeze or spoon honey directly in until you reach your chosen gram figure.
Measuring Milk by Jug Versus by Scale
A liquid measuring jug works well for milk when you read it at eye level on a flat surface, not from above. Viewing from above creates parallax error that distorts the reading against the markings. A kitchen scale is faster for small amounts because you pour directly into the cup or pan and stop when the display reaches your target. For a single-serve drink using roughly 150 to 200 millilitres of milk, either method is practical; the jug simply requires the extra step of correct eye alignment.
A Worked Example: One Cocoa Drink, Two Methods
To illustrate the difference, consider preparing the same cocoa drink on two separate mornings. On the first morning, use a teaspoon scooped directly from the tin and a casual pour of milk to the halfway mark of a standard mug. On the second morning, use a kitchen scale: place the mug on the scale, add cocoa until the display reads your chosen gram amount, then pour milk until you reach your target gram figure. Compare the colour depth and taste. This is an illustrative exercise, not a verified laboratory result, but most people find the scaled version more consistent.
Recording Your Method Next to the Recipe
The most practical step is to write down not just quantities but the exact method you used when a drink turned out well. Note whether you scooped or spooned the cocoa, whether you warmed the spoon for honey, and whether you used a jug or scale for milk. A short note such as levelled teaspoon, spoon-filled not scooped, jug at eye level tells you everything you need to repeat the result. Keep this note physically beside or inside the recipe rather than relying on memory.
A little more
to know.
Does the type of cocoa powder affect how much I should use when measuring by spoon?
Yes. Natural cocoa and Dutch-process cocoa have different densities and flavour intensities, so a level teaspoon of one is not a direct substitute for the other. If you switch cocoa types, treat it as a new starting point and adjust your recorded quantity accordingly.
Can I use the same scale for both dry cocoa and liquid milk in one session without error?
Yes, provided you zero the scale between each addition. Add cocoa first, note the reading, then zero again before pouring milk. This sequential zeroing prevents cumulative errors and keeps each ingredient measurement independent within the same vessel.
Original editorial guidance and recipe formulations, not independently kitchen-tested. Times are estimates and depend on equipment and product directions. Cooked bases need additional cooling and refrigeration before cold serving. Images are AI-generated illustrations; appearance and yield may vary. Check actual ingredient labels, allergens, and any certification you require. We do not certify products. Read our approach.
Save to Pinterest ↗ANOTHER IDEA FOR THE COUNTER