Small-Batch Kiwi and Mint Syrup for Cold Drinks
Making a small-batch kiwi and mint syrup at home raises two practical questions that most general syrup recipes skip: how long to cook the kiwi before it breaks down into an unpleasant texture, and how to strain the fine seeds cleanly without losing too much of the flavoured liquid. Getting both steps right produces a bright green-tinted syrup with a clean kiwi flavour and a smooth consistency that works well in cold drinks without leaving seed debris at the bottom of the glass.
Read the note ↓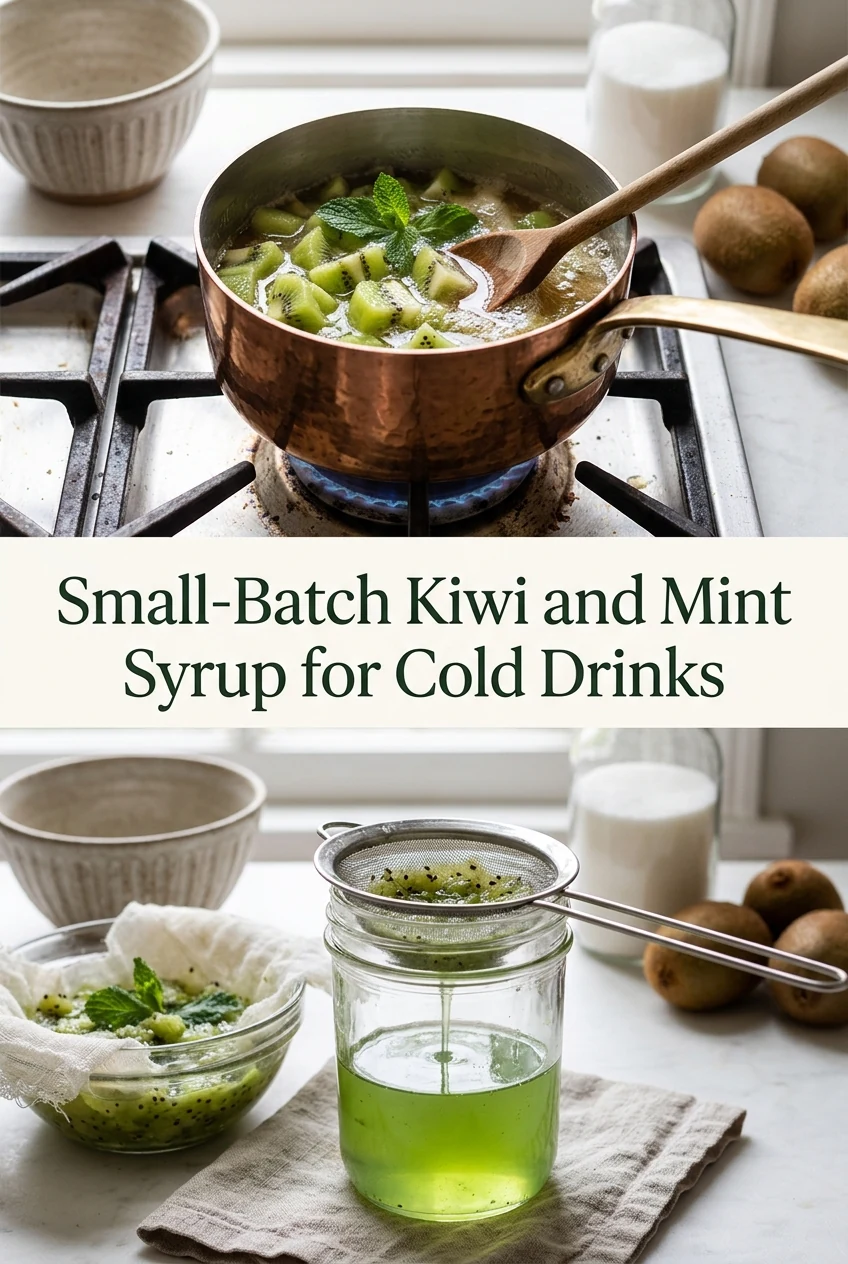
AI-generated editorial concept created for this article. The image is not a technical diagram or a tested result.
Measure and Prepare the Ingredients
For a small batch yielding approximately 200 millilitres of finished syrup, peel and roughly chop 3 medium kiwi fruits to give around 180 grams of flesh. Measure 150 grams of white granulated sugar and 150 millilitres of cold water. Pick 10 to 12 fresh mint leaves and set them aside separately. Do not add the mint to the pan with the kiwi and sugar, as prolonged heat turns mint dark and introduces a cooked, bitter note that is difficult to correct in the finished syrup.
Simmer the Kiwi Briefly to Avoid Breakdown
Combine the chopped kiwi, sugar, and water in a small saucepan over medium heat. Stir gently until the sugar dissolves, then reduce the heat to low and simmer for 6 to 8 minutes. At this point the kiwi softens and releases its flavour into the syrup without fully disintegrating into a cloudy mash. Simmering beyond 10 minutes causes the kiwi flesh to break apart extensively, making the subsequent straining step much harder and producing a less clear syrup. Remove the pan from the heat at 8 minutes.
Add the Mint Off the Heat
Once you remove the pan from the heat, add the fresh mint leaves directly to the hot kiwi mixture. Press the leaves gently under the surface with a spoon and allow them to steep for 4 minutes. This off-heat infusion extracts the mint flavour without cooking it, which preserves the fresh quality. After 4 minutes, remove and discard the mint leaves before straining. Leaving them in longer does not improve the flavour and can introduce a slightly bitter edge as the mixture cools.
Strain the Seeds Cleanly Into the Storage Jar
Set a fine-mesh strainer over a heatproof jug. Pour the kiwi mixture through the strainer slowly. Use a silicone spatula to press the softened kiwi pulp gently against the mesh to extract the flavoured liquid, but stop pressing before the pulp begins pushing through the mesh along with the seeds. If seeds appear in the jug, place a piece of dampened muslin inside the strainer and pour the liquid through it a second time. As an illustrative example, a second pass through muslin can noticeably reduce visible seed debris, though results vary with mesh size.
Label and Store the Finished Syrup
Pour the strained syrup into a clean glass jar with a tight-fitting lid. Write the contents and the preparation date on a label and attach it to the jar before refrigerating. Store the syrup at 4 degrees Celsius or below and use it promptly over the next few days. Do not treat this as a shelf-stable product; it contains fresh fruit and no preservatives. If you notice any off smell, cloudiness beyond the natural kiwi colour, or mould, discard the batch. Use 15 to 20 millilitres per 250 millilitre cold drink as a starting point.
A little more
to know.
Can I use a blender instead of simmering to make the syrup faster?
Blending raw kiwi with sugar and water produces a puree rather than a clear syrup, and the seeds are harder to strain from a cold blended mixture than from a briefly simmered one. The simmering step also helps the sugar fully dissolve and integrate with the fruit flavour.
Why does my kiwi syrup turn brownish rather than staying green?
Kiwi oxidises quickly once cut and heated. Simmering beyond 8 minutes accelerates colour loss. The syrup will not stay vivid green after cooking; a pale yellow-green is normal. Storing it in an opaque or dark jar and keeping it cold slows further colour change during the storage period.
Original editorial guidance and recipe formulations, not independently kitchen-tested. Times are estimates and depend on equipment and product directions. Cooked bases need additional cooling and refrigeration before cold serving. Images are AI-generated illustrations; appearance and yield may vary. Check actual ingredient labels, allergens, and any certification you require. We do not certify products. Read our approach.
Save to Pinterest ↗ANOTHER IDEA FOR THE COUNTER