Set Up a Tray for Cold Brew Straining So the Filter Does Not Slip Into the Jar
Straining cold brew concentrate by hand is straightforward until the filter sags, tilts, or drops into the jar mid-pour. The fix is a stable three-point arrangement using items already in your kitchen. This guide walks through choosing a tray, anchoring the jar, positioning the filter collar, and controlling the pour rate so the filter stays above the liquid surface throughout the entire straining session.
Read the note ↓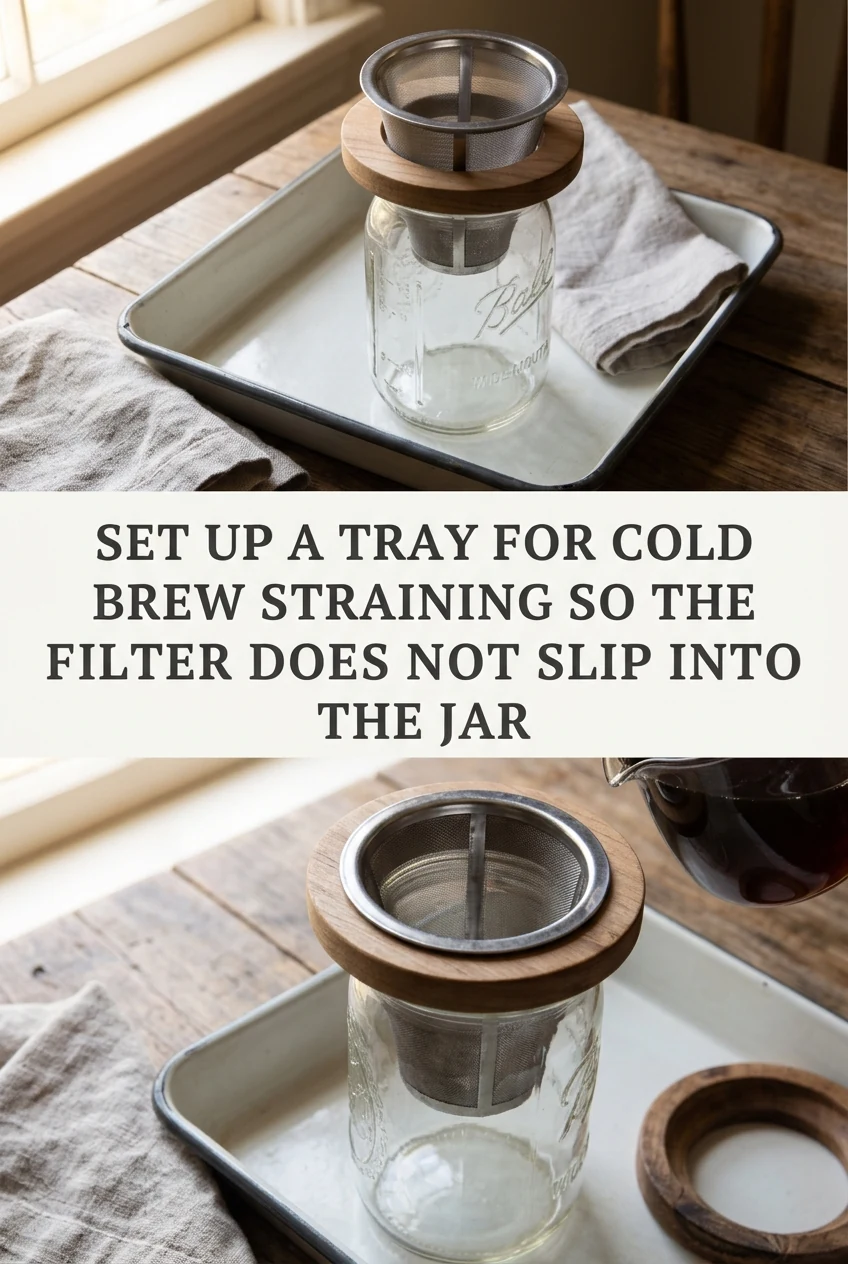
AI-generated editorial concept created for this article. The image is not a technical diagram or a tested result.
Choose a Tray with a Raised Lip
A rimmed baking tray or a shallow roasting pan works better than a flat cutting board because the lip catches any drips and keeps the jar from sliding. Place a folded damp cloth or a silicone trivet inside the tray first. Set the receiving jar on top of that cloth. The friction prevents the jar from shifting when you tip the brew pitcher, which is the most common moment a filter loses its position.
Select and Seat the Filter Collar
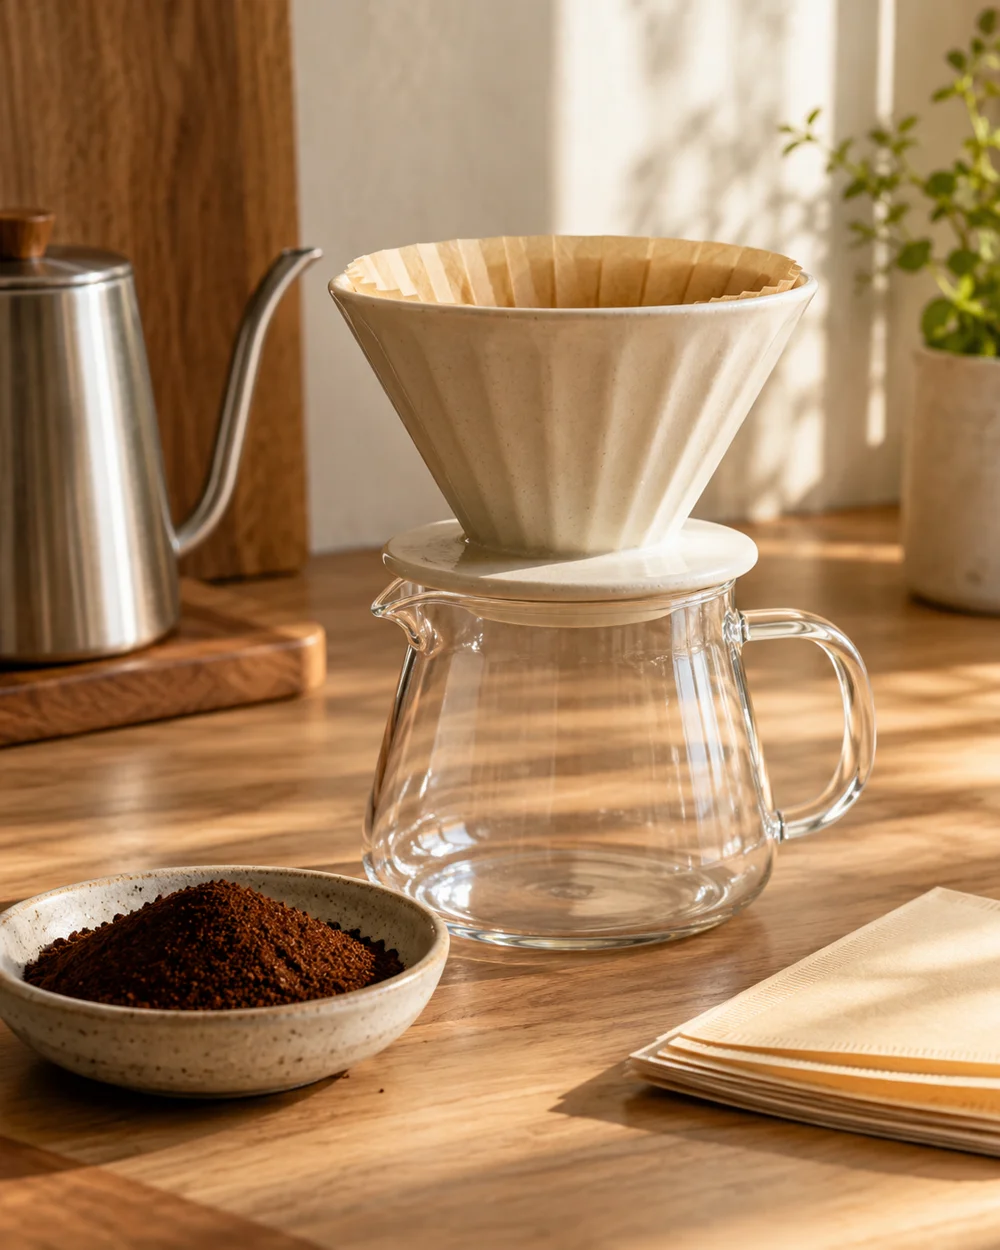
A wide-mouth funnel, a pour-over dripper, or a fine-mesh sieve placed across the jar mouth all act as a filter collar. The collar must rest on the jar rim without rocking. For a paper filter inside a pour-over dripper, fold the seam edge before placing it so the filter sits flush against the cone walls. For a cloth filter, drape it over the funnel and fold the excess outward so the cloth cannot bunch inward and block flow.
Control the Pour Rate to Prevent Filter Collapse
Cold brew concentrate carries fine coffee particles that quickly clog filter pores. Pouring too fast fills the filter faster than liquid can drain, adding heavy standing liquid that pulls the filter downward. Pour in short bursts of roughly three to four seconds, then pause until the liquid drops by half before adding more. This steady rhythm prevents overflow and keeps the filter walls supported against the collar.
Use a Second Jar When the First Fills
If your batch produces more concentrate than one jar holds, prepare a second jar and collar before you start rather than mid-pour. Switching jars while holding a wet filter is where most slips happen. As an illustrative example, a 1-litre batch strained through a standard pour-over dripper into a 500-millilitre jar will need one jar swap. Setting the second jar on the tray beforehand prevents rushed handling.
Refrigerate the Strained Concentrate Promptly
Once straining is complete, seal the jar and move it to the refrigerator within two hours of finishing. If your kitchen is above 32 degrees Celsius or 90 degrees Fahrenheit, reduce that window to one hour. Cold brew concentrate is a perishable product made with water and coffee grounds; prompt chilling at 4 degrees Celsius or 40 degrees Fahrenheit or below limits bacterial growth. Do not leave the jar on the tray at room temperature while you clean up.
A little more
to know.
Can I strain directly into a carafe with a narrow neck?
A narrow neck makes it harder to seat a standard cone dripper securely. Use a wide-mouth jar for straining, then transfer the finished concentrate into the narrow carafe for storage. This keeps the filter stable and reduces spill risk.
What if the paper filter tears partway through straining?
Stop pouring immediately and lift the dripper away from the jar. Because grounds have already leaked through the tear into the liquid below, set aside the contaminated jar. Set up a fresh filter in your collar over a clean jar, pour the cloudy liquid from the first jar through the new filter to catch the escaped grounds, and then continue straining the rest of your batch.
Original editorial guidance and recipe formulations, not independently kitchen-tested. Times are estimates and depend on equipment and product directions. Cooked bases need additional cooling and refrigeration before cold serving. Images are AI-generated illustrations; appearance and yield may vary. Check actual ingredient labels, allergens, and any certification you require. We do not certify products. Read our approach.
Save to Pinterest ↗ANOTHER IDEA FOR THE COUNTER