Set Up a Small Mise en Place Tray Before Brewing Manual Pour-Over Coffee
Reaching for a missing filter or searching for the scale while hot water sits in the kettle interrupts the pour timing that manual brewing depends on. Arranging every tool and pre-measured ingredient on a single tray before the kettle comes to temperature removes those mid-brew scrambles entirely. The result is a more controlled pour sequence and consistent attention on the water flow rather than the surrounding counter.
Read the note ↓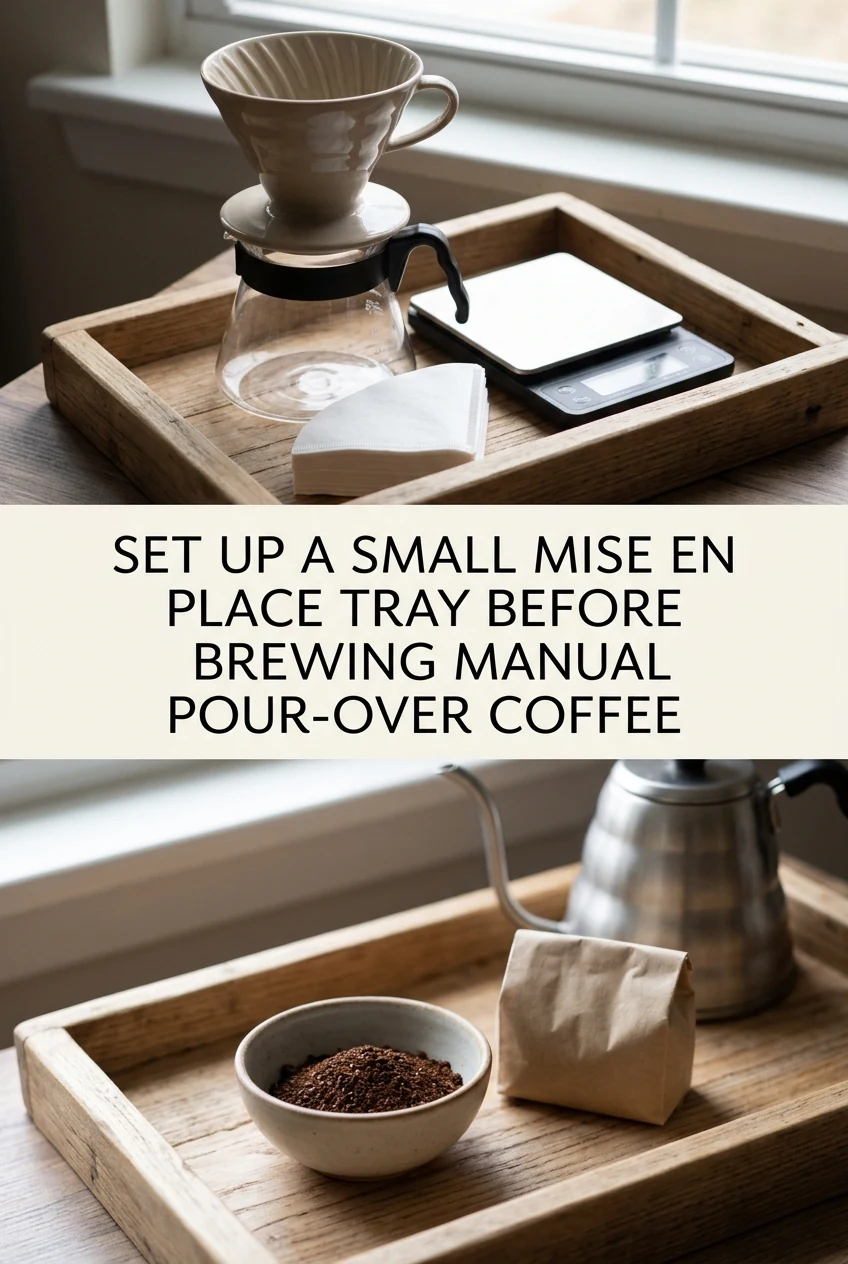
AI-generated editorial concept created for this article. The image is not a technical diagram or a tested result.
Choose a Tray That Fits Your Counter Without Crowding
A tray roughly 30 by 40 cm gives enough surface area for a dripper, a server, a scale, a timer, a filter, and a small container of ground coffee without items overlapping. Trays with low raised edges keep small items from sliding off but do not obstruct reaching across. A simple kitchen baking tray works as well as a dedicated serving tray for this purpose. The goal is one contained zone that holds everything needed from start to finish.
Arrange Items in the Order You Will Reach for Them
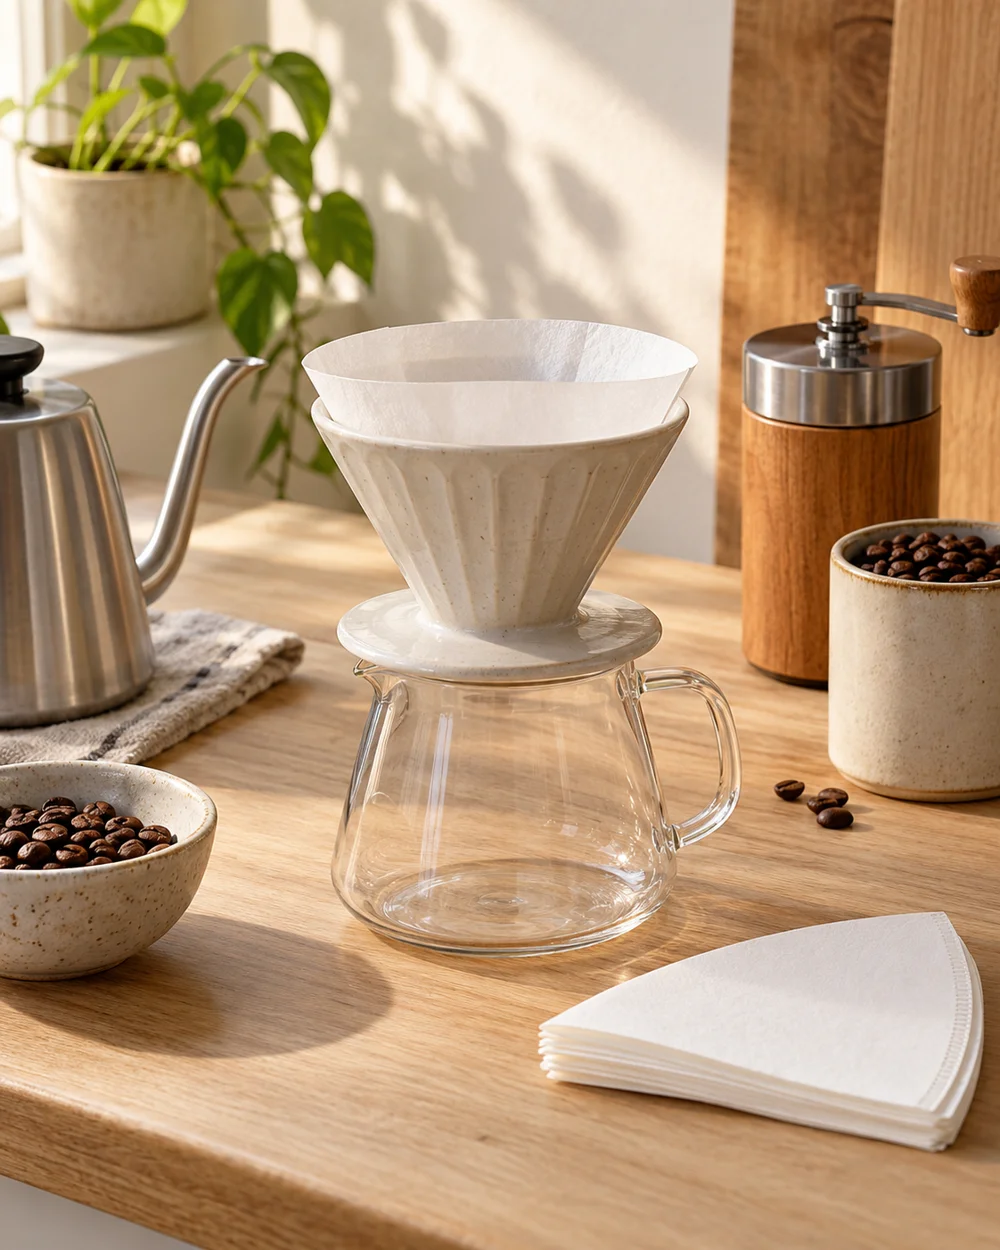
Place the filter and dripper at the front of the tray since they are used first. Position the scale directly behind them with the server already sitting on it so the tare is ready before water is added. Keep the ground coffee in its small container to one side, measured and ready to pour into the rinsed filter. Placing items in use-sequence means your hand moves forward to back across the tray rather than searching left and right.
Pre-Measure Ground Coffee Into a Small Container
Grinding and weighing coffee before the kettle heats means you are not rushing the grind while water approaches temperature. Weigh the ground coffee into a small bowl or cup and set it on the tray. The specific dose depends on your dripper size, your preferred strength, and your grinder, so use the amount that works for your setup rather than a prescribed ratio. Having it pre-measured simply removes one variable from the active brew window.
Include the Kettle Position in Your Setup Plan
The kettle does not sit on the tray, but its position relative to the tray matters. Place the kettle close enough that you can lift and pour without stretching or repositioning your body mid-pour. If you use a gooseneck kettle with a built-in thermometer or temperature hold function, confirm it is set before you begin arranging the tray so the water is ready when you are. A kettle placed awkwardly to one side introduces unnecessary movement during the pour.
Reset the Tray Immediately After Each Brew
Leaving used filters, wet drippers, and empty containers on the tray after brewing means the next session starts with a cluttered surface. Rinsing the dripper and server, discarding the filter, and wiping the tray immediately after each use takes under two minutes and means the tray is ready to load again without a separate cleanup step before the next brew. This reset habit is what makes the mise en place approach practical over repeated use rather than just occasionally.
A little more
to know.
Is there any benefit to rinsing the paper filter before brewing, and does the tray setup change if I do?
Rinsing removes loose paper fiber and pre-warms the dripper. If you rinse, account for it in your tray setup by positioning a small discard bowl nearby for the rinse water so it does not go directly onto the scale or tray surface.
What if my counter space is too small for a full tray setup?
Use a smaller cutting board as a contained prep surface and limit items to only those touched during the active brew. Pre-stage the kettle and server on adjacent counter space and keep only the dripper, filter, scale, and coffee dose on the board itself.
Original editorial guidance and recipe formulations, not independently kitchen-tested. Times are estimates and depend on equipment and product directions. Cooked bases need additional cooling and refrigeration before cold serving. Images are AI-generated illustrations; appearance and yield may vary. Check actual ingredient labels, allergens, and any certification you require. We do not certify products. Read our approach.
Save to Pinterest ↗ANOTHER IDEA FOR THE COUNTER