Set Up a Dedicated Rest Spot for a Hot Kettle Between Pours
During a pour-over session, a gooseneck kettle moves on and off the counter several times as you pause between pours. Without a fixed landing spot, it ends up on bare countertop, a damp cloth, or a precarious edge. Each of those choices risks surface damage or a tipping hazard. Choosing one heatproof mat and returning the kettle to the exact same position every time is a small habit that protects your counter and keeps your workflow predictable.
Read the note ↓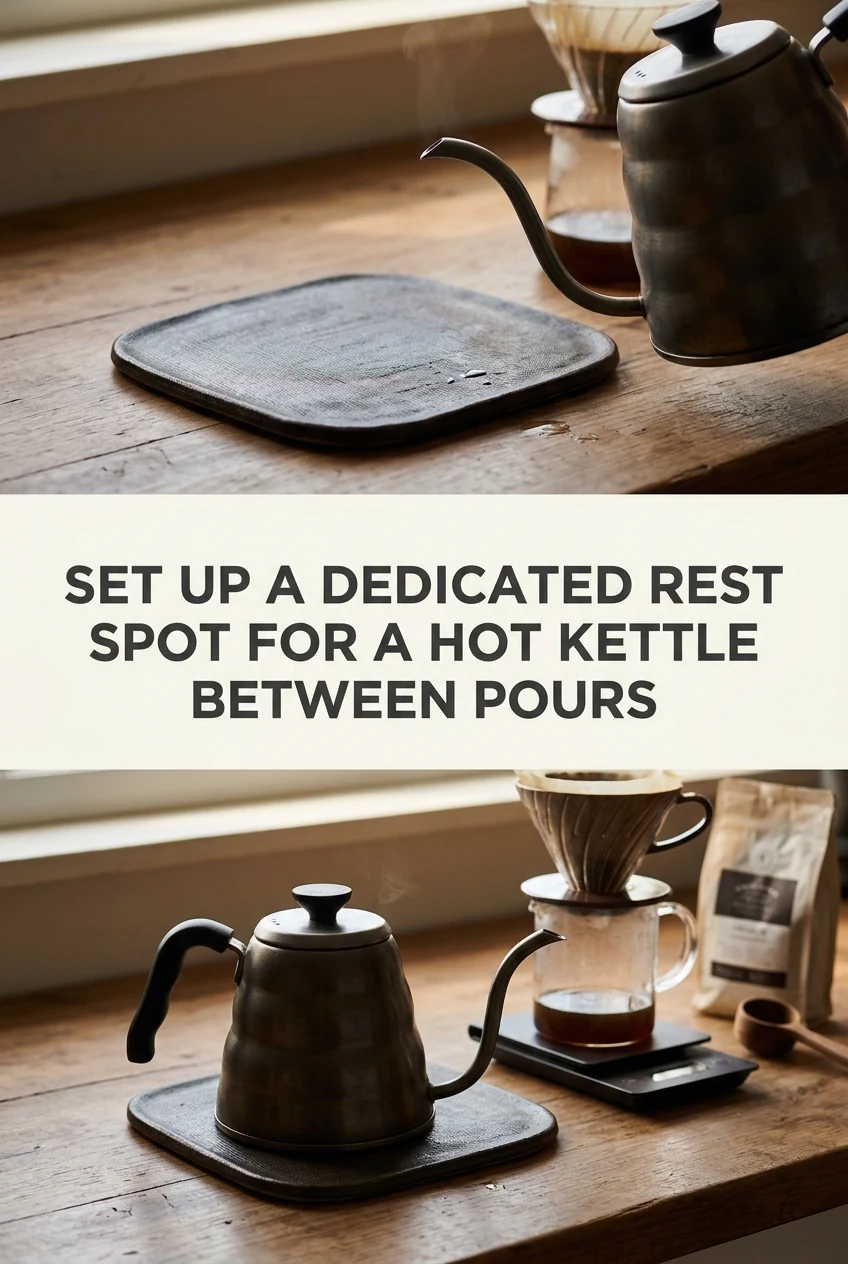
AI-generated editorial concept created for this article. The image is not a technical diagram or a tested result.
Identify the right type of heatproof mat for a kettle
A silicone trivet rated for high temperatures or a thick cork mat designed for cookware both work well. The mat needs to be large enough that the kettle base sits fully on it without any overhang. A gooseneck kettle with a 1 to 1.2 litre capacity typically has a base diameter of 12 to 15 cm, so a mat measuring at least 18 cm across gives comfortable clearance. Avoid thin decorative trivets not rated for sustained direct heat.
Choose a fixed location on your counter
Place the mat on the dominant side of your brewing station, directly aligned with your pouring hand, so you can set the kettle down without reaching across the dripper, scale, or counter. The landing spot should sit well clear of counter edges by at least the width of the kettle base. Returning the kettle to the exact same position after every pour prevents fumbling mid-brew and avoids crossing a hot vessel over your other hand or the brewing setup.
Check that the mat stays flat and does not slide
A mat that curls at the edges or slides across a smooth counter creates a serious tipping hazard. Confirm the mat lays completely flat and grips the counter firmly before heating water. Choose silicone trivets with non-slip textured undersides or dense cork pads that naturally resist sliding on dry stone or laminate. Keep the counter beneath the mat clean and dry rather than using wet cloths underneath, which can slip, bunch, or trap damaging steam against the countertop.
Build the rest into your pour sequence
A typical pour-over sequence involves an initial bloom pour followed by two or three additional pours with 30 to 45 second intervals. Each time you stop pouring, return the kettle to the mat before you do anything else, including checking the server weight or adjusting the dripper. Making the mat the first destination after every pour, rather than an afterthought, is what turns it from a good idea into a reliable habit.
Maintain the mat so it stays effective
Wipe the mat after each session to remove coffee drips or water. A silicone mat can be washed with warm soapy water and dried before storage. Check it periodically for cracks, warping, or compression that reduces its insulating ability. A mat that has deformed under repeated heat may no longer protect the counter surface adequately and should be replaced. Follow the care instructions provided by the mat's manufacturer.
A little more
to know.
Can I use a folded kitchen towel instead of a trivet if I do not have one?
A thick, dry folded towel can provide short-term protection, but towels compress under heat and may scorch or transfer heat unevenly. A purpose-made trivet or silicone mat is more reliable and consistent for repeated use across a full session.
Does the mat placement matter if my kettle has an electric base that stays on the counter?
If you use an electric kettle, follow the manufacturer's manual and return the kettle directly to its powered base between pours. The electric base maintains your set water temperature throughout the brew and protects the electrical connector on the kettle base from moisture or counter debris. A separate heatproof rest mat is intended for stovetop kettles that have no dedicated countertop base.
Original editorial guidance and recipe formulations, not independently kitchen-tested. Times are estimates and depend on equipment and product directions. Cooked bases need additional cooling and refrigeration before cold serving. Images are AI-generated illustrations; appearance and yield may vary. Check actual ingredient labels, allergens, and any certification you require. We do not certify products. Read our approach.
Save to Pinterest ↗ANOTHER IDEA FOR THE COUNTER