Prevent Thermal Drift When Brewing Pour-Over in Cold Ceramic Drippers
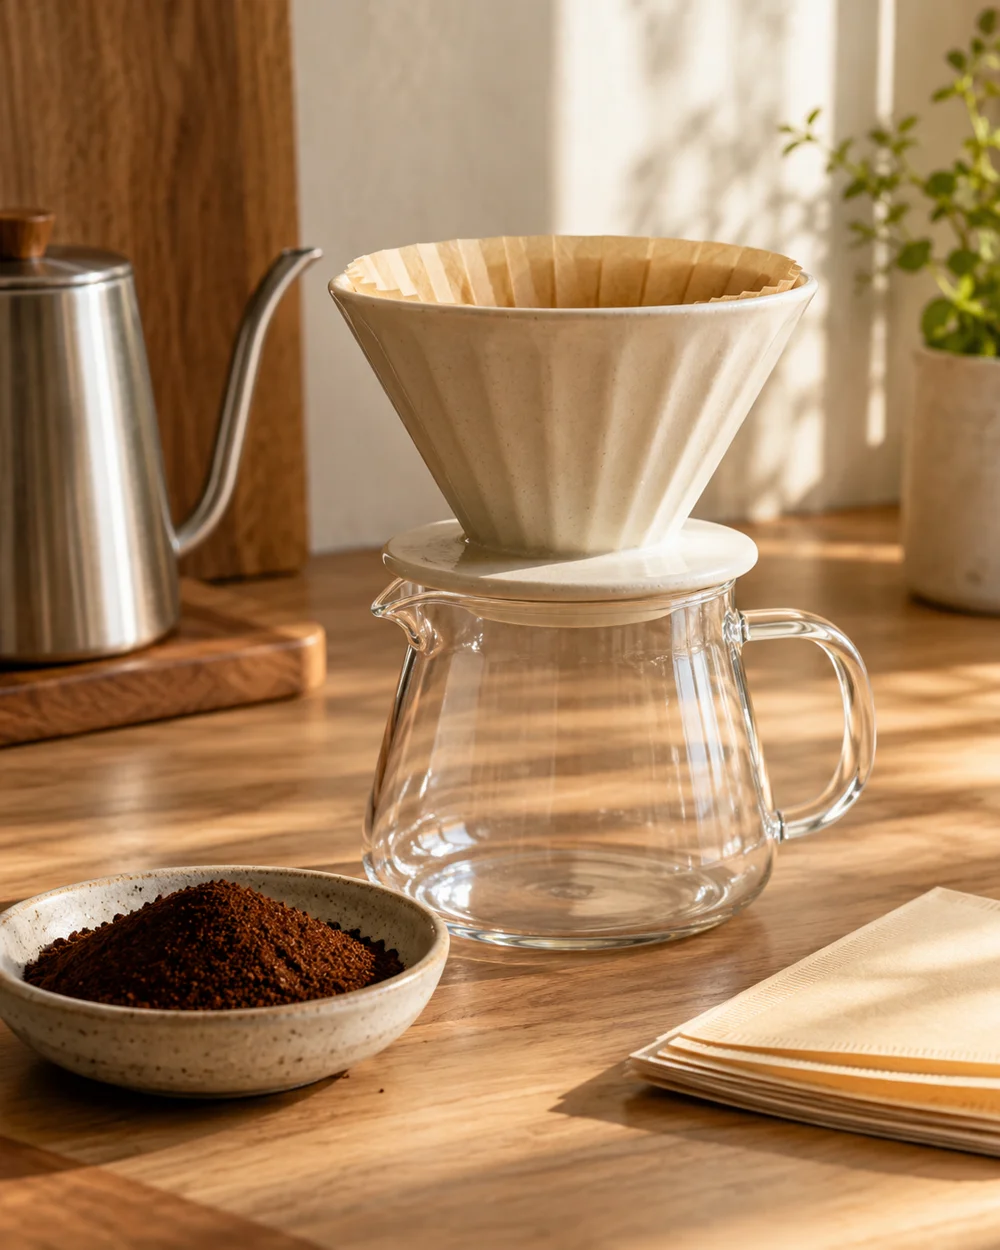
Ceramic pour-over drippers are dense and usually start at room temperature, so they can take some heat from the water during the first pours. Preheating the dripper and server before brewing can reduce that heat loss and make the starting conditions more consistent from cup to cup. It is a simple routine, not a cure for every brewing problem: grind size, dose, pour pattern, and water temperature all affect drawdown time and flavor too. This guide walks through a rinse that warms the dripper and server before the coffee goes in.
Read the note ↓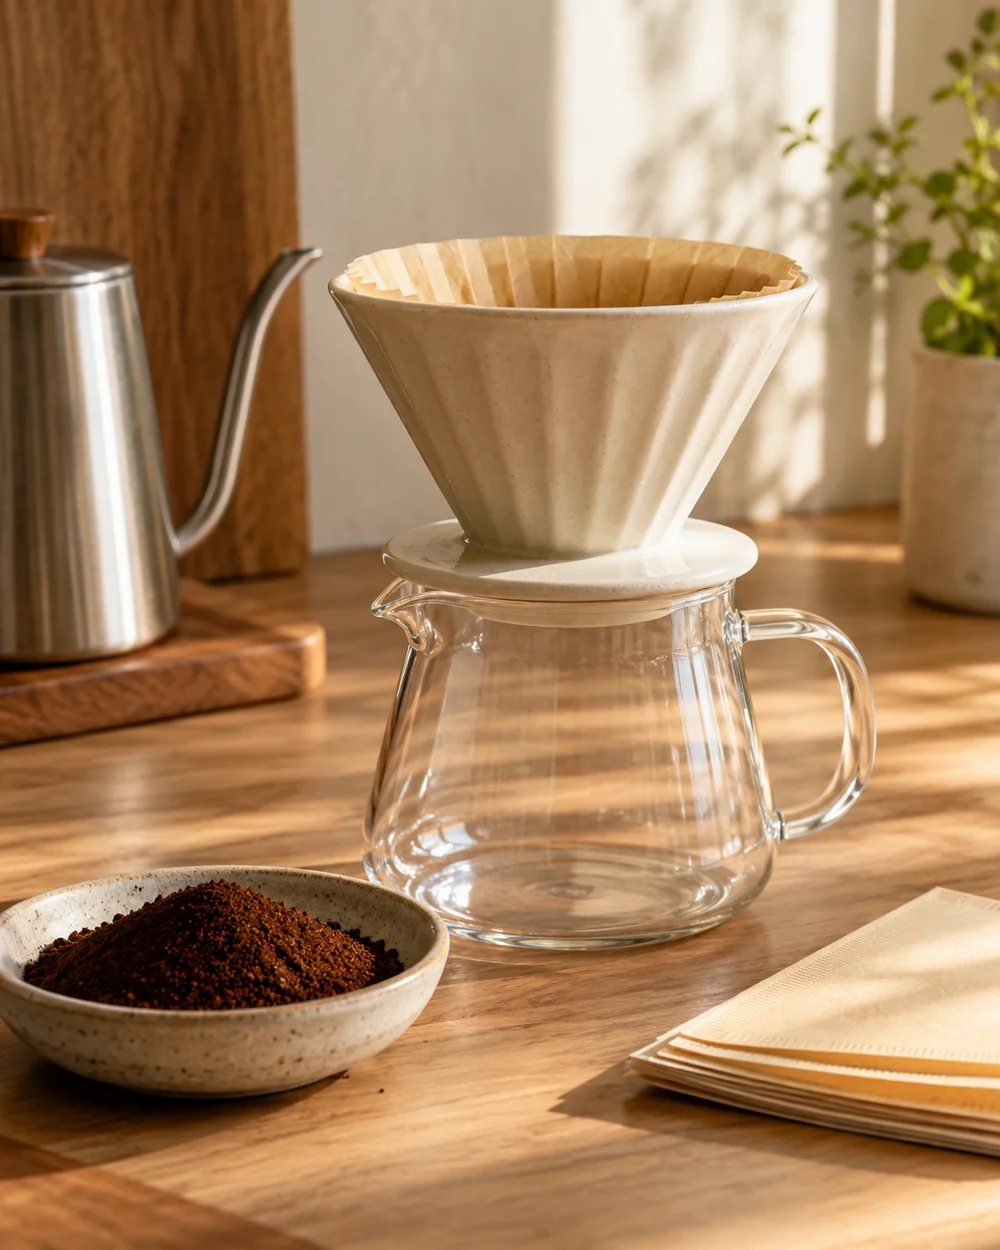
Representative category illustration reused from our editorial library; it does not depict this specific project or a tested result.
Understand Ceramic Heat Absorption
Ceramic is dense and often thicker than the walls of many plastic or thin metal drippers, so a cold one can draw some heat from the first water that touches it. How much depends on the dripper, the room, and your water temperature, so this guide gives no fixed figures. If you only wet a paper filter, the dripper walls may stay cool around the edges of the coffee bed, and the bloom may start cooler than you intended. A preheat is a low-effort way to reduce that effect. Your own taste and drawdown notes will tell you whether it matters for your setup.
Pre-Rinse the Vessel and Dripper Empty
Begin before the paper filter goes in. Set the empty dripper on your server, making sure the server is made for hot liquids and that the dripper sits securely. Heat fresh water in your kettle to the temperature you normally brew with. Pour enough to wet the inside walls, in slow circles around the bare ceramic. The exact volume is not critical; the aim is to wet and warm the walls without overfilling the server. If your server is glass, confirm it is heat-resistant and free of chips or cracks. Pouring directly onto the ceramic lets heat reach the dripper without paper in between.
Trap Heat and Warm the Decanter
Let the rinse water sit in the server briefly, then lift off the dripper with a dry cloth, set it on a heatproof surface, and swirl the water gently so the server walls warm too. Put the dripper back once you have emptied the server. The steam and warm runoff also help warm the lower part of the dripper and its exit hole. A warm server helps the finished coffee stay warmer in the cup, though it will not hold its temperature indefinitely.
Seat and Adhere the Paper Filter
Pour the rinse water out, return the dripper to the server, and fold the paper filter as the maker directs. Seat it in the warm dripper and rinse it with hot water, starting at the top edge and working around the paper. This helps the paper settle against the walls and rinses away some papery taste. Use enough water to wet the whole filter; the amount depends on the filter size. Discard this water too, and handle the hot server carefully.
Charge and Brew Without Delay
A warmed dripper starts losing heat again once you stop pouring, so avoid long gaps. Add the ground coffee to the damp filter, level the bed gently, tare the scale, and start your bloom soon after. Exact timing is not critical; the aim is simply not to let everything cool while you fiddle. If drawdown still seems too fast or too slow, check grind size, dose, and pouring technique before blaming temperature.
A little more
to know.
Does plastic require the same extensive preheating routine as ceramic?
Often less, but not always. Plastic drippers are usually thinner and lighter than ceramic, so they may take less heat from the water, though results vary by design. A quick rinse is still a reasonable habit with any material.
Can I preheat my ceramic dripper by resting it on my kettle?
It is best not to. Holding a dripper over a kettle spout or steam risks burns, and kettles are not designed for that use. Use the hot-water rinse described above instead, and handle hot ceramic with a dry cloth.
Original editorial guidance and recipe formulations, not independently kitchen-tested. Times are estimates and depend on equipment and product directions. Cooked bases need additional cooling and refrigeration before cold serving. Images are AI-generated illustrations; appearance and yield may vary. Check actual ingredient labels, allergens, and any certification you require. We do not certify products. Read our approach.
Save to Pinterest ↗ANOTHER IDEA FOR THE COUNTER