Prepare Crisp Toast Fingers for Dipping into a Cafe Dessert
Toast fingers are narrow, evenly cut strips of bread that have been toasted until firm and dry enough to hold their shape when pressed into a soft dessert without immediately softening. In a home cafe setting they work as an edible accompaniment alongside a chilled custard, a thick yogurt cream, or a spoonable coffee dessert rather than as a drink stirrer. This article describes one illustrative approach to cutting, seasoning, and toasting a standard loaf slice so the result is consistent enough to serve with confidence. It is a technique guide, not a laboratory-tested outcome, so small variables in your oven, bread brand, or slice moisture will affect the final texture.
Read the note ↓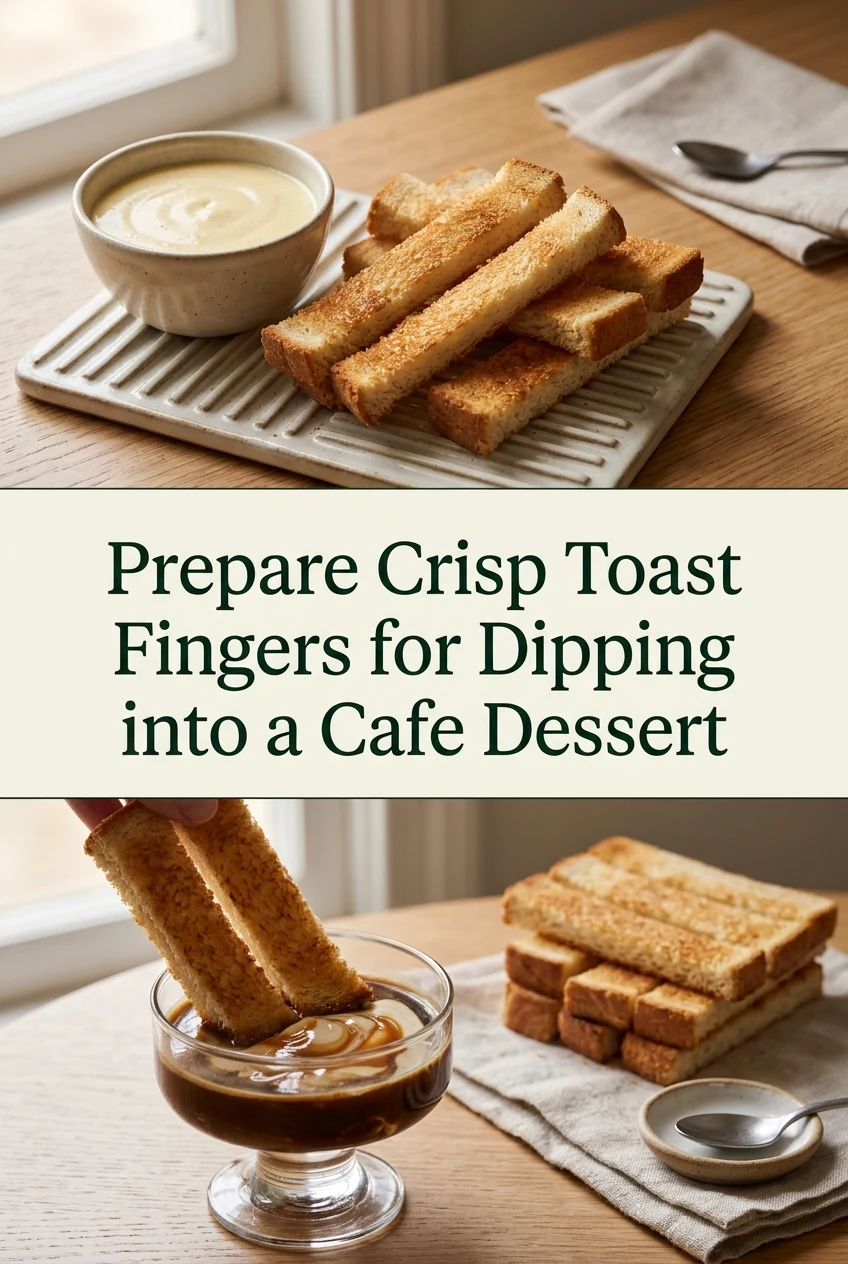
AI-generated editorial concept created for this article. The image is not a technical diagram or a tested result.
Choose and Slice the Bread to a Consistent Thickness
Start with a medium-density white sandwich loaf or a mild wholemeal loaf. Avoid very airy artisan breads because their open crumb collapses unevenly during toasting. Using a serrated bread knife and a flat cutting board, trim the crusts from one slice so you have a clean rectangle. The target thickness for the slice itself is roughly 1.2 to 1.5 centimetres before toasting. Thinner than that and the finger may snap before it reaches the dessert bowl; thicker and the centre can stay doughy while the outside colours. Once the crusts are removed, cut the rectangle into three equal fingers by making two parallel cuts along the longer dimension. For a standard 10 cm wide crustless slice this gives fingers approximately 3.3 cm wide each, which is a comfortable dipping width. Lay the fingers on a clean surface and check that they look uniform. Uneven fingers toast at different rates, so take a moment to re-cut any that are noticeably wider or narrower.
Apply a Light, Even Coating Before Toasting
A very thin brush of unsalted butter or a neutral oil such as sunflower oil helps the surface brown evenly and adds a mild richness that pairs well with coffee-flavoured desserts. Use a pastry brush and apply just enough to coat the flat faces lightly; pooling fat in one spot will cause uneven browning. For a lightly sweet version intended to accompany a vanilla custard, mix a small pinch of caster sugar with the butter before brushing. If you use a vanilla flavouring at this stage, confirm the label states it is alcohol-free before adding even a few drops to the butter mixture. Brush only the top and bottom flat faces, not the cut sides, so the fingers sit stably on the baking tray without sliding.
Toast in an Oven Following Your Appliance Instructions
Place the fingers in a single layer on a baking tray lined with baking paper, leaving a small gap between each one so air can circulate. Consult your own oven manual for the correct rack position and any fan settings, as home ovens vary considerably. As a starting reference for planning purposes only, many home ovens are set somewhere between 160 and 180 degrees Celsius for this kind of low-moisture toasting task, but you should adjust based on what your appliance and bread actually require. Check the fingers after about eight minutes by lifting one gently with a spatula. The underside should be pale gold rather than deep brown at that point. Flip each finger carefully and return the tray for a further five to eight minutes. The finished finger should feel firm and dry to the touch when you tap it lightly. Remove the tray and allow the fingers to cool on the tray for a few minutes before moving them, as they firm up further as they cool.
Pair the Fingers with a Chilled Cafe Dessert
A worked example: prepare a small pot of chilled coffee custard using a reliable published recipe that calls for egg yolks, whole milk, caster sugar, and a measured amount of strong brewed coffee. Once the custard is set and refrigerated according to that recipe's instructions, arrange two or three toast fingers upright against the rim of the serving cup or lay them flat on the saucer beside it. The firm, dry texture of the finger contrasts with the smooth, cold custard when you press it in for a scoop. The finger should hold its shape for the first several dips before the moisture from the custard begins to soften the tip. This pairing works equally well with a thick strained yogurt sweetened with honey and a small spoon of finely ground coffee stirred through the top layer.
Store Leftover Fingers Promptly and Correctly
If you toast more fingers than you need for one sitting, allow them to cool completely, then store them in an airtight container at room temperature away from moisture. Do not invent a specific number of days they will remain crisp, as this depends on ambient humidity, the bread used, and how well the container seals. Check them before serving again and discard any that feel soft or smell stale. Any dessert component that contains eggs, dairy, or other perishables must be refrigerated promptly after preparation and handled according to the recipe you are following. Do not leave custard or dairy-based accompaniments at room temperature for extended periods.
A little more
to know.
Can I use a pop-up toaster instead of an oven for this technique?
A pop-up toaster is designed for whole slices and the narrow slots may not accommodate fingers lying flat, and the heat is harder to control evenly across a small strip. An oven or a countertop toaster oven with a tray gives you more control over position and timing, which is why this guide focuses on that method. If you do use a different appliance, follow its own manufacturer instructions and watch the fingers closely because timing will differ from the oven reference points described here.
What bread works if I need a dairy-free version of the buttered coating?
Replace the unsalted butter with a light brushing of a neutral oil such as sunflower or a plain dairy-free spread that is suitable for baking according to its own label. Confirm that the bread itself contains no dairy if that is a requirement, as some enriched loaves include milk solids. The toasting method stays the same; just watch the colour carefully because some oils can cause the surface to brown a little faster than butter does.
Original editorial guidance and recipe formulations, not independently kitchen-tested. Times are estimates and depend on equipment and product directions. Cooked bases need additional cooling and refrigeration before cold serving. Images are AI-generated illustrations; appearance and yield may vary. Check actual ingredient labels, allergens, and any certification you require. We do not certify products. Read our approach.
Save to Pinterest ↗ANOTHER IDEA FOR THE COUNTER