Prepare a Small Pot of Stovetop Semolina Porridge for a Warm Café Plate
Fine semolina stirred into warm milk over a low flame produces a smooth, thick porridge for two servings when both the semolina and milk are measured by weight. The main practical challenge is preventing lumps and avoiding scorched milk, both of which follow from heat level and stirring method rather than from the recipe itself. This guide addresses the sequence of steps that determine texture and finish before the milk reaches a damaging temperature.
Read the note ↓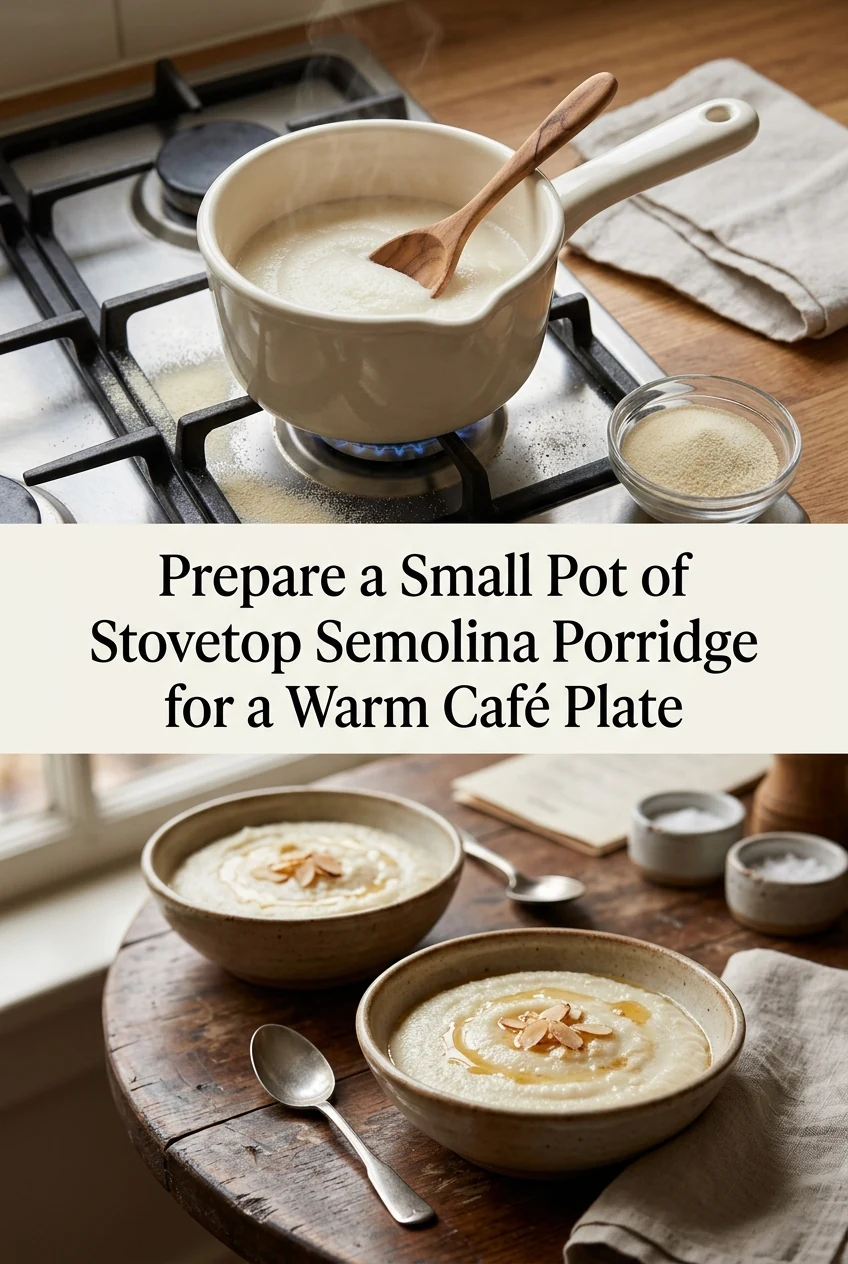
AI-generated editorial concept created for this article. The image is not a technical diagram or a tested result.
Measuring Semolina and Milk by Weight
Weigh 500 g of full-fat pasteurised milk directly into a small, heavy-based saucepan. Weigh 60 g of fine semolina into a separate small bowl. Using fine semolina rather than coarse is important here; coarse semolina absorbs liquid more slowly and often produces a grainy texture even with extended stirring. Do not substitute by volume, as semolina compresses differently depending on how it settles in a cup, making weight the only reliable way to hit a consistent porridge thickness across batches.
Warming the Milk Before Adding Semolina
Place the saucepan over low heat and warm the milk until it is steaming and small bubbles appear at the edges, which typically takes 4 to 5 minutes on a domestic hob at a low setting. Do not bring it to a full boil before adding the semolina. Adding semolina to cold milk and then raising the heat tends to produce uneven hydration, where some granules absorb liquid before others begin to swell, which is a common cause of lumps in the finished porridge.
Adding Semolina and Stirring Technique
Pour the weighed semolina into the warm milk in a slow, steady stream with one hand while stirring continuously with a whisk in the other. Stirring must begin before the semolina touches the milk surface and continue without stopping for the first 90 seconds. This initial period is when granules are most likely to cluster. After 90 seconds, switch to a wooden spoon or heatproof spatula and continue stirring in wide strokes that reach the base and sides of the pan every few seconds.
Cooking to the Right Consistency
Keep the heat on low throughout. The porridge thickens noticeably between 4 and 7 minutes of stirring after the semolina is added. It is ready when it pulls away slightly from the sides of the pan as you stir and falls from the spoon in slow, heavy drops rather than running off freely. Remove the pan from the heat at this point. Semolina continues to thicken as it cools, so pulling it from the heat while it still looks slightly loose produces a better serving texture than waiting until it looks fully set in the pan.
Finishing and Serving
Divide the porridge between two warmed bowls immediately after removing from the heat. A warmed bowl slows surface skin formation, which happens quickly once the porridge is exposed to air. Add a small amount of honey or a pinch of ground cardamom at the table rather than stirring flavourings into the pot, which keeps the base neutral and lets each person adjust to taste. Serve within a few minutes of plating; refrigerate any uneaten portion promptly at 4 degrees Celsius or below and reheat gently with a splash of milk added to restore consistency.
A little more
to know.
Can I use reduced-fat milk instead of full-fat?
Reduced-fat milk produces a thinner porridge at the same semolina weight because it contains less fat to contribute body. You can compensate slightly by reducing the milk to 470 g while keeping the semolina at 60 g, though the result will still be less rich than the full-fat version.
What causes a skin to form on the surface even when served immediately?
Milk proteins and fat concentrate at the surface as steam escapes, forming a skin within minutes of air exposure. Placing a piece of baking paper directly on the surface while the porridge rests briefly in the pan before serving delays this without affecting flavour or texture.
Original editorial guidance and recipe formulations, not independently kitchen-tested. Times are estimates and depend on equipment and product directions. Cooked bases need additional cooling and refrigeration before cold serving. Images are AI-generated illustrations; appearance and yield may vary. Check actual ingredient labels, allergens, and any certification you require. We do not certify products. Read our approach.
Save to Pinterest ↗ANOTHER IDEA FOR THE COUNTER