Prepare a Small Cocoa and Espresso Drink by Mixing the Cocoa Base Before Pulling the Shot
Cocoa powder does not easily hydrate on contact with cold milk or a direct espresso shot. Added dry to a cup, it floats, clumps, and leaves gritty pockets that no amount of stirring fully corrects. The practical fix is to mix the cocoa powder into a small quantity of hot water before the espresso is pulled, creating a smooth paste that integrates cleanly with the shot and any milk added afterward. This guide covers the base ratios, the mixing step, and the order of assembly for a single small serving.
Read the note ↓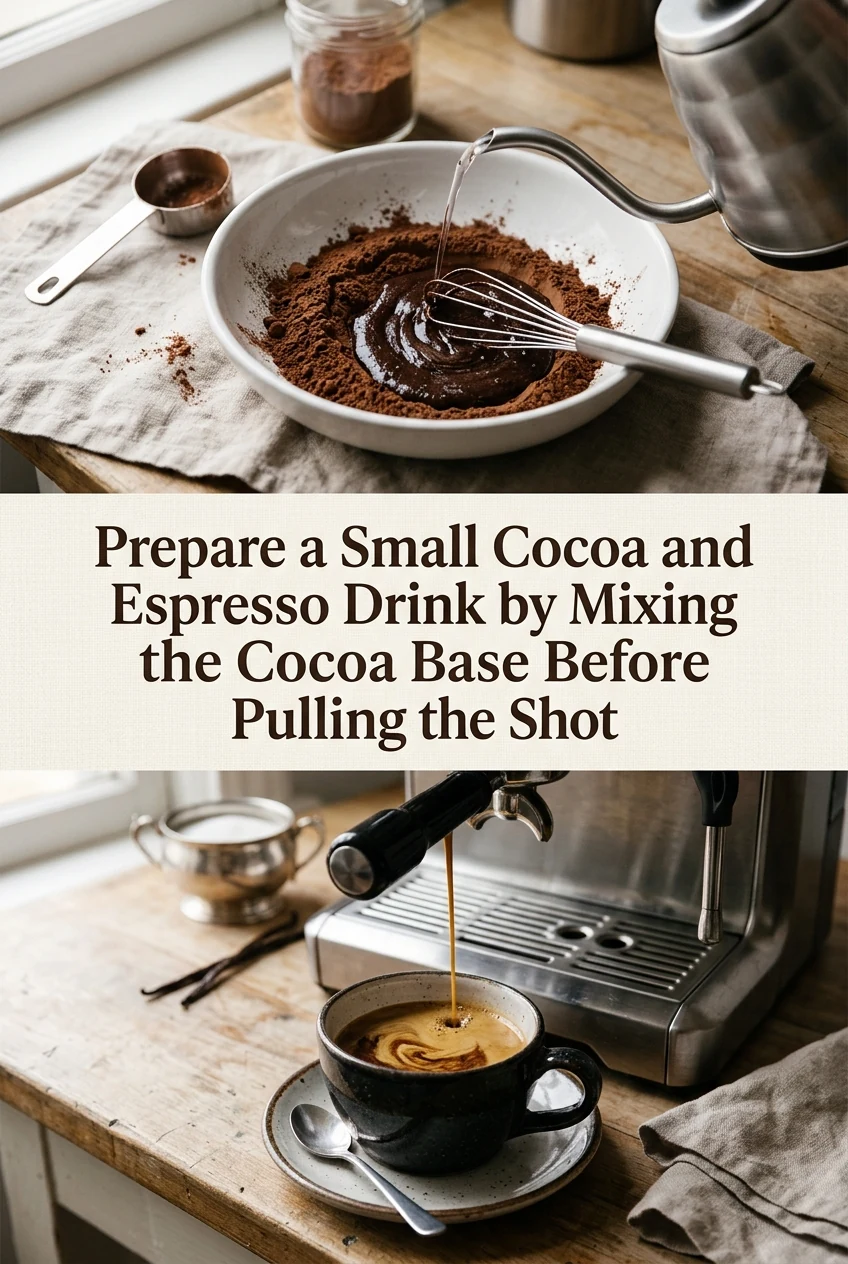
AI-generated editorial concept created for this article. The image is not a technical diagram or a tested result.
Measure the Cocoa Powder Into the Cup First
Add one to two teaspoons of unsweetened cocoa powder to the serving cup before any liquid enters it. One teaspoon produces a mild cocoa background; two teaspoons gives a more pronounced chocolate flavour in a small drink of roughly 180 to 240 millilitres total volume. If you are also adding a sweetener such as sugar or a prepared syrup, add it to the dry cocoa at this stage so both dissolve together in the next step rather than separately.
Add a Small Amount of Hot Water and Stir to a Paste
Pour approximately 30 millilitres of hot water directly onto the cocoa powder in the cup. Stir immediately and continuously with a small spoon for about 20 to 30 seconds. The mixture should become a smooth, dark paste or thin liquid with no visible dry powder. If dry pockets remain at the edges of the cup, scrape them into the centre and continue stirring. This paste stage is the critical step; a clump that survives here will survive the rest of assembly.
Pull the Espresso Shot Directly Into the Cocoa Base
Once the cocoa base is smooth, pull the espresso shot so it falls directly into the cup on top of the base. The heat and falling stream of the freshly extracted espresso help integrate the two liquids immediately. Stir briefly after the shot finishes to combine the cocoa base and espresso into a uniform mixture before adding milk. The brief stir at this stage takes only a few seconds and prevents the cocoa from settling to the bottom as milk is added.
Add Steamed or Warmed Milk to Complete the Drink
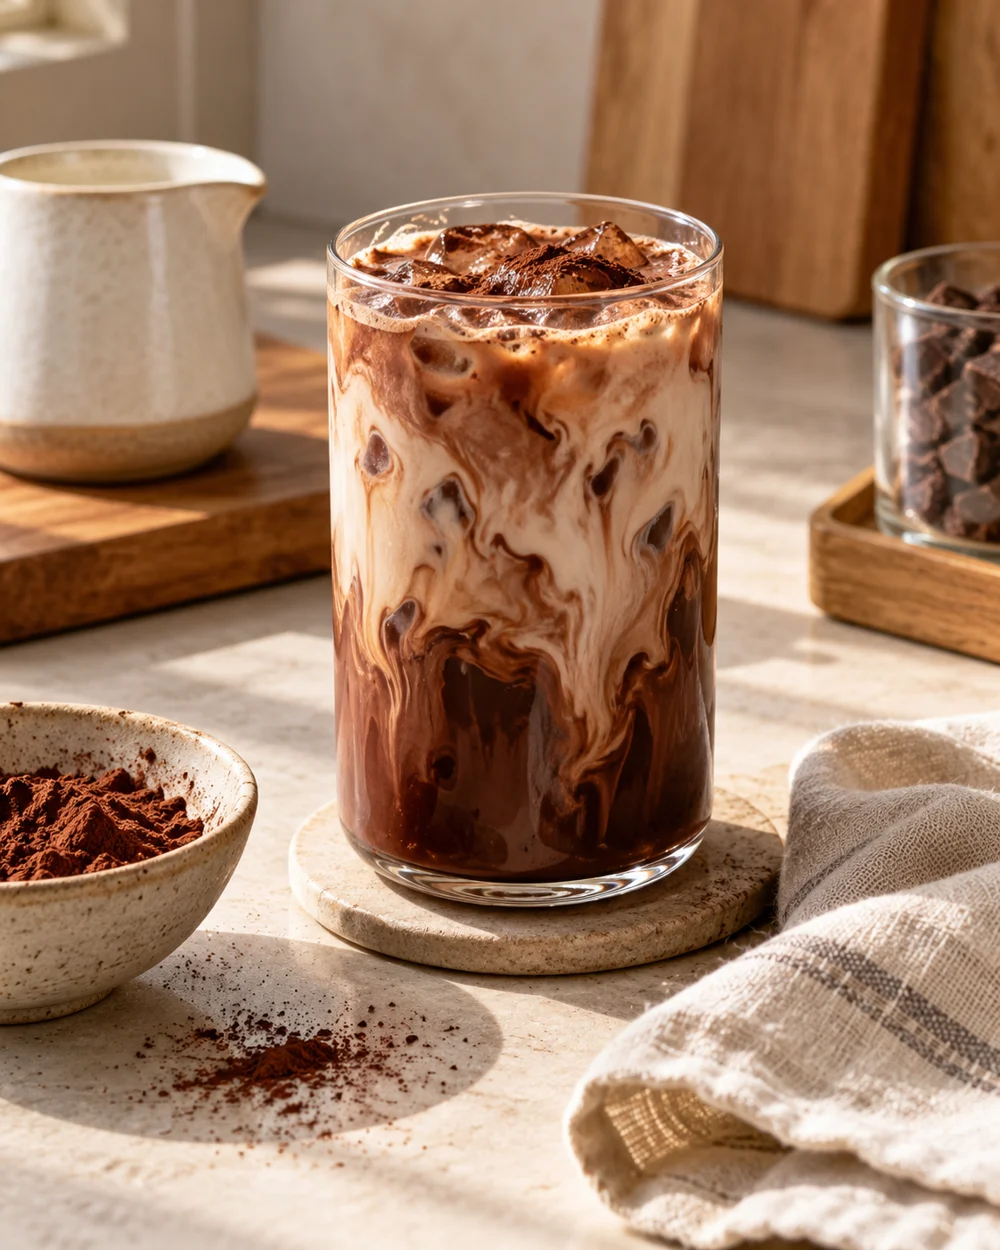
Pour steamed or warmed pasteurised milk into the cup over the combined cocoa and espresso base. For a drink in the 180 to 240 millilitre range, roughly 90 to 120 millilitres of milk fills the cup while leaving the cocoa and espresso flavour present rather than diluted. If you are serving the drink cold, use cold pasteurised milk and pour over ice after the cocoa base and espresso have been combined and briefly cooled, rather than pouring hot espresso directly over ice with unmixed cocoa.
Adjust the Cocoa Quantity on the Next Batch, Not Mid-Pour
Taste the finished drink and note whether the cocoa flavour reads as too faint or too strong relative to the espresso. Make the adjustment by changing the cocoa quantity at the start of the next preparation rather than adding dry powder to a finished drink, which reintroduces the clumping problem. Keep a brief note of the quantity used each time until you reach the balance that works consistently for your espresso output and cup size.
A little more
to know.
Can Dutch-process cocoa be used the same way as natural cocoa in this method?
Dutch-process cocoa mixes into the hot water paste using the same technique. The flavour is typically less sharp than natural cocoa, so you may find two teaspoons produces a milder result than expected. Adjust quantity based on taste across a few batches.
What happens if the hot water used for the paste is too cool?
Cocoa powder does not dissolve in water; it forms a suspension, and hot water helps melt the cocoa butter fats and wet the dry particles. If the water is cool or lukewarm, the cocoa fats stay solid and surface tension causes the powder to clump and float, resulting in a gritty texture in the finished drink. Use steaming hot water and stir immediately on contact to produce a smooth paste.
Original editorial guidance and recipe formulations, not independently kitchen-tested. Times are estimates and depend on equipment and product directions. Cooked bases need additional cooling and refrigeration before cold serving. Images are AI-generated illustrations; appearance and yield may vary. Check actual ingredient labels, allergens, and any certification you require. We do not certify products. Read our approach.
Save to Pinterest ↗ANOTHER IDEA FOR THE COUNTER