Prepare a Small Batch of Walnut and Honey Paste for Warm Milk Drinks
A walnut and honey paste stirred into warm milk creates a rich, lightly sweet drink, but the paste must be smooth enough to dissolve without leaving oily or grainy patches. The challenge is that ground walnuts release oil quickly and can seize into a stiff mass if water is added too fast. Adding warm water in small increments while blending keeps the emulsion stable and gives you a paste that disperses evenly into milk.
Read the note ↓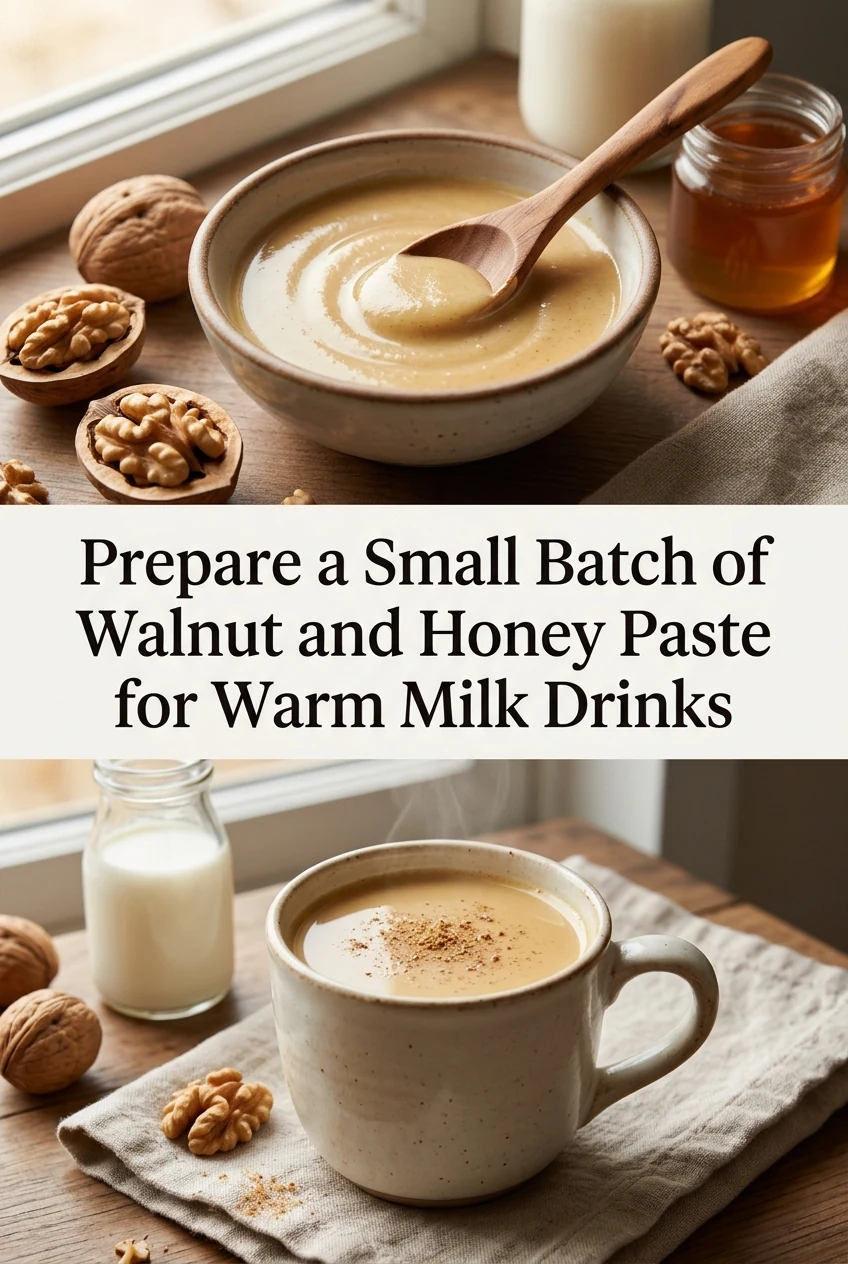
AI-generated editorial concept created for this article. The image is not a technical diagram or a tested result.
Toast the Walnuts Before Grinding
Spread 80 g of shelled walnut halves on a dry baking tray and toast in an oven set to 160 C for eight to ten minutes, checking at eight minutes. The nuts should smell nutty and turn a shade darker but must not scorch, as bitter burnt walnut will carry through the paste into every drink. Let them cool completely on the tray before grinding; warm nuts release oil too fast in a blender and the paste can turn greasy rather than smooth.
Grind the Cooled Walnuts to a Fine Meal First
Pulse the cooled walnuts in a small food processor or blender until they reach a coarse meal, about 15 to 20 short pulses. Stop and scrape down the sides. Continue processing until the texture resembles damp sand, roughly 30 more seconds of continuous running. Do not process so long that the nuts release enough oil to become a loose nut butter at this stage; you want a dry-ish meal that will absorb the honey and water evenly in the next step.
Add Honey and Begin Incorporating Warm Water Gradually
Add 40 g of runny honey to the walnut meal and process briefly to combine. Then, with the blender running, add warm water at roughly 60 C in three separate additions of 15 ml each, pausing after each addition to let the mixture incorporate fully before adding more. The total water addition is 45 ml for this batch size. Adding all the water at once can cause the paste to split into an oily layer and a watery layer that will not recombine easily.
Check Consistency and Adjust
The finished paste should hold its shape on a spoon but slide off cleanly when tipped. If it feels too stiff to stir into milk easily, add one further 10 ml of warm water and blend again. If it looks oily on the surface, the nuts likely released too much fat; continue blending for another 20 seconds, which often re-emulsifies the mixture. This batch of roughly 165 g of paste is an illustrative yield; actual weight varies with walnut moisture content.
Store the Paste and Use It in Warm Milk
Transfer the paste to a small clean jar, press a piece of cling film directly onto the surface to limit oxidation, seal the jar, and refrigerate at 4 C or below. Use within three days. To serve, stir one heaped teaspoon, approximately 15 g, into 200 ml of warm milk and whisk until fully dissolved. Taste and add honey directly to the cup if more sweetness is needed. Do not boil the milk after adding the paste, as high heat can cause the mixture to separate.
A little more
to know.
Can I use a mortar and pestle instead of a blender?
Yes, though it takes considerably more effort. Grind the toasted walnuts in small batches to a fine meal first, then work in the honey and water gradually. The result may be slightly coarser but will still dissolve into warm milk with thorough stirring.
Does the type of honey affect how the paste mixes into milk?
Runny, low-viscosity honey blends into the walnut meal more evenly than thick set honey. If you only have set honey, warm it gently in a small bowl set over hot water until it loosens before adding it to the blended walnuts.
Original editorial guidance and recipe formulations, not independently kitchen-tested. Times are estimates and depend on equipment and product directions. Cooked bases need additional cooling and refrigeration before cold serving. Images are AI-generated illustrations; appearance and yield may vary. Check actual ingredient labels, allergens, and any certification you require. We do not certify products. Read our approach.
Save to Pinterest ↗ANOTHER IDEA FOR THE COUNTER