Prepare a Small Batch of Twice-Baked Plain Biscotti
Biscotti earn their characteristic dryness through two separate oven sessions rather than one. The first bake sets a loaf-shaped log, slicing exposes the interior crumb, and the second bake drives out remaining moisture from both cut faces. This article outlines one illustrative home-cafe workflow for a small plain batch — roughly twelve to sixteen slices — using everyday pantry ingredients. Every temperature and time range here is a starting reference point, not a laboratory-tested guarantee; your oven, pan weight, and slice thickness will all influence the actual outcome, so treat each session as an opportunity to observe and adjust.
Read the note ↓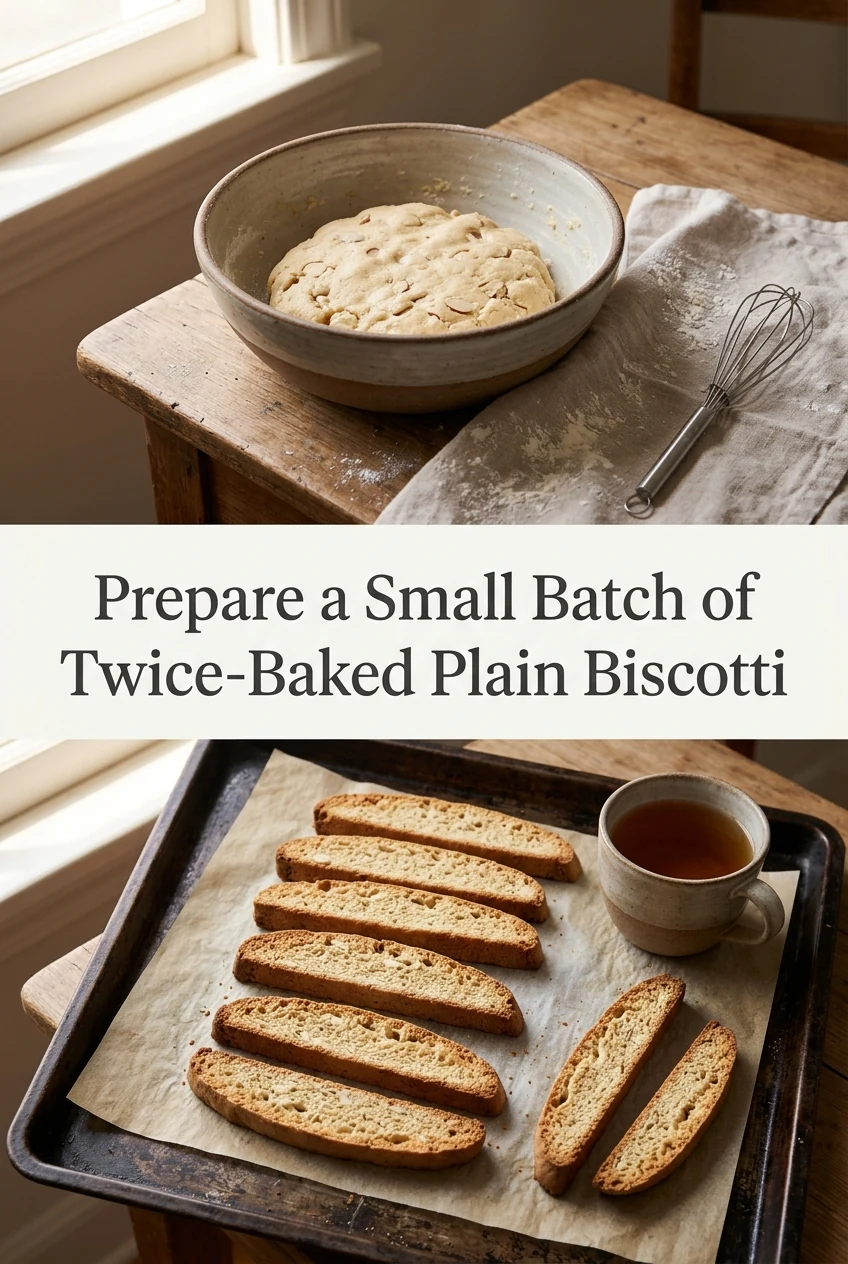
AI-generated editorial concept created for this article. The image is not a technical diagram or a tested result.
Gather Ingredients for a Small Plain Batch
For one log yielding approximately twelve to sixteen slices, assemble the following: 200 g plain all-purpose flour, 120 g white granulated sugar, 1.5 teaspoons baking powder, a small pinch of fine salt, 2 large eggs at room temperature, 3 tablespoons neutral oil such as sunflower or light olive oil, and 1 teaspoon alcohol-free vanilla flavoring — check the product label explicitly to confirm no alcohol is listed in the ingredients. No nuts, dried fruit, or chocolate are added in this plain version, which keeps the focus on the twice-baked technique itself. Confirm that all packaged items carry halal certification where relevant to your sourcing standards. Measure everything before mixing so the workflow stays uninterrupted.
Mix and Shape the Log
Whisk the flour, sugar, baking powder, and salt together in a medium bowl until evenly combined. In a separate smaller bowl, beat the two eggs lightly, then stir in the oil and alcohol-free vanilla flavoring. Pour the wet mixture into the dry ingredients and stir with a spatula or wooden spoon until a cohesive, slightly sticky dough forms. If the dough feels unworkably wet after a minute of mixing, add flour one teaspoon at a time rather than a large addition. Turn the dough onto a lightly floured surface and shape it by hand into a flat log roughly 25 cm long, 8 cm wide, and about 2 cm tall. Transfer the log to a baking sheet lined with parchment paper, smoothing any cracks along the top with damp fingertips.
First Bake: Setting the Log
Place the shaped log in an oven preheated to around 170 to 175 degrees Celsius, using your oven's conventional bake setting unless your appliance manual recommends fan-assisted for similar baked goods. Bake for approximately 25 to 30 minutes, watching for the log to turn pale golden and feel firm when lightly pressed in the center. The interior will still be soft at this stage — that is expected. Remove the baking sheet and allow the log to cool on it for at least 20 minutes. Cutting too soon causes crumbling because the structure has not stabilized. This resting window is part of the workflow, not an optional step.
Slice and Arrange for the Second Bake
Once the log has rested and is cool enough to handle comfortably, use a sharp serrated bread knife and cut it into slices roughly 1 to 1.5 cm thick using a gentle sawing motion rather than pressing straight down. A 25 cm log cut at 1.5 cm intervals yields approximately sixteen slices, though end pieces may be slightly smaller. Lay each slice cut-side down on the parchment-lined baking sheet, spacing them a centimeter apart so air can circulate around them. Return the sheet to the oven, still at the same temperature range, and bake for a further 10 to 15 minutes. Flip each slice carefully using a thin spatula, then bake for another 10 to 15 minutes on the second cut face. The goal is slices that feel dry and firm throughout, not soft in the middle.
Cool, Serve, and Store Appropriately
Transfer the finished slices to a wire cooling rack and allow them to cool completely at room temperature before tasting or storing. They will continue to firm up as they cool, so avoid judging the texture while still warm. Once fully cooled, plain biscotti can be kept in an airtight container at room temperature for several days, though no specific shelf life is stated here because ambient humidity, container seal quality, and kitchen conditions all vary. If any slices feel softer than expected after cooling, a short additional time in the oven at a low setting may help — follow your own observation rather than a fixed rule. Because this recipe contains eggs, any unbaked dough or partially baked log should be refrigerated promptly if not proceeding immediately to the next step.
A little more
to know.
Can the log be shaped and refrigerated overnight before the first bake?
Refrigerating the shaped raw log overnight is a reasonable approach if you want to split the work across two days. Cover it well with plastic wrap directly against the surface to limit drying, and allow it to sit at room temperature for around 15 to 20 minutes before placing it in the preheated oven. Because the dough contains eggs, it must stay refrigerated and should not be left at room temperature for extended periods before baking. This is an illustrative suggestion rather than a tested protocol, so observe the dough's condition before proceeding.
Why does this recipe use oil instead of butter?
Oil is used here primarily because it simplifies the mixing process — there is no creaming step and no need to bring butter to a specific temperature. It also keeps the ingredient list short for a plain demonstration batch. Butter can be substituted if preferred; use the same weight in unsalted butter, melted and cooled slightly before combining with the eggs. The texture of the finished slices may differ slightly because butter and oil interact with flour and heat differently, so the first batch with any substitution is best treated as an exploratory run rather than an expected match to the oil-based version.
Original editorial guidance and recipe formulations, not independently kitchen-tested. Times are estimates and depend on equipment and product directions. Cooked bases need additional cooling and refrigeration before cold serving. Images are AI-generated illustrations; appearance and yield may vary. Check actual ingredient labels, allergens, and any certification you require. We do not certify products. Read our approach.
Save to Pinterest ↗ANOTHER IDEA FOR THE COUNTER