Prepare a Small Batch of Pear and Cardamom Syrup for Cold Drink Bases
A small jar of pear and cardamom syrup kept in the refrigerator gives you a ready-to-pour base that works across iced tea, sparkling water, and cold milk drinks without repeating the same preparation each day. The process involves simmering fresh pear with sugar and whole cardamom pods, then straining the solids out cleanly. This guide covers fruit quantity, sugar ratio, simmer time, straining method, and how to label the jar so you know when to discard it.
Read the note ↓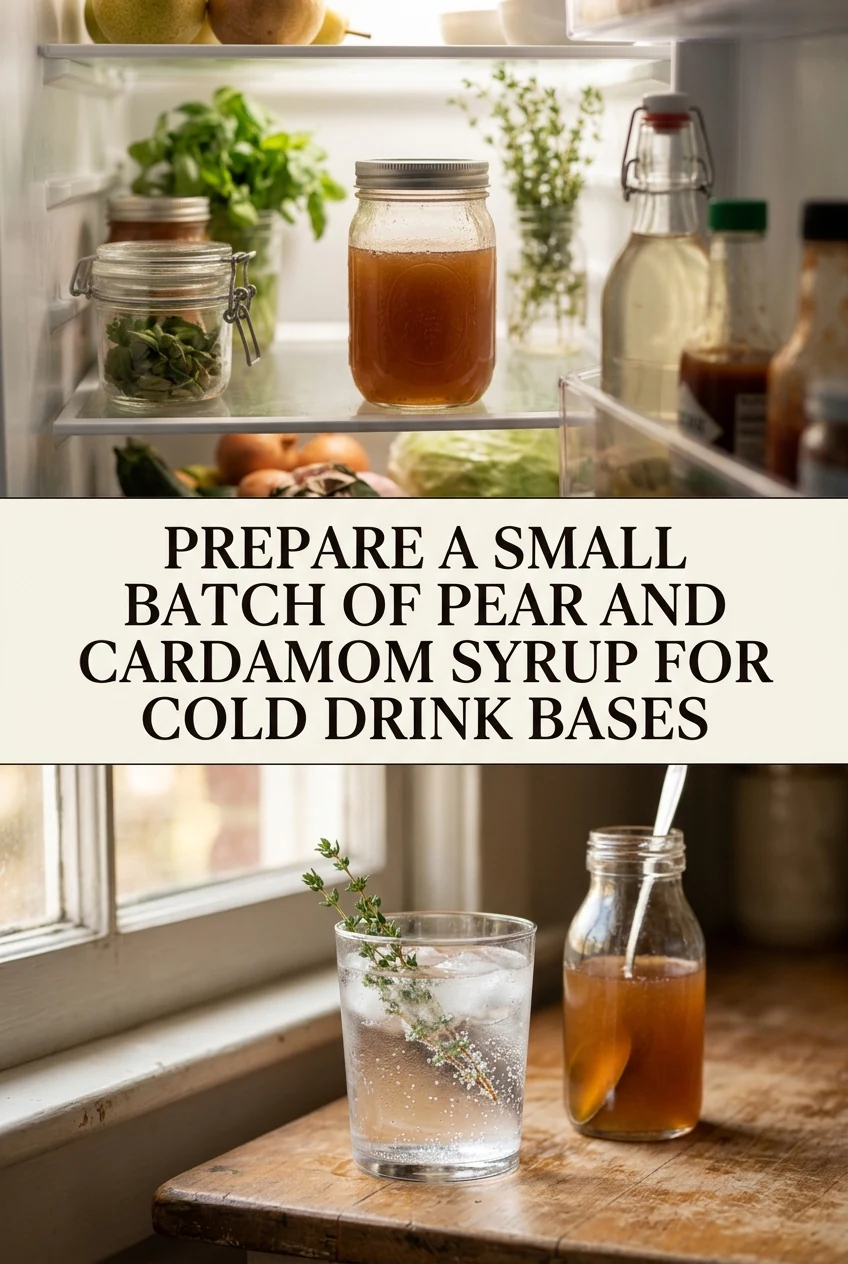
AI-generated editorial concept created for this article. The image is not a technical diagram or a tested result.
Select and Prepare the Pear
Use two medium ripe pears, approximately 350 g total, peeled, cored, and cut into rough 2 cm chunks. Ripe fruit releases more juice during cooking and requires less added water to prevent scorching. Avoid very firm unripe pears, which produce a starchy rather than sweet result. Place the chunks in a small saucepan. Ripe pears vary in sweetness, so treat any finished syrup quantity as a starting point rather than a fixed outcome.
Add Sugar, Water, and Cardamom
Add 150 g of white granulated sugar, 180 ml of cold water, and four whole green cardamom pods lightly crushed with the flat of a knife. The crushed pods release their seeds into the liquid, which intensifies the spice flavour during simmering. Stir briefly to distribute the sugar. Do not add more cardamom pods expecting a proportionally stronger result; beyond five pods the flavour can become sharp and medicinal in a small batch.
Simmer Until the Pear Softens
Bring the pan to a medium simmer over moderate heat, then reduce to low. Cook uncovered for 18 to 22 minutes, stirring occasionally, until the pear pieces are completely soft and the liquid has reduced slightly and taken on a pale gold colour. The syrup should coat the back of a spoon lightly. Remove from heat and allow the pan to cool for 15 minutes before straining, which makes handling safer and lets the flavour steep further.
Strain and Transfer to a Jar
Set a fine mesh strainer over a heatproof jug and pour the contents of the pan through it. Press the softened pear gently with a spoon to extract liquid, but avoid forcing pulp through the mesh, which clouds the syrup. Discard the solids and cardamom pods. Pour the strained syrup into a clean glass jar with a tight-fitting lid. A 350 ml jar is a practical size for this batch. Allow it to cool fully before sealing.
Label the Jar and Refrigerate Promptly
Write the preparation date clearly on a small label and attach it to the jar before refrigerating. Refrigerate at 4 degrees Celsius or below within two hours of cooking, or within one hour if your kitchen is above 32 degrees Celsius. Use the syrup within five days and discard any batch that smells fermented or shows cloudiness beyond normal settling. To use, stir 30 ml into 200 ml of cold sparkling water or iced tea as a starting measure, then adjust to taste.
A little more
to know.
Can I use tinned pear instead of fresh?
Tinned pear in juice works but produces a milder flavour and a slightly thinner syrup because the fruit has already released much of its natural pectin during canning. Reduce added water to 120 ml to compensate.
How much syrup does this batch typically yield?
Expect roughly 220 to 260 ml of finished strained syrup from this batch, depending on how juicy the pears are and how long the mixture simmers. Yield varies and is not a guaranteed fixed amount.
Original editorial guidance and recipe formulations, not independently kitchen-tested. Times are estimates and depend on equipment and product directions. Cooked bases need additional cooling and refrigeration before cold serving. Images are AI-generated illustrations; appearance and yield may vary. Check actual ingredient labels, allergens, and any certification you require. We do not certify products. Read our approach.
Save to Pinterest ↗ANOTHER IDEA FOR THE COUNTER