Pre-Infuse Manual Drip Cones to Avoid Dry Coffee Channels
Pouring brew water directly into a manual drip cone without a controlled wetting stage invites dry channels and uneven extraction. Freshly ground roasted coffee holds trapped carbon dioxide within its cellular structure, which violently pushes incoming brew water away from dry pockets during initial contact. If the main stream begins immediately, water bypasses dense clusters and cuts rapid paths along the filter wall. Standardizing a dedicated pre-infusion step relaxes the coffee matrix, releases trapped gases, and prepares the ground bed for balanced saturation.
Read the note ↓
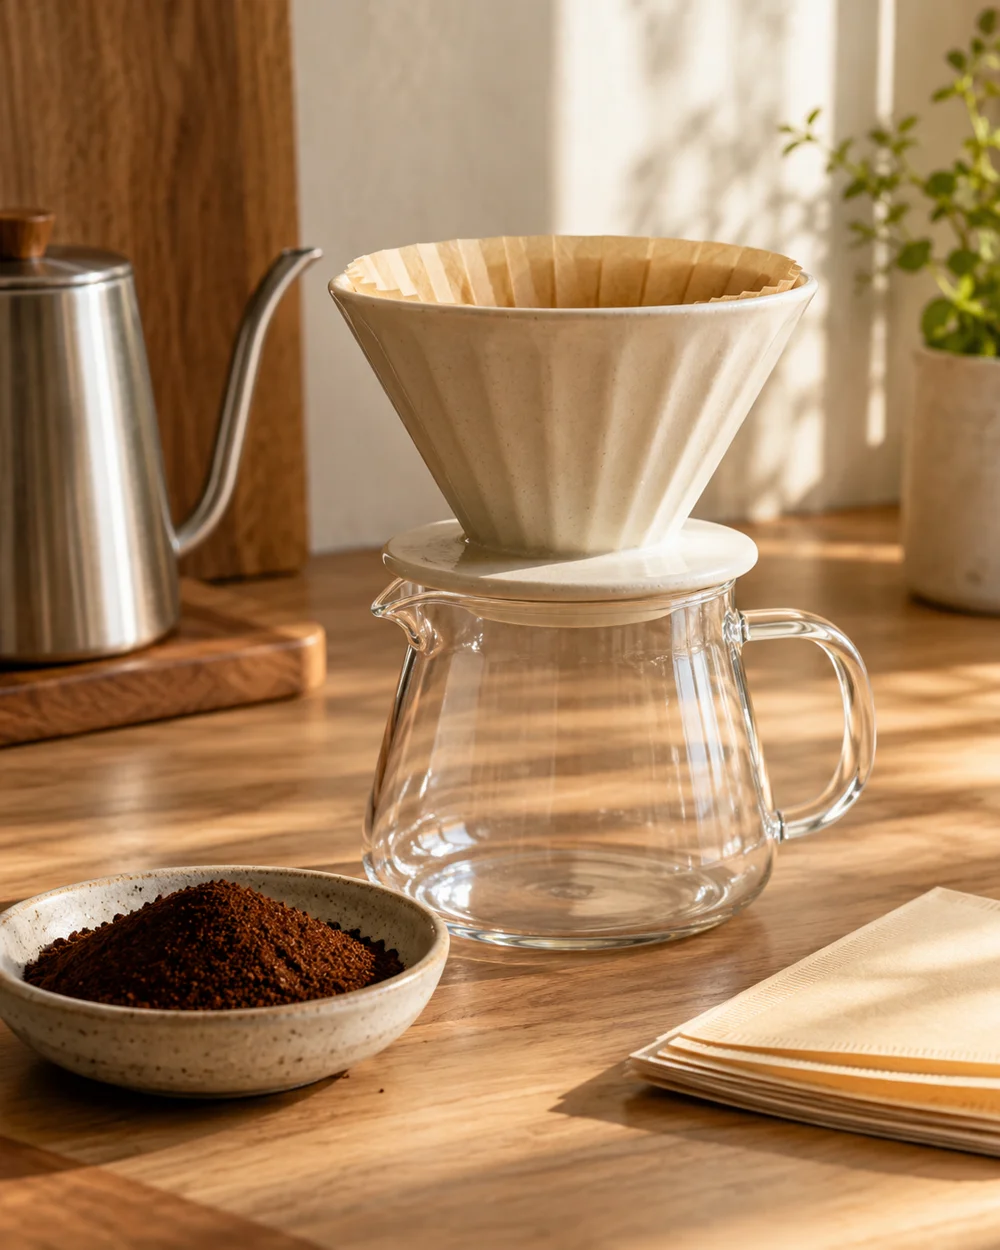
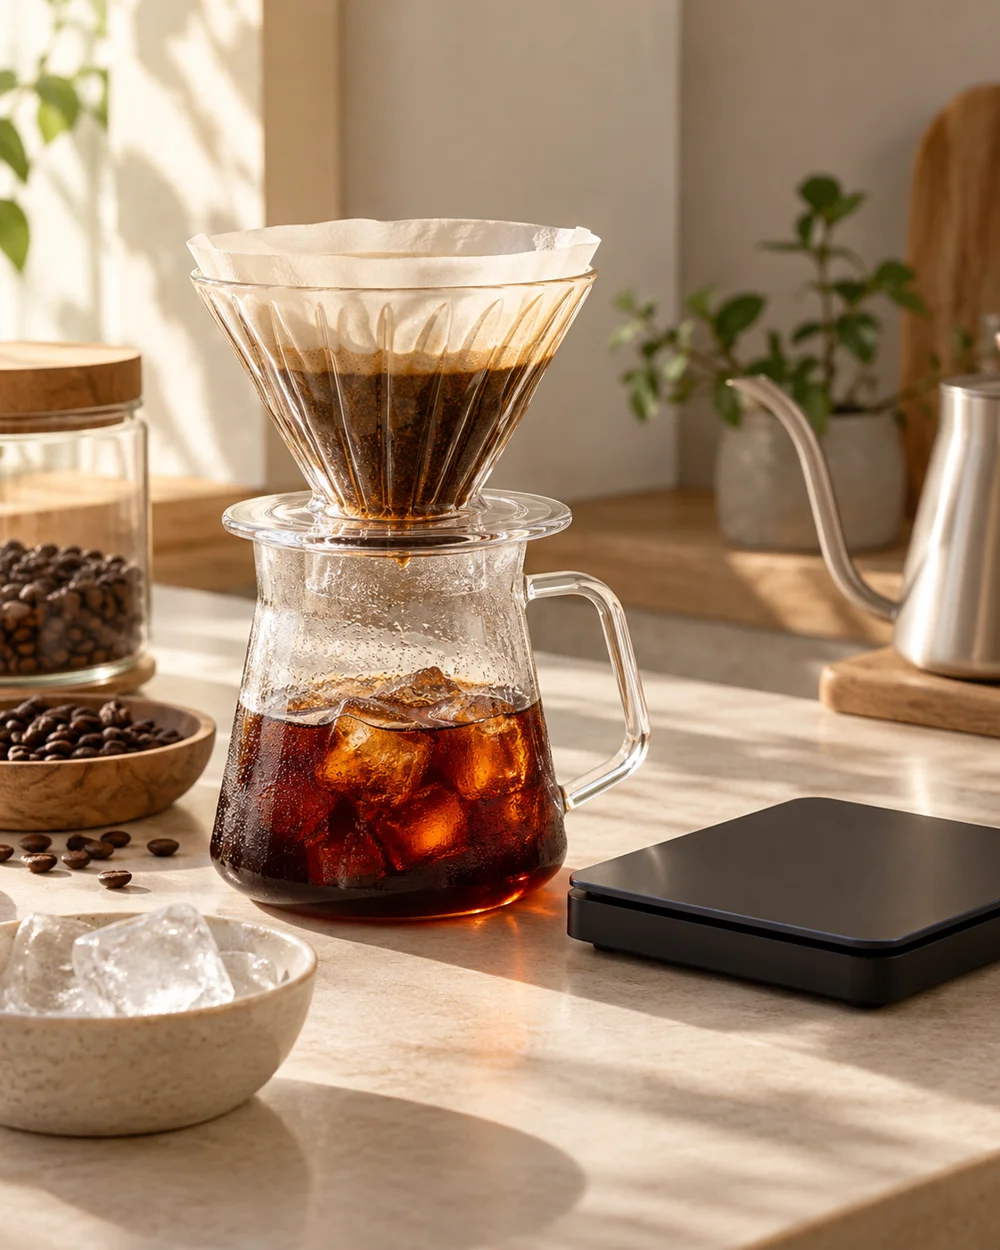
Representative category illustration reused from our editorial library; it does not depict this specific project or a tested result.
Calibrating Coffee Mass and Bloom Ratio
Begin by weighing dry medium-coarse ground coffee into a rinsed paper filter seated in the cone. Tap the brewer gently to level the surface into an even plane. Calculate the pre-infusion water volume at precisely double the dry ground mass. For an illustrative dose of 15 grams of ground coffee, measure exactly 30 grams of hot brew water. This tight two-to-one ratio supplies adequate liquid to hydrate dry particles without washing solids prematurely into the carafe.
Spiral Water Delivery Technique
Heat brew water to your selected brewing temperature and pour from a low height to minimize bed disruption. Start the stream in the exact dead center of the coffee bed, moving outward in smooth, concentric circles toward the perimeter. Halt the pour before wetting the raw paper filter wall directly. The entire 30-gram application should take no longer than ten seconds, delivering water quickly across the entire upper surface area before downward percolation begins.
Checking Complete Bed Saturation
Watch the coffee crust expand upward and dome outward, an event commonly termed the bloom. Trapped carbon dioxide escapes as visible bubbling across the surface. If dry dark spots remain visible near the outer perimeter, use a miniature paddle or spoon to gently nudge surface grinds downward into the moisture with one light pass. Avoiding vigorous digging prevents grinds from migrating into the filter pores and stalling downstream percolation rates later.
Timing the Forty-Five Second Rest
Start a digital timer the moment the pre-infusion water touches the dry bed. Allow the cone to sit undisturbed for a full 45 seconds before introducing the primary pour. This short interval grants sufficient time for moisture to penetrate into the dense core of individual particles via capillary action. Cutting the bloom short at twenty seconds leaves the interior of grinds parched, which encourages water to channel around them during subsequent stages.
Transitioning to the Primary Extraction
At the 45-second mark, resume pouring in slow, controlled concentric spirals, maintaining a steady flow rate that matches brewer drainage. The thoroughly wetted coffee bed now acts as a cohesive, porous filter cake rather than a loose mixture of buoyant grounds and air pockets. Water flows uniformly downward through all sectors of the cone, eliminating localized bypass channels and ensuring consistent, repeatable contact time across the full brew.
A little more
to know.
What causes dry pockets to remain even after using twice the coffee weight?
Uneven bed leveling or pouring too slowly in one spot leaves dry areas. If grinds are unevenly distributed, water takes the path of least resistance, sinking through thin sections while skipping denser mounds entirely.
Should the bloom time be adjusted for darker roasted coffees?
Dark roasts are more porous and release carbon dioxide rapidly. While 45 seconds remains an effective baseline, thirty to forty seconds is often sufficient, whereas very fresh lighter roasts benefit from the full duration.
Original editorial guidance and recipe formulations, not independently kitchen-tested. Times are estimates and depend on equipment and product directions. Cooked bases need additional cooling and refrigeration before cold serving. Images are AI-generated illustrations; appearance and yield may vary. Check actual ingredient labels, allergens, and any certification you require. We do not certify products. Read our approach.
Save to Pinterest ↗ANOTHER IDEA FOR THE COUNTER