Pour Hot Water Over a Paper Filter Before Adding Coffee Grounds
Rinsing a paper filter before brewing is a small step that most pour-over guides mention but few explain in practical terms. The rinse removes loose paper fibres that can add a faint papery taste to the cup, warms the ceramic or plastic dripper so it does not pull heat from the first pour and drains completely before grounds are added. This guide walks through the rinse step in the context of a real single-cup pour-over setup.
Read the note ↓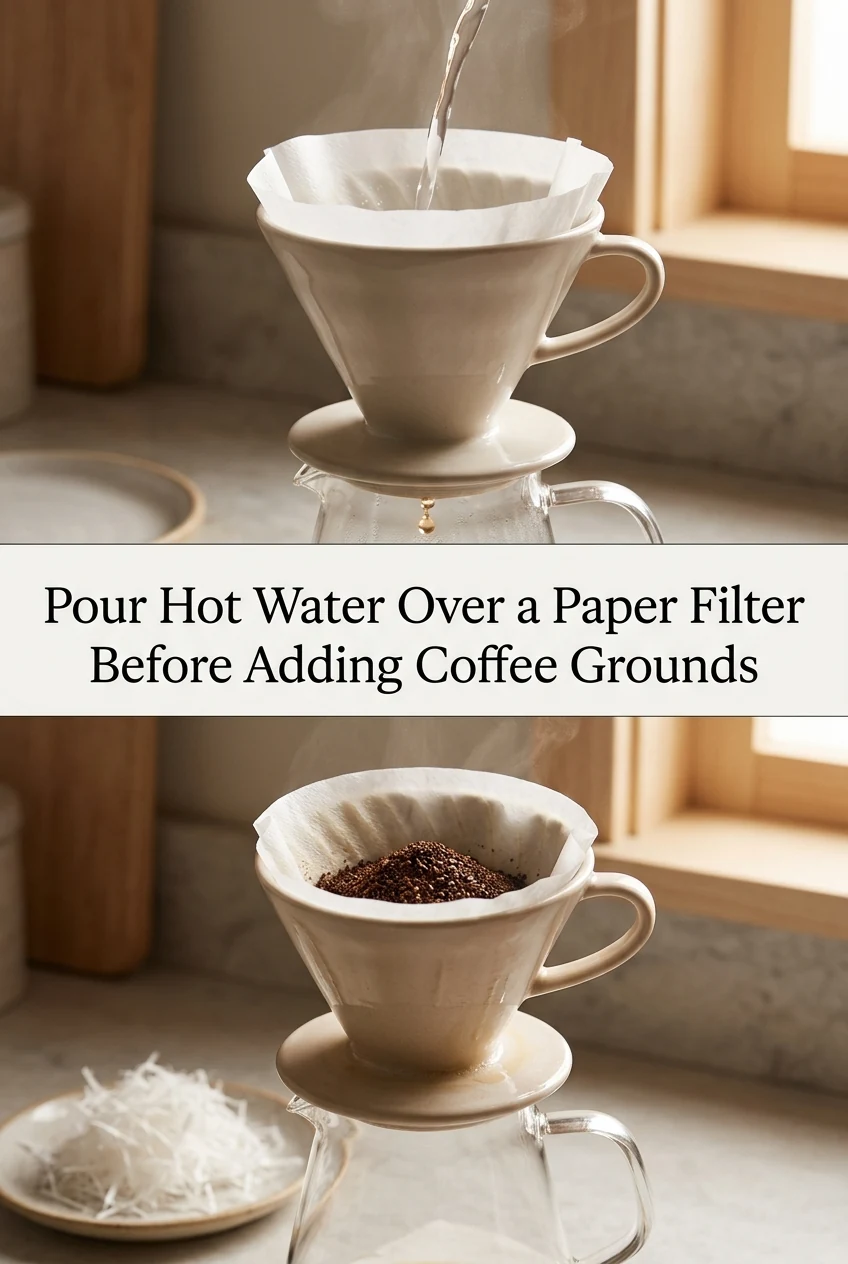
AI-generated editorial concept created for this article. The image is not a technical diagram or a tested result.
Place the Filter and Seat It Fully Before Rinsing
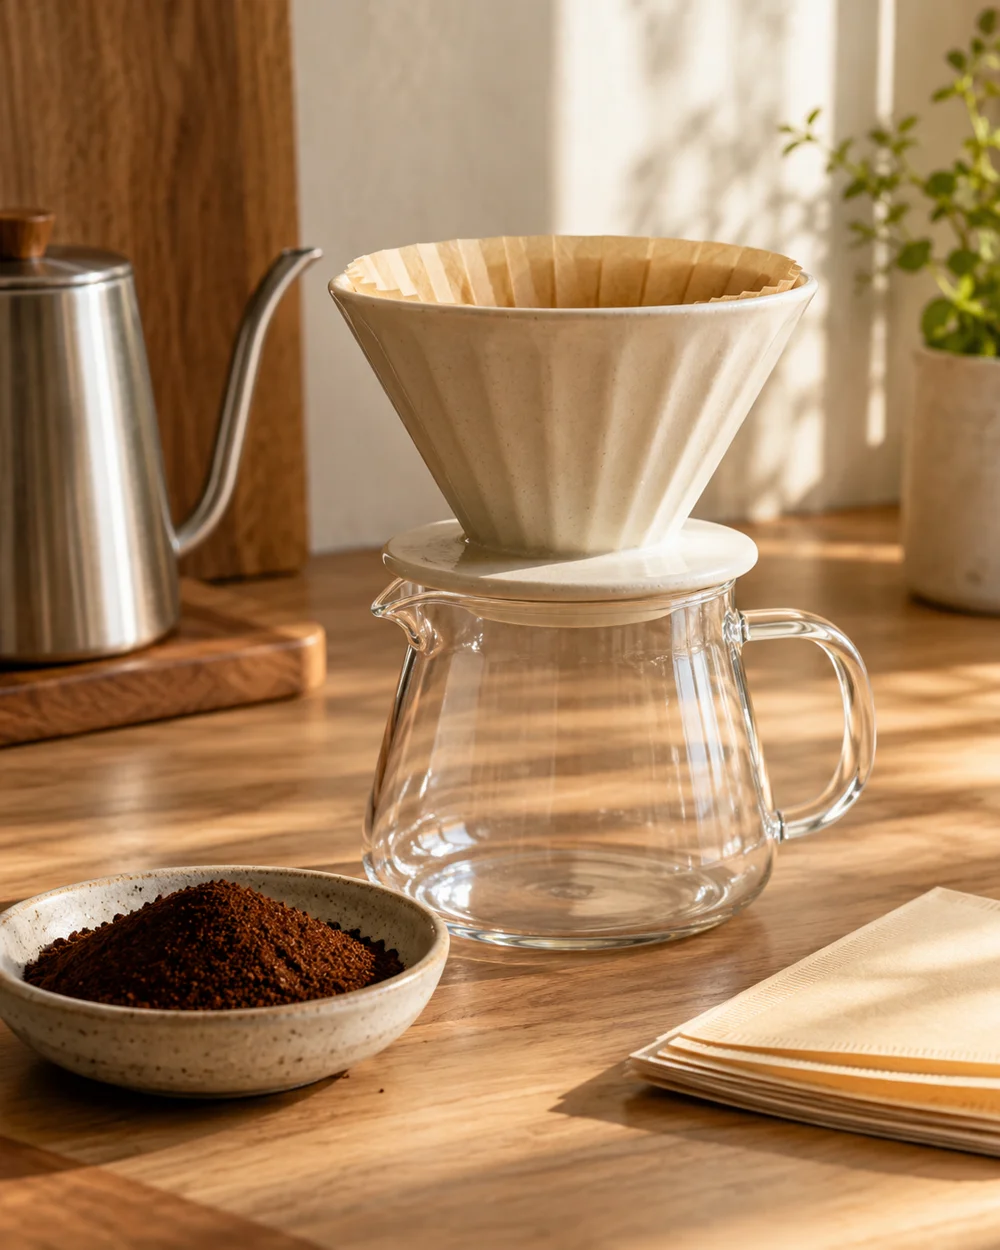
Open the paper filter along its crimped edge and seat it inside the dripper so it lies flat against the walls without gaps or folds at the bottom. A poorly seated filter can shift during rinsing and leave a crease that causes uneven flow later. Hold the dripper over the sink or your serving vessel and press the filter gently against the cone with one finger at the top edge before you pour. This takes about five seconds and prevents the most common filter-rinsing problem.
Pour Enough Water to Wet the Entire Filter Surface
Use water that is hot but not necessarily at your target brewing temperature for this step. Pour slowly in a circle starting from the centre and moving outward until the entire filter surface is visibly wet and water is draining through. For a standard single-cup cone holding one filter, roughly 60 to 80 mL of water is usually sufficient to wet the full surface. This is an illustrative range based on common cone sizes, not a verified universal figure. The goal is complete wetting, not a specific volume.
Discard the Rinse Water Before Adding Grounds
If the dripper is sitting on your cup or server, discard the rinse water before adding coffee. This step is easy to forget when you are moving quickly. Pouring grounds onto a filter that still has rinse water pooled at the bottom compresses the bed unevenly and can slow extraction. Empty the cup or server, return the dripper and then add your measured grounds. The dripper will retain some warmth from the rinse for a short time, which is the secondary benefit of the step.
Notice the Difference the Warm Dripper Makes
A cold ceramic dripper can drop the temperature of your first bloom pour by several degrees as the mass absorbs heat. After rinsing, the ceramic is warm to the touch and the temperature drop is smaller. This matters more with thick ceramic drippers than with thin plastic ones, which have less thermal mass. You can test the difference informally by measuring the temperature of the slurry during the bloom with and without a rinse on the same dripper, though results will vary by equipment.
Integrate the Rinse Into Your Kettle-Fill Routine
The easiest way to make filter rinsing automatic is to pour the rinse water from the same kettle you use for brewing, immediately after the kettle reaches temperature. This avoids a separate heating step and keeps the workflow continuous. Fill the kettle with enough water for both the rinse and the brew. For a single 250 mL cup, adding an extra 80 to 100 mL to your kettle fill accounts for the rinse without requiring a second boil or a separate vessel.
A little more
to know.
Does rinsing the filter affect the final brew volume?
Only if you forget to discard the rinse water before brewing. If discarded properly, the rinse has no effect on brew volume. Account for the rinse water separately when filling your kettle so you have enough water remaining for the full brew.
Is filter rinsing necessary for metal or cloth filters?
Metal filters do not carry papery taste and do not benefit from rinsing in the same way. Cloth filters are typically rinsed to remove storage odours rather than paper taste. The paper filter rinse step is specific to disposable paper filters.
Original editorial guidance and recipe formulations, not independently kitchen-tested. Times are estimates and depend on equipment and product directions. Cooked bases need additional cooling and refrigeration before cold serving. Images are AI-generated illustrations; appearance and yield may vary. Check actual ingredient labels, allergens, and any certification you require. We do not certify products. Read our approach.
Save to Pinterest ↗ANOTHER IDEA FOR THE COUNTER