Measure Espresso Volume in a Shot Glass Before Scaling a Recipe
Espresso output varies between machines, grind settings, and even the same machine on different days. A recipe that calls for a double shot assumes a specific volume, but your actual yield might differ by 10 to 20 millilitres, enough to noticeably change the strength of an iced drink or a cocoa-espresso blend. Measuring your real output once before building a recipe takes under two minutes and removes guesswork from every drink you scale from that baseline.
Read the note ↓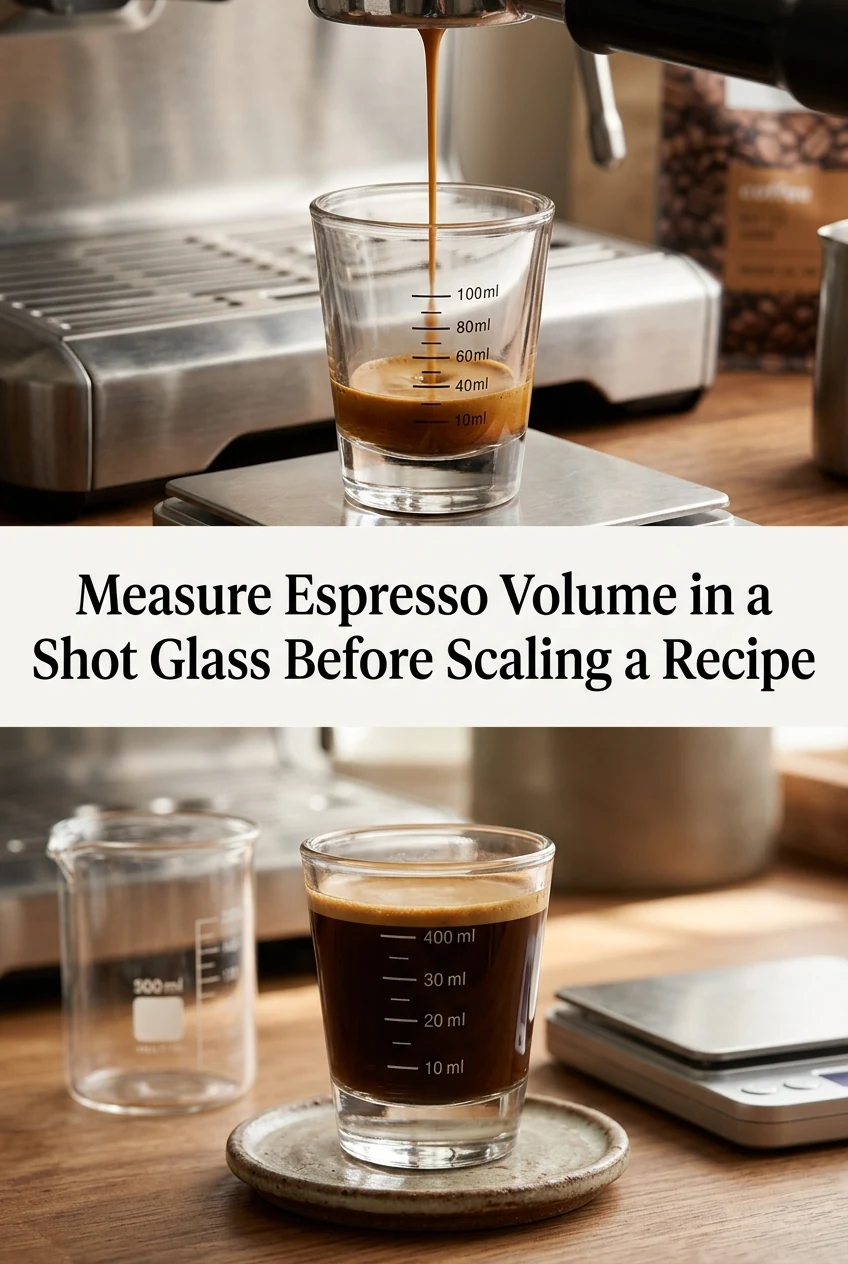
AI-generated editorial concept created for this article. The image is not a technical diagram or a tested result.
What You Need for the Measurement Step
You need a small graduated shot glass marked in 5-millilitre increments, widely available in kitchen supply shops. A standard jigger works if the markings are clear. Pull your espresso directly into the graduated glass rather than a ceramic cup so you can read the volume without transferring. Have a notepad nearby. This is a one-time calibration step per session, not something you repeat for every drink. The goal is to know your machine's actual output before you commit to a recipe quantity.
Pull a Single Shot and Read the Volume
Run your machine as you normally would for a single shot. Once extraction stops, hold the graduated glass at eye level on a flat surface and read the bottom of the liquid meniscus. A common single-shot output range is 25 to 40 millilitres, but this is illustrative, not a specification for your machine. Write down the number. If your machine has a programmable volume button, this reading tells you what that button is actually delivering today, which may differ from when it was last set.
Compare Your Reading to the Recipe Requirement
Suppose a recipe calls for 60 millilitres of espresso and your single shot measured 30 millilitres. Two shots will match the recipe exactly. If your single shot measured 40 millilitres, two shots give 80 millilitres, which is 20 millilitres over. In that case, you can either pull two full shots and measure out the required 60 millilitres in your graduated glass, or adjust the recipe's diluting liquid upward to match the 80-millilitre total. Neither approach is universally correct; choose based on whether you want to preserve the recipe's exact total volume or avoid wasting brewed coffee.
Apply the Measurement When Building an Iced Drink
For an iced espresso drink, the ratio of espresso to milk or water is what determines strength. If you measured 35 millilitres per shot and the recipe expects 30, your shot delivers about 17 percent more liquid than intended. Scaling the milk portion up by roughly 17 percent restores the intended balance without re-pulling. For an iced drink using 100 to 120 millilitres of milk per shot, that adjustment means adding roughly 17 to 20 millilitres of cold milk, a small but perceptible correction.
When to Re-Measure During a Session
Grind consistency, portafilter packing, and machine warm-up state all affect output. If you change your grind setting mid-session or the machine has been idle for more than 30 minutes, pull and measure again before scaling a new batch. For a cocoa-espresso blend where the espresso is a minor component, small volume differences matter less. For a straight iced espresso over milk, they matter more. Knowing when precision is worth the extra step is part of practical recipe management.
A little more
to know.
Does the temperature of the graduated glass affect the reading?
A cold glass can cause slight crema collapse, which marginally changes the visual level. For volume accuracy, use a room-temperature glass and read only the liquid portion below the crema line, not the foam surface.
Should I measure before or after the machine reaches full operating temperature?
Always measure after the machine has fully warmed up, which typically means running a blank water flush first. A cold group head produces inconsistent extraction, so any volume reading taken before warm-up does not reflect your working output.
Original editorial guidance and recipe formulations, not independently kitchen-tested. Times are estimates and depend on equipment and product directions. Cooked bases need additional cooling and refrigeration before cold serving. Images are AI-generated illustrations; appearance and yield may vary. Check actual ingredient labels, allergens, and any certification you require. We do not certify products. Read our approach.
Save to Pinterest ↗ANOTHER IDEA FOR THE COUNTER