Measure and Mix a Warm Cocoa Drink Without a Scale or Tin Scoop
A kitchen scale and dedicated tin scoop are convenient but not essential for a reliable single-serve cocoa. Standard measuring spoons give you repeatable proportions every time. This guide walks through selecting the right spoon sizes for cocoa powder, sugar and milk, combining them in the right order, and adjusting sweetness without guessing. The result is a consistent warm drink you can reproduce the next morning without starting from scratch.
Read the note ↓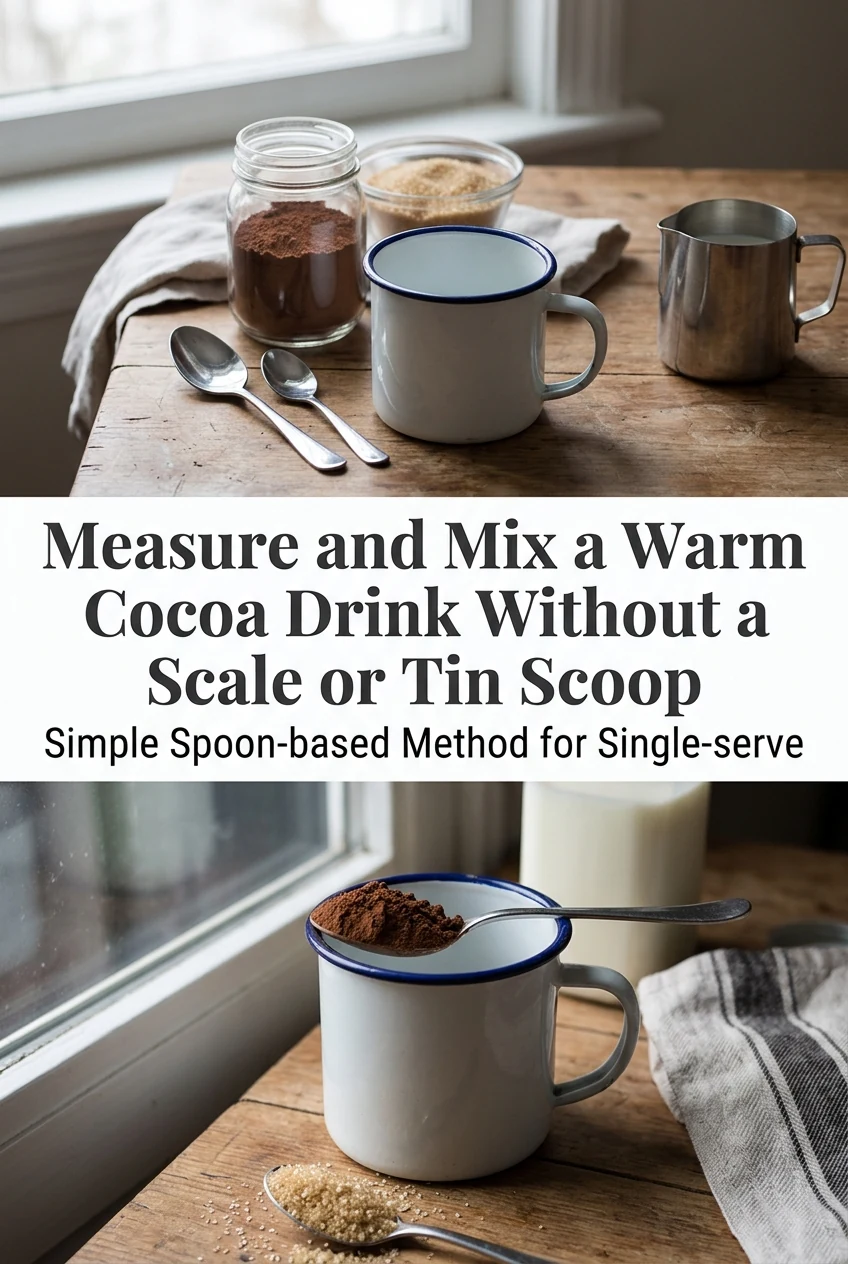
AI-generated editorial concept created for this article. The image is not a technical diagram or a tested result.
Choose Your Spoon Sizes Before You Start
Set out a standard set of dry measuring spoons: 1 tablespoon, 1 teaspoon and a quarter teaspoon. For one 240 ml mug, start with 2 level tablespoons of unsweetened cocoa powder and 1 tablespoon of white sugar. Level each spoon with the flat back of a butter knife rather than packing or heaping, which adds excess powder and throws off the balance. Keep the same leveling habit every time so your baseline stays consistent.
Bloom the Cocoa Powder First
Place the measured cocoa and sugar directly in your empty mug. Add 2 tablespoons of hot water from a just-boiled kettle and stir vigorously with a small whisk or the back of a spoon for about 20 seconds. This short blooming step disperses the cocoa solids and dissolves the sugar into a smooth paste before any milk is added, which prevents the dry powder from floating in clumps on the surface of the finished drink.
Heat and Add the Milk Correctly
Warm 200 ml of pasteurized whole or semi-skimmed milk in a small saucepan over medium-low heat until steam rises and small bubbles form at the edges. Do not bring it to a rolling boil. Pour the hot milk slowly into the cocoa paste while stirring continuously. This gradual addition blends the milk smoothly into the paste and gives you an even, lump-free texture throughout the mug.
Taste and Adjust Within Bounded Limits
Stir once more and taste before adding anything. If the drink is too bitter, add a quarter teaspoon of sugar, stir, and taste again before adding more. If it tastes flat, a single small pinch of fine table salt can lift the cocoa flavour without making the drink taste salty. Avoid adding more than an extra half teaspoon of sugar in total, or the drink becomes noticeably sweet rather than balanced. Write your preferred adjustment on a sticky note for next time.
Clean Up and Store Leftover Cocoa Powder Properly
Rinse the mug and spoons immediately so dried cocoa paste does not harden. Store your cocoa powder tin with the lid sealed tightly in a cool, dry cupboard away from the stove, where heat and steam can cause clumping. Do not refrigerate the dry powder. Any leftover prepared cocoa drink should be refrigerated promptly in a sealed container at 4 degrees Celsius or below and consumed within 24 hours, as heated milk is perishable.
A little more
to know.
Can I use Dutch-process cocoa instead of natural cocoa with the same spoon amounts?
Yes, the same 2 tablespoon measure applies. Dutch-process cocoa is darker and slightly less bitter, so you may find you need a quarter teaspoon less sugar. Taste after blooming and adjust from there rather than changing the dry amounts upfront.
Why does my cocoa still taste grainy even after stirring the paste?
Graininess usually means the sugar did not fully dissolve during blooming. Use hotter water and stir the paste for a full 30 seconds before adding milk. Superfine or caster sugar dissolves faster than standard granulated sugar if graininess persists.
Original editorial guidance and recipe formulations, not independently kitchen-tested. Times are estimates and depend on equipment and product directions. Cooked bases need additional cooling and refrigeration before cold serving. Images are AI-generated illustrations; appearance and yield may vary. Check actual ingredient labels, allergens, and any certification you require. We do not certify products. Read our approach.
Save to Pinterest ↗ANOTHER IDEA FOR THE COUNTER