Measure a Syrup Dose Into a Jigger Over the Sink Rather Than Over the Glass
Pouring syrup directly from a bottle into a glass that already holds ice, milk, or espresso is a common source of overflow drips and inconsistent doses. The syrup hits the existing liquid and can displace it over the rim, and the pour is difficult to stop at an exact volume when the bottle is held above a full glass. Measuring the syrup into a jigger first, held over the sink, solves both problems in one step and keeps the glass rim clean for a tidy handoff.
Read the note ↓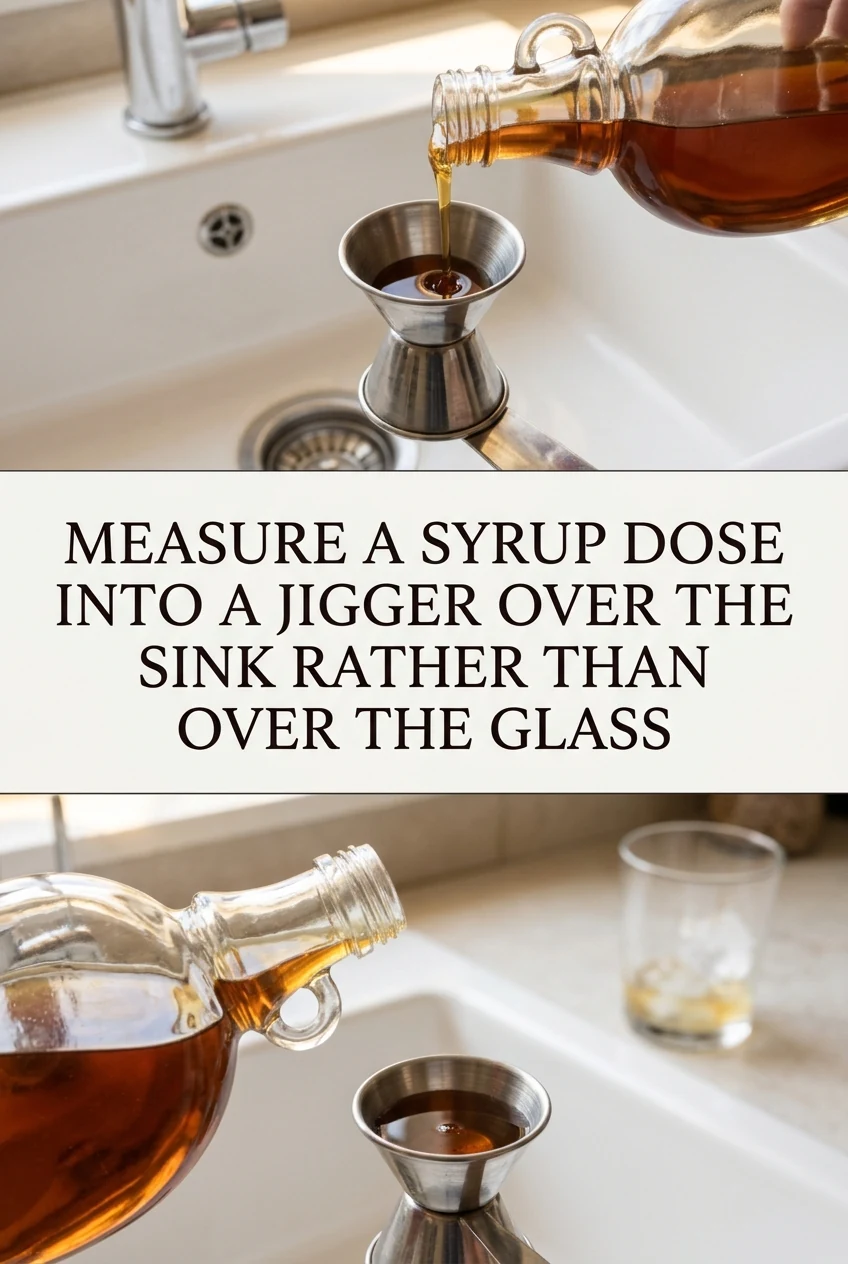
AI-generated editorial concept created for this article. The image is not a technical diagram or a tested result.
Why Pouring Directly Into a Full Glass Creates Two Separate Problems
The first problem is displacement and splashing. When a glass is filled with ice and cold brew near the brim, adding syrup from height can easily splash or push the liquid level over the edge, especially as floating ice shifts. The second problem is dose accuracy. Standard speed-pour spouts allow an unmetered, continuous flow, and stopping the stream at exactly 10 or 15 ml while watching a dark liquid in a full glass is difficult compared to pouring into an empty jigger with visible measurement lines.
Choosing a Jigger Size for Syrup Work
A standard double jigger with a 30 ml side and a 15 ml side covers the most common syrup doses used in cafe-style drinks at home. For a 240 ml iced latte, a typical syrup addition is 10 to 20 ml depending on the sweetness level you prefer. The 30 ml side of the jigger allows you to measure 15 or 20 ml by filling to the appropriate line rather than using a separate small measuring spoon. A jigger with clearly etched interior lines rather than only a rim line is easier to read accurately.
The Over-the-Sink Step and Why It Matters
Hold the jigger over the sink, not over the counter, before filling it from the syrup bottle. If the bottle releases more than intended during the pour, the excess falls into the sink rather than onto the counter or into the glass. Fill the jigger to your target line, pause, and confirm the level before moving to the glass. This two-second pause is the entire value of the method. Once confirmed, tip the jigger contents into the glass in a single smooth motion along the inside wall to minimize splashing.
Keeping the Glass Rim Clean During Assembly
A sticky syrup drip on the outside of a glass rim transfers to the customer's hand or lip and signals a rushed preparation. Measuring away from the glass eliminates the most common source of that drip. After adding the measured syrup from the jigger, wipe the jigger immediately with a damp cloth before setting it down, so residual syrup does not dry onto the measuring lines and distort future readings. A clean jigger reads accurately; a coated one does not.
Adjusting the Assembly Sequence When Syrup Goes in First
Some recipes call for syrup to be added to the glass before ice and liquid, which avoids the displacement problem entirely. If your workflow allows it, adding syrup to an empty or nearly empty glass, then building the drink on top, is a cleaner sequence than adding syrup last. The jigger method is most useful when syrup must be added after the glass is already partially filled, such as when a customer requests extra sweetness after the drink is assembled. In that case, measure first, then add.
A little more
to know.
Can I use a small measuring spoon instead of a jigger for syrup doses?
A measuring spoon works for small doses like 5 ml but becomes impractical for 15 to 30 ml because multiple spoons are needed. A jigger covers the full range in one pour and is faster to rinse than a spoon with a deep bowl that traps syrup.
Does the order in which syrup is added affect how well it mixes into a cold drink?
Syrup added before ice and liquid disperses more easily because there is no cold mass resisting it. Syrup added last to a cold drink tends to sink and requires stirring to distribute evenly. A long stirring spoon or straw stir immediately after adding resolves this in either sequence.
Original editorial guidance and recipe formulations, not independently kitchen-tested. Times are estimates and depend on equipment and product directions. Cooked bases need additional cooling and refrigeration before cold serving. Images are AI-generated illustrations; appearance and yield may vary. Check actual ingredient labels, allergens, and any certification you require. We do not certify products. Read our approach.
Save to Pinterest ↗ANOTHER IDEA FOR THE COUNTER