Make a Warm Pear Dessert with a Separate Crumb Topping
A warm spoonable pear dessert served in individual dishes makes a satisfying close to a home-cafe session. This illustrative plan walks through cooking down sliced pears with a light syrup, then finishing each portion with a separately baked crumb topping added at the table. Keeping the crumb topping baked apart from the fruit preserves its texture and lets you control each component independently. Nothing here is a kitchen-tested result; treat every quantity and timing as a starting point to adjust to your own stove, oven, and pears.
Read the note ↓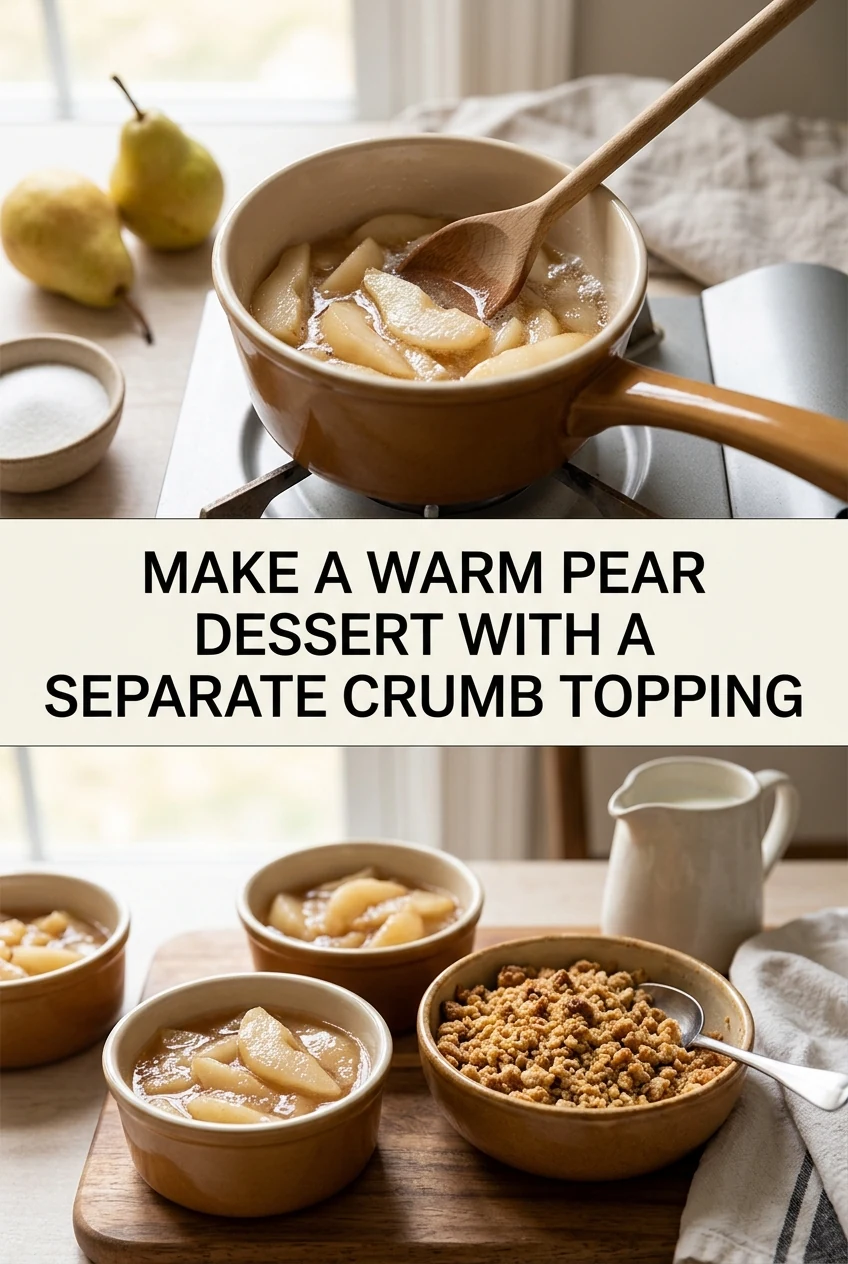
AI-generated editorial concept created for this article. The image is not a technical diagram or a tested result.
Choose and Prepare the Pears
Select firm, ripe pears such as Bosc or Anjou. Firm flesh holds its shape during cooking rather than turning to mush. For four small dessert dishes, plan on roughly three medium pears, which yields about 600 grams of peeled, cored, sliced fruit. Peel each pear, halve it, remove the core with a small spoon or melon baller, then slice each half into four or five wedges of roughly equal thickness. Uniform slices cook at a similar rate, so aim for pieces around one centimetre thick. Place the slices in a bowl and toss them gently with one tablespoon of lemon juice to slow browning while you prepare the remaining ingredients.
Build the Light Cooking Syrup
In a wide, shallow pan, combine three tablespoons of caster sugar with 120 millilitres of water and a small pinch of ground cardamom. Stir over medium heat until the sugar dissolves completely before the liquid reaches a full simmer. Add the pear slices in a single layer if your pan allows, or work in two batches to avoid crowding. Cook gently, turning the slices once, until the pears are just tender when pierced with the tip of a knife. Depending on the firmness of your fruit and your stove's output, this may take anywhere from six to twelve minutes. Remove the pan from the heat and stir in half a teaspoon of alcohol-free vanilla flavoring. Divide the pears and any remaining syrup evenly among four small heatproof dishes and keep them warm while you finish the crumb.
Make and Bake the Separate Crumb Topping
Combining the crumb topping ingredients in a bowl rather than pressing them onto raw fruit is the central technique of this plan. Mix 80 grams of plain flour, 50 grams of rolled oats, 60 grams of cold unsalted butter cut into small cubes, 40 grams of light brown sugar, and a small pinch of ground cinnamon. Rub the butter into the dry ingredients with your fingertips until the mixture resembles coarse, uneven crumbs with some pea-sized pieces remaining. Spread this mixture in a thin, even layer on a lined baking tray. Bake in a preheated oven according to your oven's actual behavior, checking from around twelve minutes onward, until the crumbs are golden and smell toasted. Because oven temperatures vary, watch the tray rather than relying on a fixed time. Remove and allow the crumbs to cool on the tray for a few minutes; they will crisp further as they cool.
Assemble and Serve at the Table
Bring the warm pear dishes and the bowl of baked crumbs to the table separately. Spoon a generous portion of crumbs over each dish of pears just before eating. This order of assembly is the point of the technique: the crumbs stay dry and textured against the warm, syrupy fruit rather than softening during baking or resting. Each diner can add as much or as little crumb as they prefer. A small jug of cold dairy cream or a spoonful of plain yogurt alongside works well if you want a cool contrast, though neither is required. Serve immediately once assembled.
Store Leftovers Promptly and Safely
If any cooked pears remain, transfer them with their syrup into a clean, covered container and refrigerate promptly. Do the same with any leftover baked crumbs, storing them separately in a covered container at room temperature if your kitchen is cool and dry, or in the refrigerator if it is warm or humid. Do not leave cooked fruit at room temperature for an extended period. Reheat refrigerated pears gently on the stove or in a microwave until hot through before serving again. No specific storage lifespan is stated here; use your own judgment and standard food-safety practice for cooked fruit.
A little more
to know.
Can I use a different type of pear for this plan?
Yes. Firmer varieties such as Bosc or Conference tend to hold their shape better during gentle stovetop cooking. Softer varieties like Bartlett will cook more quickly and may become very soft, which some people enjoy as a saucier texture. Adjust your cooking time by checking the fruit frequently with a knife tip rather than following a fixed duration.
Why bake the crumb topping separately instead of on top of the fruit?
Baking the crumb directly on fruit traps steam from the cooking fruit beneath it, which tends to make the crumb layer dense and soft. Baking it on its own tray lets moisture escape freely, producing a drier, more textured result. Adding it at the table just before eating preserves that texture against the warm syrupy pears.
Original editorial guidance and recipe formulations, not independently kitchen-tested. Times are estimates and depend on equipment and product directions. Cooked bases need additional cooling and refrigeration before cold serving. Images are AI-generated illustrations; appearance and yield may vary. Check actual ingredient labels, allergens, and any certification you require. We do not certify products. Read our approach.
Save to Pinterest ↗ANOTHER IDEA FOR THE COUNTER