Make a Small Pan of Plain Cocoa Brownies for a Coffee Plate
A small pan of plain cocoa brownies fits neatly alongside a coffee service without overwhelming the table. This illustrative home-cafe plan uses an 8-by-8-inch square pan, unsweetened cocoa powder, and alcohol-free vanilla flavoring to produce a modest batch of dense, fudgy bars. The steps below describe one coherent worked example rather than a laboratory-tested result, so treat quantities as a reliable starting point and adjust to your own oven and ingredients.
Read the note ↓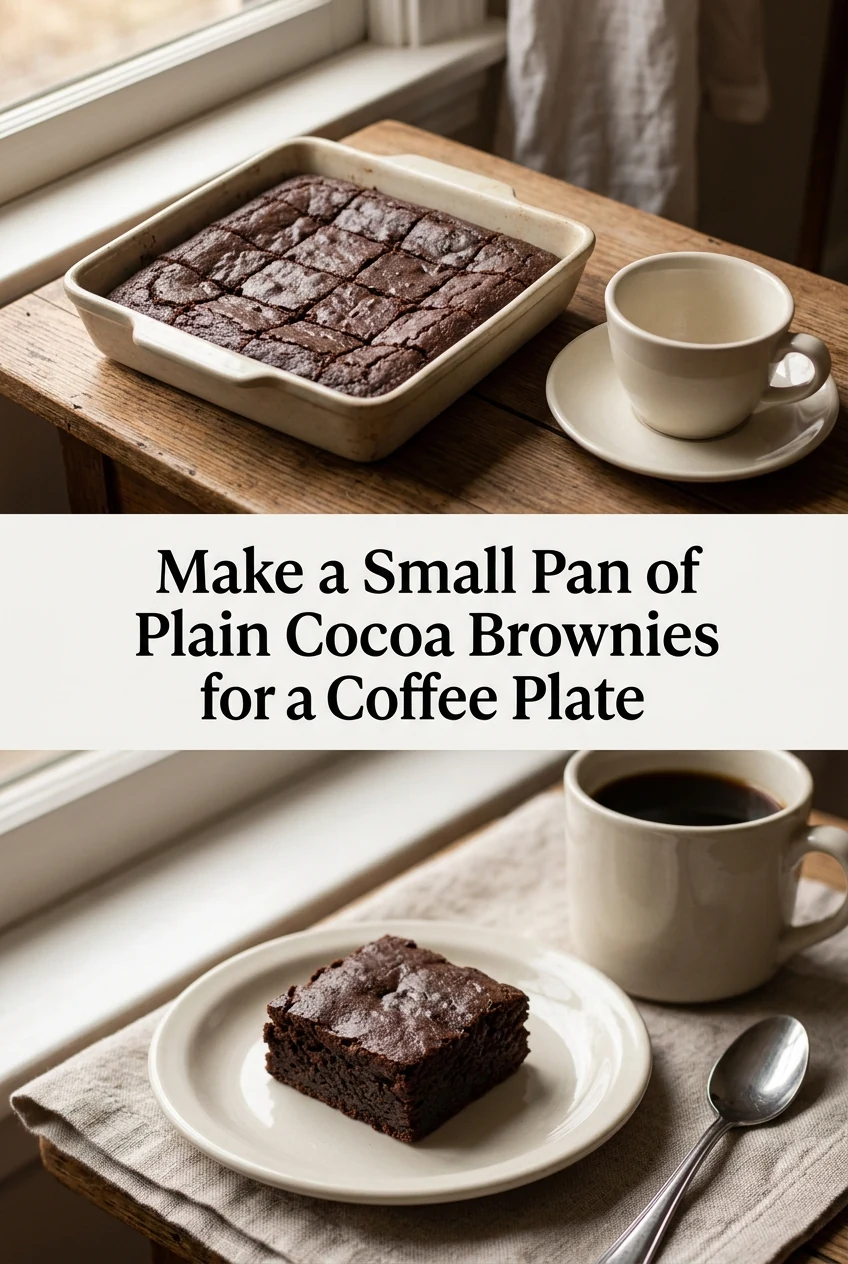
AI-generated editorial concept created for this article. The image is not a technical diagram or a tested result.
Gather Your Ingredients and Equipment
For one 8-by-8-inch pan you will need 115 grams of unsalted butter, 200 grams of granulated white sugar, 2 large eggs, 1 teaspoon of alcohol-free vanilla flavoring, 65 grams of unsweetened natural cocoa powder, 65 grams of plain all-purpose flour, half a teaspoon of fine salt, and a quarter teaspoon of baking powder. Confirm that your vanilla flavoring label states it is alcohol-free before purchasing. Gather a medium saucepan, a wooden spoon or silicone spatula, a mixing bowl, a whisk, and an 8-by-8-inch metal baking pan. Line the pan with two overlapping strips of parchment paper so the paper overhangs on all four sides; this creates handles for lifting the finished slab cleanly.
Mix the Batter in Sequence
Melt the butter gently in the saucepan over low heat, then remove the pan from the heat and allow it to cool for about five minutes so it does not scramble the eggs. Stir in the sugar until the mixture looks slightly grainy and combined. Add both eggs one at a time, stirring well after each addition, then stir in the alcohol-free vanilla flavoring. Sift the cocoa powder, flour, salt, and baking powder directly into the saucepan and fold everything together with the spatula until no dry streaks remain. The batter will be thick and glossy. Avoid over-mixing once the flour is added, as this can tighten the texture of the finished bars.
Fill the Pan and Check Doneness
Scrape the batter into the prepared pan and spread it into an even layer using the back of the spatula. The batter should reach roughly 1.5 centimetres deep across the pan. Place the pan in an oven that has been preheated according to your own oven's characteristics; a common starting point for this style of brownie is 175 degrees Celsius for conventional heat, but your oven may run hotter or cooler, so observe the bars rather than relying solely on a timer. Begin checking at the 22-minute mark. The brownies are done when the edges look set and matte, the centre no longer jiggles when you gently move the pan, and a wooden skewer inserted 3 centimetres from the edge comes out with moist crumbs rather than wet batter. The very centre may look slightly underdone; residual heat will continue cooking it as the pan cools.
Cool Completely Before Cutting
Set the pan on a wire rack and allow the brownies to cool at room temperature until the pan is no longer warm to the touch. Cutting into warm brownies compresses the crumb and produces ragged edges, so patience here directly affects the appearance of each bar. Once fully cooled, lift the slab out of the pan using the parchment handles and place it on a cutting board. Use a sharp knife and wipe the blade clean between cuts. For a coffee plate, cutting the slab into 16 equal squares works well: cut the slab into four strips in one direction, then four strips in the other direction. Each square will measure approximately 5 by 5 centimetres, a size that pairs comfortably with a small cup without crowding the saucer.
Serve and Store Promptly
Arrange three or four squares on a small plate beside the coffee service. Because these brownies contain eggs and butter, treat them as a perishable item. Any bars not served within a few hours at room temperature should be placed in a covered container and refrigerated promptly. Do not leave them at room temperature for extended periods, particularly in warm conditions. Refrigerated bars will firm up noticeably; allow them to sit at room temperature for a short time before serving again if you prefer a softer texture. This plan does not assign a specific storage lifespan, as that depends on your refrigerator's temperature and the freshness of your ingredients.
A little more
to know.
Can I use a different pan size for this recipe?
You can, but the baking time and depth of the batter will change. A 9-by-9-inch pan will spread the same volume of batter thinner, so the bars will set faster and may be slightly less fudgy. A loaf pan will make the batter deeper and will require more time in the oven. In either case, rely on the doneness signs described above rather than a fixed timer, and check earlier than you expect to avoid over-baking.
Why does the recipe specify alcohol-free vanilla flavoring?
Standard vanilla extract is typically produced using an alcohol base, which makes it unsuitable for halal preparations. Alcohol-free vanilla flavoring achieves a similar aromatic effect through a different production process and carries labeling that confirms the absence of alcohol. Always read the product label before purchasing to verify the claim, as formulations vary between brands.
Original editorial guidance and recipe formulations, not independently kitchen-tested. Times are estimates and depend on equipment and product directions. Cooked bases need additional cooling and refrigeration before cold serving. Images are AI-generated illustrations; appearance and yield may vary. Check actual ingredient labels, allergens, and any certification you require. We do not certify products. Read our approach.
Save to Pinterest ↗ANOTHER IDEA FOR THE COUNTER