Make a Cornstarch Milk Pudding with a Separate Fruit Topping
A cornstarch milk pudding is a straightforward cooked dessert built from pantry staples. The starch slurry thickens cold milk into a spoonable, set pudding, while a separately prepared fruit topping sits alongside it rather than being stirred in. Keeping the two components apart lets each one hold its own texture and color. This article walks through an illustrative home-cafe plan for both parts, notes where judgment calls are needed, and explains why the steps are ordered the way they are. It is a technique guide, not a kitchen-tested result, so treat the quantities and timings as a working starting point you will refine on your own stove.
Read the note ↓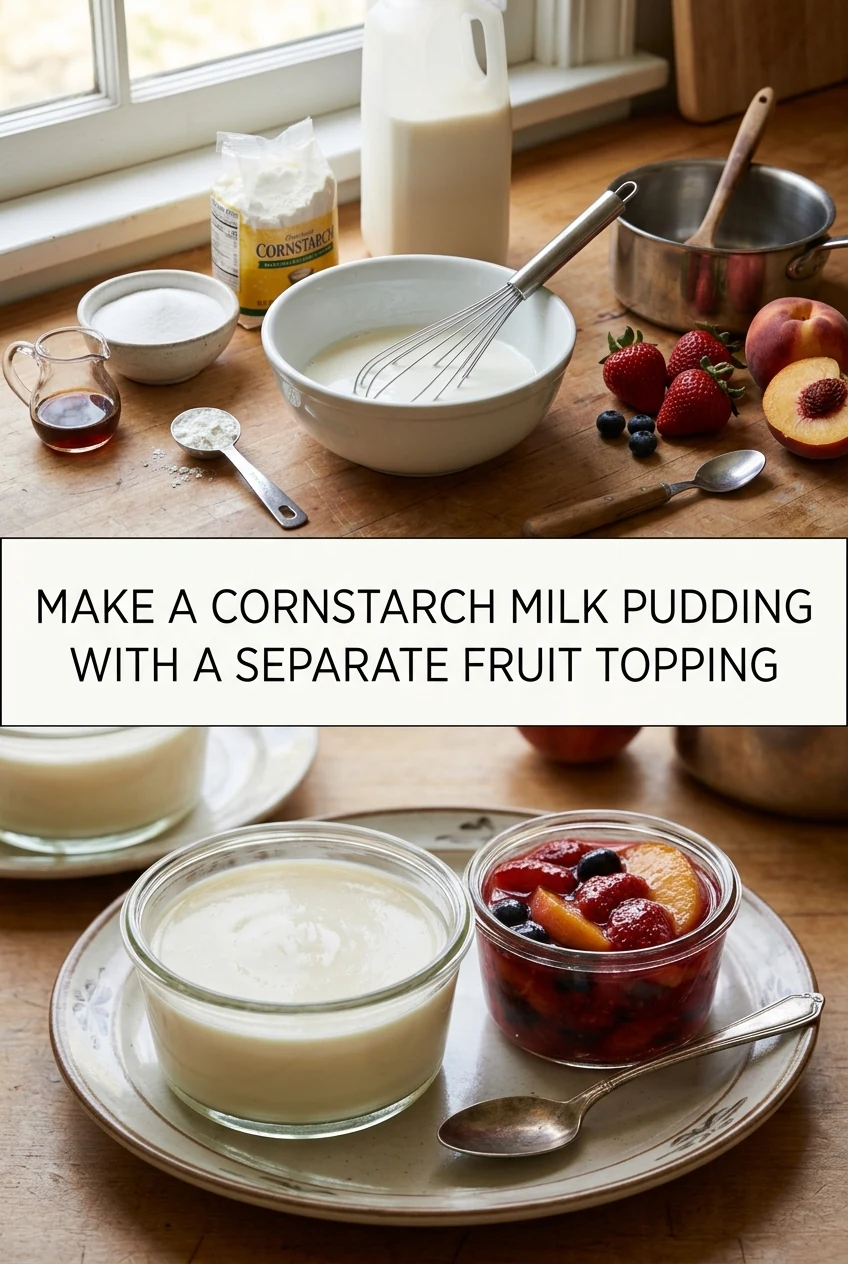
AI-generated editorial concept created for this article. The image is not a technical diagram or a tested result.
Understanding the Starch Slurry
Cornstarch does not dissolve directly into hot liquid without clumping. The standard approach is to whisk the measured cornstarch into a small portion of cold milk first, creating a smooth slurry before any heat is applied. For a batch intended to fill four small ramekins, a common illustrative ratio is 3 tablespoons of cornstarch whisked into roughly 60 milliliters of the total cold milk until no dry pockets remain. The remaining milk, along with sugar to taste, goes into the saucepan over medium heat. Once the milk is warm but not yet simmering, the slurry is poured in slowly while stirring continuously. The mixture is then stirred over medium heat until it visibly thickens and just begins to bubble gently. At that point the pan is removed from the heat and a small amount of alcohol-free vanilla flavoring is stirred in. Continuous stirring during cooking prevents scorching on the pan base and uneven thickening across the batch.
Setting the Pudding in Ramekins
Once the cooked pudding base is off the heat, it needs to be poured into individual ramekins or a single dish fairly promptly, because cornstarch pudding begins to set as it cools. Lightly rinsing the ramekins with cold water before pouring can help with unmolding later if you plan to turn the pudding out, though serving directly from the ramekin is equally valid. Pour the hot pudding through a fine-mesh strainer into each vessel to catch any lumps that may have formed near the pan walls. Press a sheet of food-safe plastic wrap directly onto the surface of each portion before refrigerating. This contact layer prevents a skin from forming. Place the filled ramekins in the refrigerator promptly, as the pudding contains dairy and should not sit at room temperature for an extended period. The pudding is ready to eat once it has fully chilled and set firm enough to hold a spoon's impression.
Building the Separate Fruit Topping
The fruit topping is cooked separately so it does not water down or discolor the pudding base. A simple approach uses fresh or frozen berries, or diced stone fruit, combined with a small amount of sugar and a squeeze of lemon juice in a small saucepan over medium-low heat. Stir gently and allow the fruit to release its juices and the sugar to dissolve. If a slightly thicker sauce consistency is preferred, a small cornstarch slurry, made the same way as the pudding slurry, can be stirred in near the end of cooking. Once the topping reaches the consistency you want, remove it from the heat and allow it to cool to room temperature before transferring it to a covered container and refrigerating it separately. Keeping it in its own container means you can spoon as much or as little as you like over each portion at serving time.
Serving the Two Components Together
Because the pudding and the topping are stored separately, assembly happens at the moment of serving. Remove the ramekins from the refrigerator and peel away the plastic wrap. Spoon the chilled fruit topping over the surface of each pudding just before bringing it to the table. This preserves the clean, pale surface of the pudding and the distinct color of the fruit sauce until the last moment. If you prefer a warm topping against a cold pudding, the fruit sauce can be gently reheated in a small pan over low heat and spooned over immediately. Both components are perishable and should be kept refrigerated when not being served. Discard any leftovers according to your own judgment about freshness rather than relying on a fixed storage timeframe.
Adjusting Texture and Sweetness
Cornstarch pudding texture is directly influenced by the ratio of starch to liquid. A higher proportion of cornstarch produces a firmer, more sliceable set, while a lower proportion gives a softer, creamier spoonable result. If your first attempt sets too firmly or too loosely for your preference, adjust the cornstarch quantity by half a teaspoon at a time in your next batch and note the result. Sweetness in both the pudding and the topping is a matter of personal taste; start conservatively and add more sugar before cooking is complete, since it is easier to add than to remove. Whole milk produces a richer base than lower-fat alternatives, though the technique works with other milk types. These are variables to explore through your own repeated practice rather than fixed rules.
A little more
to know.
Can I use a plant-based milk instead of dairy milk for the pudding base?
Plant-based milks such as oat milk or soy milk can be used with the same cornstarch slurry technique, though the flavor and the exact thickness of the finished pudding may differ from a dairy milk version. The starch still needs to be mixed into a portion of cold plant-based milk first before being added to the warmed liquid. Treat any result as your own starting point and adjust the starch quantity in subsequent batches based on the texture you observe.
Why is the fruit topping kept in a separate container rather than layered into the ramekin before the pudding sets?
Pouring hot pudding over a fruit layer in the ramekin can cause the fruit juices to bleed upward into the pudding base, changing its color and potentially affecting how evenly it sets. Storing the topping separately also gives you flexibility at serving time: you can adjust the amount of topping on each portion, reheat it if you prefer a warm contrast, or swap in a different fruit without preparing a new batch of pudding.
Original editorial guidance and recipe formulations, not independently kitchen-tested. Times are estimates and depend on equipment and product directions. Cooked bases need additional cooling and refrigeration before cold serving. Images are AI-generated illustrations; appearance and yield may vary. Check actual ingredient labels, allergens, and any certification you require. We do not certify products. Read our approach.
Save to Pinterest ↗ANOTHER IDEA FOR THE COUNTER