Maintain Consistent Water Flow Rate Using Basic Kettle Spouts
Brewing manual drip coffee without a dedicated gooseneck kettle presents a physical challenge: standard kitchen kettle spouts are wide, releasing an irregular, heavy surge that easily disrupts the coffee bed. When water crashes violently into ground coffee, it creates deep channels, causing uneven contact time and muddled flavor. Achieving steady distribution relies on mechanical control over your body position, kettle fill levels, and spout orientation. By locking the pouring wrist and adjusting the kettle angle through whole-arm movement, you can produce a controlled, narrow stream suitable for single-cup drippers.
Read the note ↓
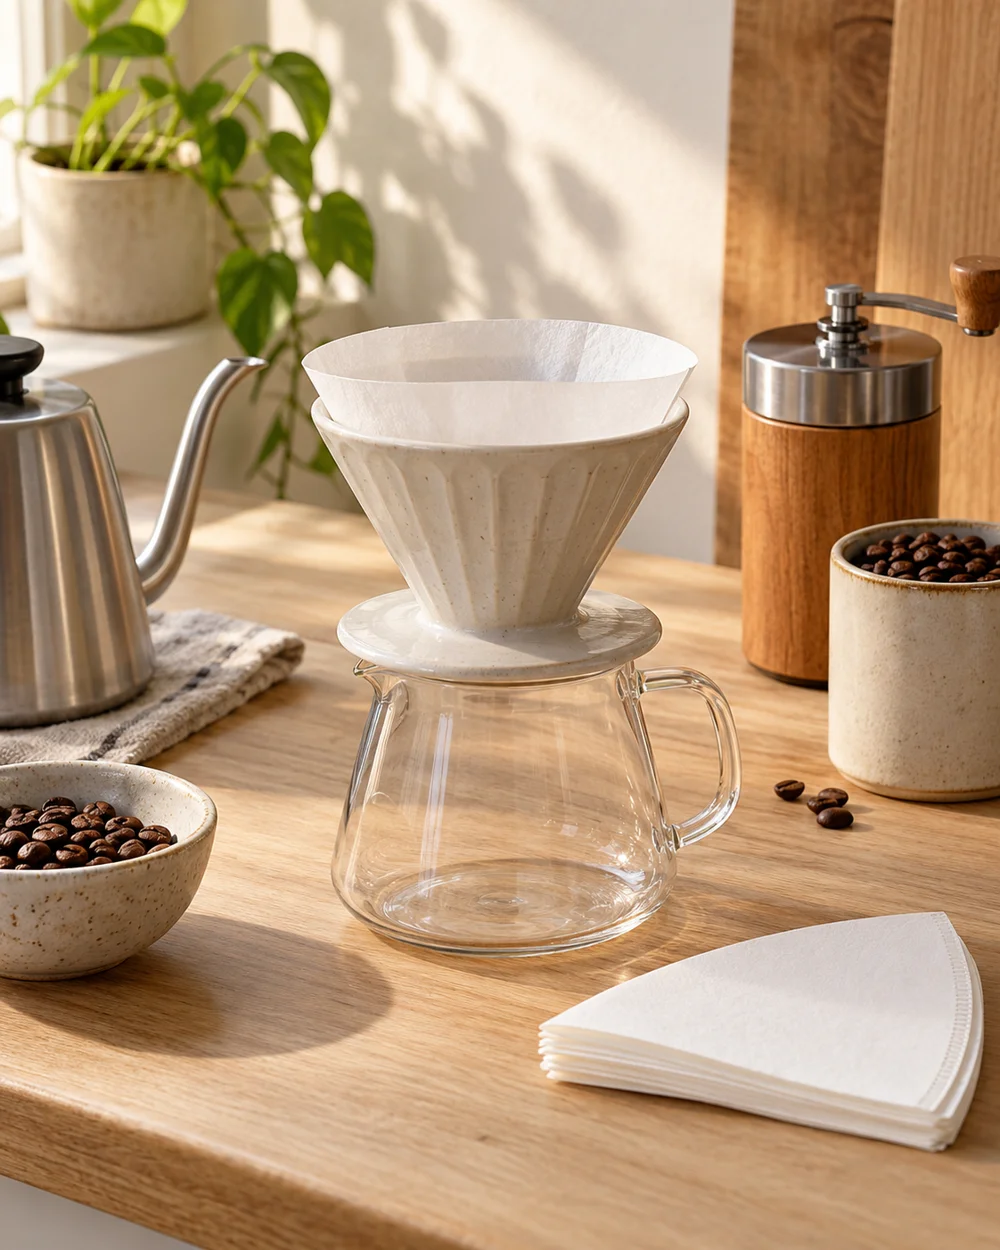
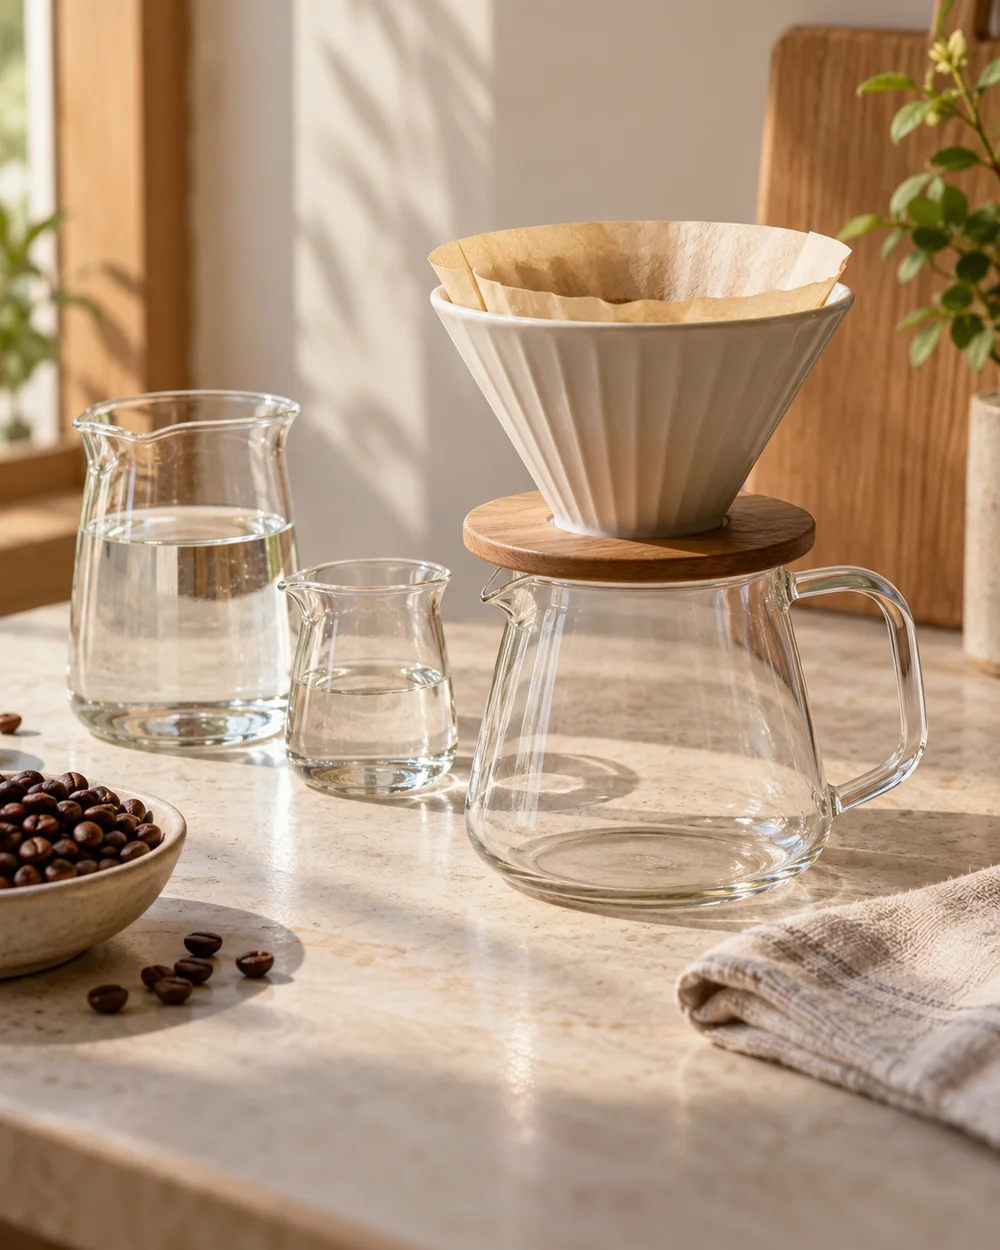
Representative category illustration reused from our editorial library; it does not depict this specific project or a tested result.
Standardizing Kettle Water Mass
The internal water mass determines how quickly water flows when you tilt the kettle. If the vessel is filled to capacity, liquid rushes forward with minimal tilt, making fine control difficult. Conversely, a nearly empty vessel requires an extreme tilt angle, causing the stream to split and sputter. As a practical starting point, filling the kettle roughly half full provides enough weight for stable handling while leaving sufficient space below the spout opening to buffer sudden surges.
Locking the Wrist Joint
Pouring errors with wide spouts frequently occur when tilting the kettle from the wrist alone. Shifting liquid can easily overcome small wrist adjustments, causing the spout to tip forward abruptly. Instead of bending your wrist, keep it in a firm, neutral position aligned with your forearm and guide the pour from your elbow and shoulder. Controlling the movement with your larger arm muscles helps you make smooth, gradual height adjustments so the water stream remains steady.
Managing Spout Distance and Surface Tension
Holding a wide spout high above the dripper causes the falling water to accelerate and break apart, which agitates the coffee bed excessively. Position the tip of the spout close to the rim of your dripper, roughly 2 to 4 centimeters above the top edge. At this close distance, the stream enters the slurry before gravity pulls it into a turbulent cascade. Keep the spout oriented squarely toward the center, allowing the stream to drop vertically rather than striking the coffee bed at an oblique angle.
Centering Pulses Rather Than Spirals
Narrow gooseneck spouts allow wide concentric circles, but attempting wide spirals with a broad spout risks washing grounds directly down the filter wall. Instead, rely on controlled pulse pours aimed strictly at the center diameter. Pour in short intervals, adding 40 to 60 grams of water across 8 to 10 seconds, then pause to let the slurry settle. The rising liquid level inside the cone will naturally draw peripheral grounds inward without requiring you to move the heavy kettle across the basket edges.
A Worked Pour Workflow
Consider an illustrative 15-gram coffee dose in a cone dripper. Fill a standard kettle roughly halfway with hot water. Begin with a 45-gram bloom over 10 seconds using a gentle initial tilt, then pause for 35 seconds. Complete the brew using three sequential pulses of approximately 70 grams each, pausing 15 seconds between pours to let the slurry drain. Observe the stream closely; if it begins to widen into an irregular cascade, ease your kettle tilt back slightly before the water disrupts the bed.
A little more
to know.
Can I use an ordinary chopstick across the spout to narrow the flow?
No. Balancing an unanchored chopstick or utensil across a wide spout while pouring near-boiling water creates a significant burn and scald hazard if the utensil shifts or liquid splashes. It is far safer to control the pour by managing the kettle fill level and tilting smoothly from your arm.
Why does the stream suddenly dribble back down the kettle body?
Dribbling occurs when the tilt angle is too shallow, allowing water to cling to the underside of the metal lip rather than falling clear. Increase the tilt with a smooth, decisive motion so the stream projects cleanly away from the spout exterior.
Original editorial guidance and recipe formulations, not independently kitchen-tested. Times are estimates and depend on equipment and product directions. Cooked bases need additional cooling and refrigeration before cold serving. Images are AI-generated illustrations; appearance and yield may vary. Check actual ingredient labels, allergens, and any certification you require. We do not certify products. Read our approach.
Save to Pinterest ↗ANOTHER IDEA FOR THE COUNTER