Keep a Recipe's Topping Portion Separate During Mixing
A common home-cafe frustration happens when a recipe calls for, say, half a cup of chopped walnuts both inside a batter and scattered on top, yet the cook measures everything into one bowl and folds it all in before remembering the garnish. The fix is straightforward: measure the full ingredient amount first, divide it according to the recipe's stated split, place the topping portion in a clearly labelled small bowl, and set it aside before any mixing begins. This article explains how to build that habit into your prep routine so the topping is always ready when the batter reaches the pan.
Read the note ↓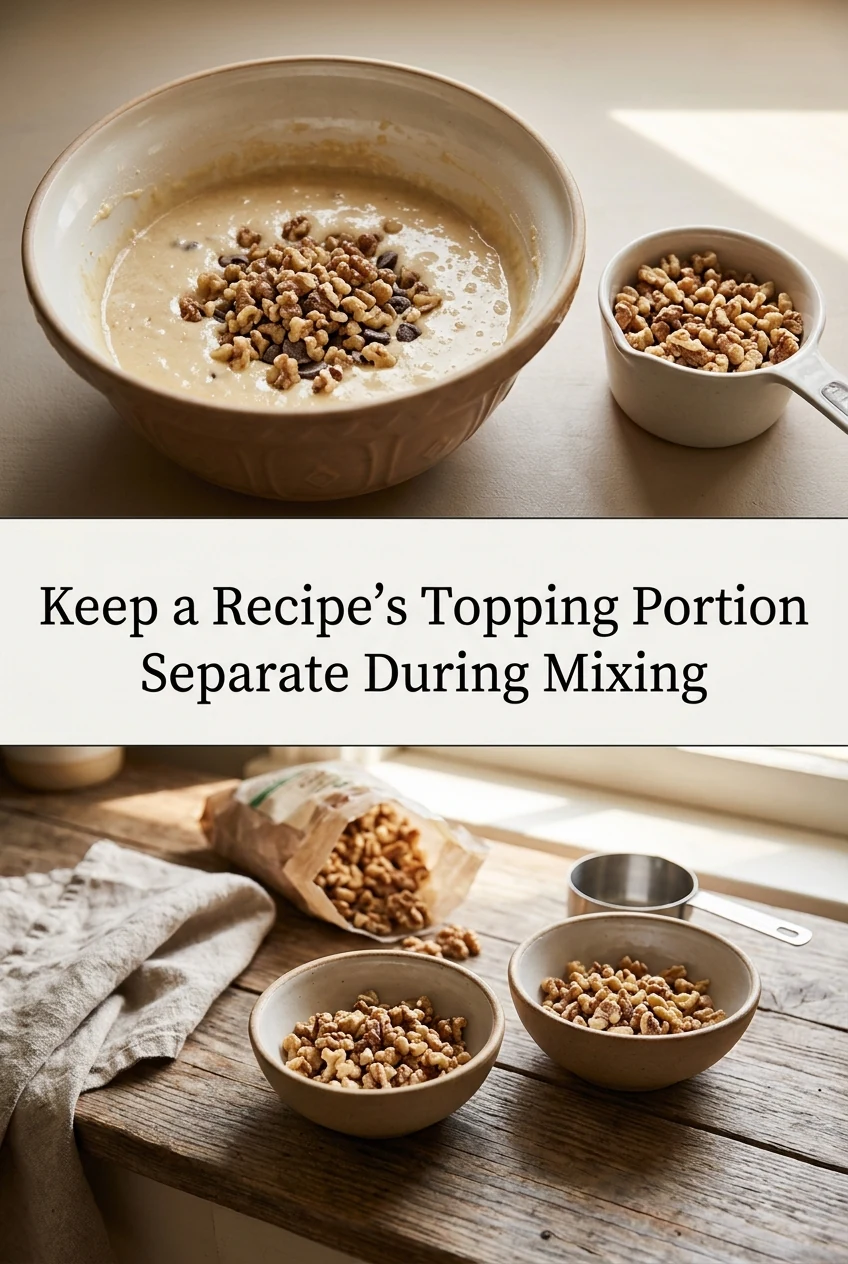
AI-generated editorial concept created for this article. The image is not a technical diagram or a tested result.
Why the Mistake Happens
Most recipes list a single total quantity for an ingredient and then split its use across two steps buried in the method. A reader scanning quickly sees '1 cup toasted breadcrumbs' and tips the whole cup into the mixing bowl during step two, only discovering at step six that a quarter cup was meant for the crust on top. By that point the crumbs are coated in egg or oil and cannot be cleanly separated. The problem is not carelessness; it is a reading pattern. Cooks often gather ingredients in one go, then follow method steps in sequence without re-reading the full recipe first. Separating the topping portion before mixing begins interrupts that pattern at the right moment.
The Measure-and-Label Step
Before you open a bag or jar, read the entire recipe once to identify every ingredient that is used in more than one place. For each such ingredient, note the total amount and the topping portion. Measure the full total into your largest prep bowl, then immediately spoon or scoop the topping portion into a separate small bowl. Stick a piece of masking tape on the small bowl and write what it contains and its amount, for example 'walnut topping — 3 tbsp'. Place that bowl away from your main work area, ideally near the baking pan or dish where it will eventually be used. Only the remaining quantity in the large prep bowl goes into the batter. This single physical separation removes the decision from the mixing stage entirely.
A Worked Example: Walnut Crumble Bars
Consider an illustrative plan for walnut crumble bars that calls for 1 cup of finely chopped halal-certified walnuts total, with three-quarters of a cup folded into the oat base and one-quarter cup pressed onto the top before baking. Start by measuring the full cup of walnuts into a medium bowl. Spoon exactly one-quarter cup into a small bowl and label it 'walnut topping — 1/4 cup'. The remaining three-quarters cup stays in the medium bowl for mixing into the base. When the base mixture is pressed into the lined pan and the filling is spread, the labelled bowl is already sitting next to the pan. You simply reach for it and scatter the topping evenly. The arithmetic is fixed at the start: 3/4 cup plus 1/4 cup equals the original 1 cup, so nothing is lost or doubled. This is an illustrative plan, not a kitchen-tested result, and your actual outcome will depend on your specific recipe and ingredients.
Adapting the Habit to Different Toppings
The same approach works for any dividable ingredient: sesame seeds split between a dough and a surface sprinkle, desiccated coconut used inside a batter and dusted on top, or brown sugar portioned partly into a filling and partly into a streusel. For dry toppings, a small ramekin or prep cup works well. For a liquid component such as a reserved portion of a glaze, use a small jar with a lid and refrigerate it promptly if it contains dairy or eggs, following your recipe's guidance on keeping perishables cold. Always use alcohol-free vanilla flavoring and halal-certified gelatin if your recipe includes either, and confirm those products before measuring. The label on the reserved bowl should note the ingredient name, the amount, and where it goes, so anyone helping in the kitchen can follow the plan without re-reading the recipe.
Fitting the Step Into Your Prep Routine
The measure-and-label step adds roughly two to three minutes to mise en place and saves the frustration of a missing topping or a wasted batch. A practical order is: read the full recipe, list divided ingredients on a notepad, measure and separate all topping portions into labelled bowls, then arrange your remaining prep ingredients in the order the method requires them. Position the topping bowls near the pan or dish rather than near the mixing area. When you reach the topping step in the recipe, the bowl is already in the right place. Over several baking sessions this sequence becomes automatic, and the labelled bowl acts as a visible reminder that the topping portion exists and has already been accounted for in the total measurement.
A little more
to know.
What if I have already mixed the topping portion into the batter by mistake?
If the ingredient is a dry one like chopped nuts or crumbs and the batter has not yet absorbed it fully, you may be able to spoon some off the surface, though the amount recovered will be approximate. If the batter is fully mixed, the cleanest option is to measure a fresh topping portion from your remaining supply rather than trying to extract it. Going forward, the measure-and-label step at the start of prep prevents the situation from arising.
Does this technique change the recipe's ingredient ratios?
No. You are measuring the same total quantity the recipe specifies and then dividing it as the recipe instructs. The split between batter and topping is already built into the original recipe; this technique simply makes that split physical and visible before mixing starts, so the correct amount reaches each part of the dish.
Original editorial guidance and recipe formulations, not independently kitchen-tested. Times are estimates and depend on equipment and product directions. Cooked bases need additional cooling and refrigeration before cold serving. Images are AI-generated illustrations; appearance and yield may vary. Check actual ingredient labels, allergens, and any certification you require. We do not certify products. Read our approach.
Save to Pinterest ↗ANOTHER IDEA FOR THE COUNTER