Keep a Recipe Printout Readable Beside a Small Preparation Area
A printed recipe sheet can become unreadable within minutes on a small preparation surface. Condensation from a pitcher, drips from a spoon, and the general crowding of a compact home-cafe setup all conspire against a paper page. This article focuses on positioning and protecting an existing printout so you can follow it comfortably while making a batch of iced tea, rather than on rewriting the recipe onto index cards or memorising steps in advance. The approach described here is an illustrative plan, not a kitchen-tested result, and your own counter layout will shape how you adapt it.
Read the note ↓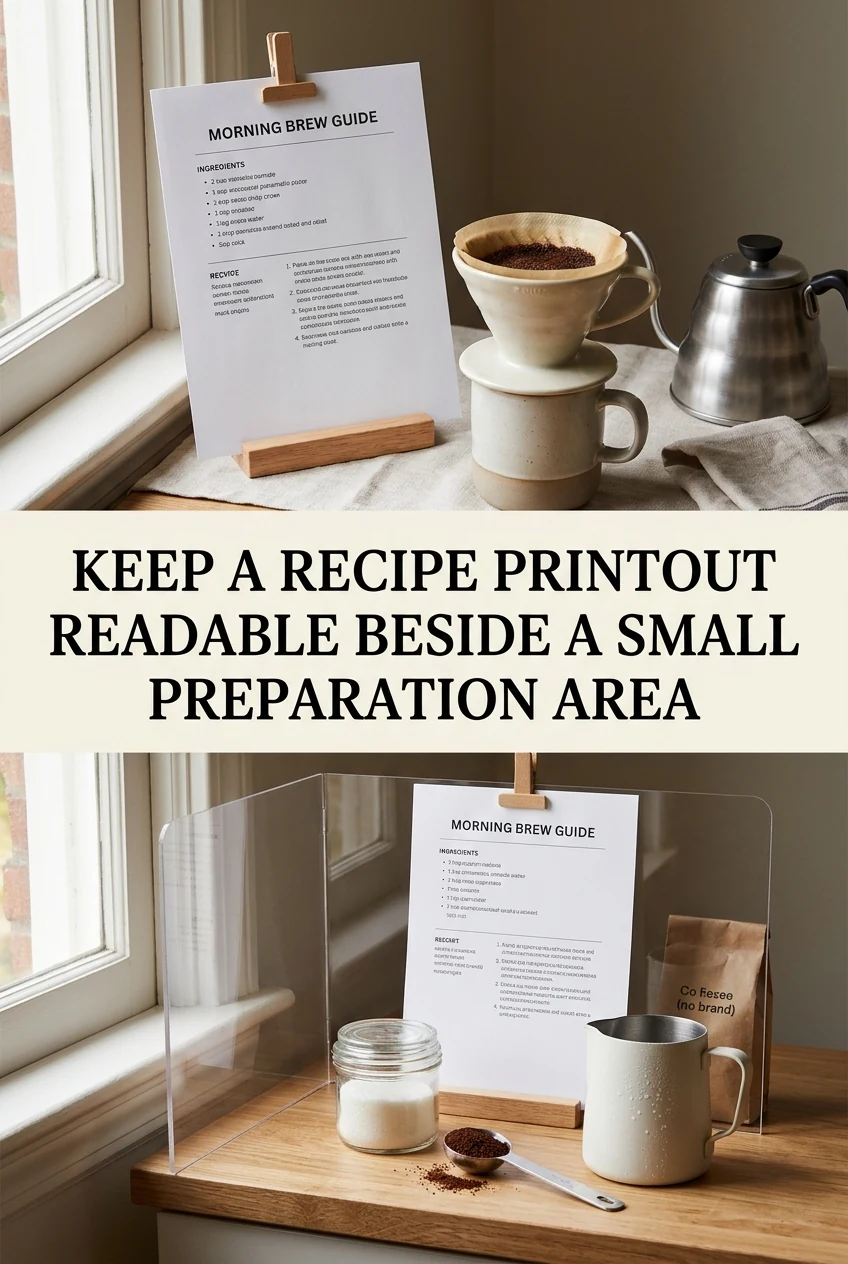
AI-generated editorial concept created for this article. The image is not a technical diagram or a tested result.
Choose a Print Format That Stays Readable at a Glance
Before you place the sheet anywhere, check that it is actually easy to read from a standing position. Open the recipe document and set the body text to at least 14 pt. Break every distinct action onto its own line rather than burying it inside a paragraph. For example, a line might read simply: 'Pour 500 ml of cold filtered water over the tea bags.' The next line then covers the steeping time, and the line after that covers removal of the bags. This one-action-per-line layout lets your eye jump to exactly the right instruction without scanning a block of text while your hands are busy. Print on plain white paper in black ink so contrast stays high even in dim kitchen lighting. A single A4 or letter-size sheet printed on one side is easier to handle than a multi-page document folded in half.
Select a Position Away From Splashes
On a small preparation area, the zone directly beside the sink, behind the pitcher, or in front of a kettle spout is almost always wet. Measure your available counter space and identify a dry band at least 15 cm back from any water source or vessel. If your counter is roughly 45 cm deep, the rear 15 cm strip is usually the safest zone. Place the sheet there, oriented so you read it from the front of the counter. If that strip is already occupied by appliances, consider a small easel-style cookbook stand placed at one end of the counter, angled so you can read it without turning your head far from the work in front of you. The goal is a clear sightline to the text from wherever you stand while pouring or measuring.
Protect the Paper Without Laminating It
Laminating is a permanent change to the sheet and requires equipment many households do not own. A simpler option is to slip the printed page inside a clear resealable plastic sleeve or a transparent document wallet. These are available at stationery shops and hold a standard A4 or letter sheet flat. The plastic surface wipes clean with a dry cloth if a splash reaches it, and the text remains fully visible through the front. Lay the sleeved sheet on the counter or clip it to the cookbook stand. If you do not have a sleeve, placing the sheet under a small sheet of glass or a clear acrylic chopping board works as a temporary measure, provided the board is clean and the text is still legible through it. None of these methods make the sheet permanently waterproof, so move it promptly if a large spill occurs.
A Worked Example With a Simple Iced Tea Batch
Suppose your printed recipe calls for four black tea bags, 1 litre of freshly boiled water, 60 ml of simple syrup, and a few drops of alcohol-free vanilla flavoring. Your counter is 60 cm wide and 45 cm deep. You place the kettle and pitcher on the left 30 cm. The right 30 cm is your dry zone. You slip the printed sheet into a clear sleeve and set it at the back-right corner, roughly 20 cm from the pitcher. Standing at the counter, you can read each line without leaning. You follow the sheet line by line: boil water, pour over bags in the pitcher, steep for the time your specific tea brand recommends on its packaging, remove bags, stir in syrup, add the alcohol-free vanilla flavoring, and allow to cool briefly before transferring to the refrigerator. Because the iced tea contains perishable ingredients, you refrigerate it promptly and follow any guidance your tea or syrup packaging provides regarding use. The sheet stays dry throughout because it is in the sleeve and positioned away from the pour zone.
Reset the Setup After Each Session
Once you finish preparation, wipe the counter surface before returning the sleeved sheet to storage. If the sleeve itself picked up any moisture on its exterior, wipe it dry with a clean cloth before filing it away. Store the sleeve flat in a folder or drawer so the paper inside does not crease. The next time you prepare iced tea, the sheet will be in the same readable condition. If you update the recipe, simply swap the printed page inside the sleeve for the revised version. This reset habit keeps the system functional over repeated sessions without any permanent modification to your recipe document or your kitchen setup.
A little more
to know.
Can I tape the sheet directly to a cabinet door above the counter instead?
Yes, that is a practical alternative if the cabinet face is at a comfortable reading height and the sheet will not be in the path of steam from a kettle. Use low-tack tape so the sheet can be removed without tearing, and still consider slipping it into a clear sleeve first so any airborne moisture does not soften the paper over time.
What if my printed recipe runs to two pages?
Try reformatting the document to reduce line spacing or margins so everything fits on one side of a single sheet. If two pages are unavoidable, place them side by side in two separate sleeves, or use a sleeve that holds two pages back to back and flip it over when you reach the second page. Keeping both pages visible at once is preferable to searching for where you left off mid-preparation.
Original editorial guidance and recipe formulations, not independently kitchen-tested. Times are estimates and depend on equipment and product directions. Cooked bases need additional cooling and refrigeration before cold serving. Images are AI-generated illustrations; appearance and yield may vary. Check actual ingredient labels, allergens, and any certification you require. We do not certify products. Read our approach.
Save to Pinterest ↗ANOTHER IDEA FOR THE COUNTER