Keep a Cake Slicing Guide on Paper Rather Than Scoring a Hot Cake
A paper slicing guide is a simple home-cafe planning habit: you sketch equal portions on a sheet of paper before the cake even goes into the oven, then refer to that sketch at the moment your recipe says the cake is ready to cut. Nothing is scored into the warm crumb, no universal cooling window is assumed, and no marks are pressed onto a surface that may still be fragile. The sketch lives beside the cake board, not on it, and it guides your knife only when the recipe and your own judgment confirm the cake is at the right stage.
Read the note ↓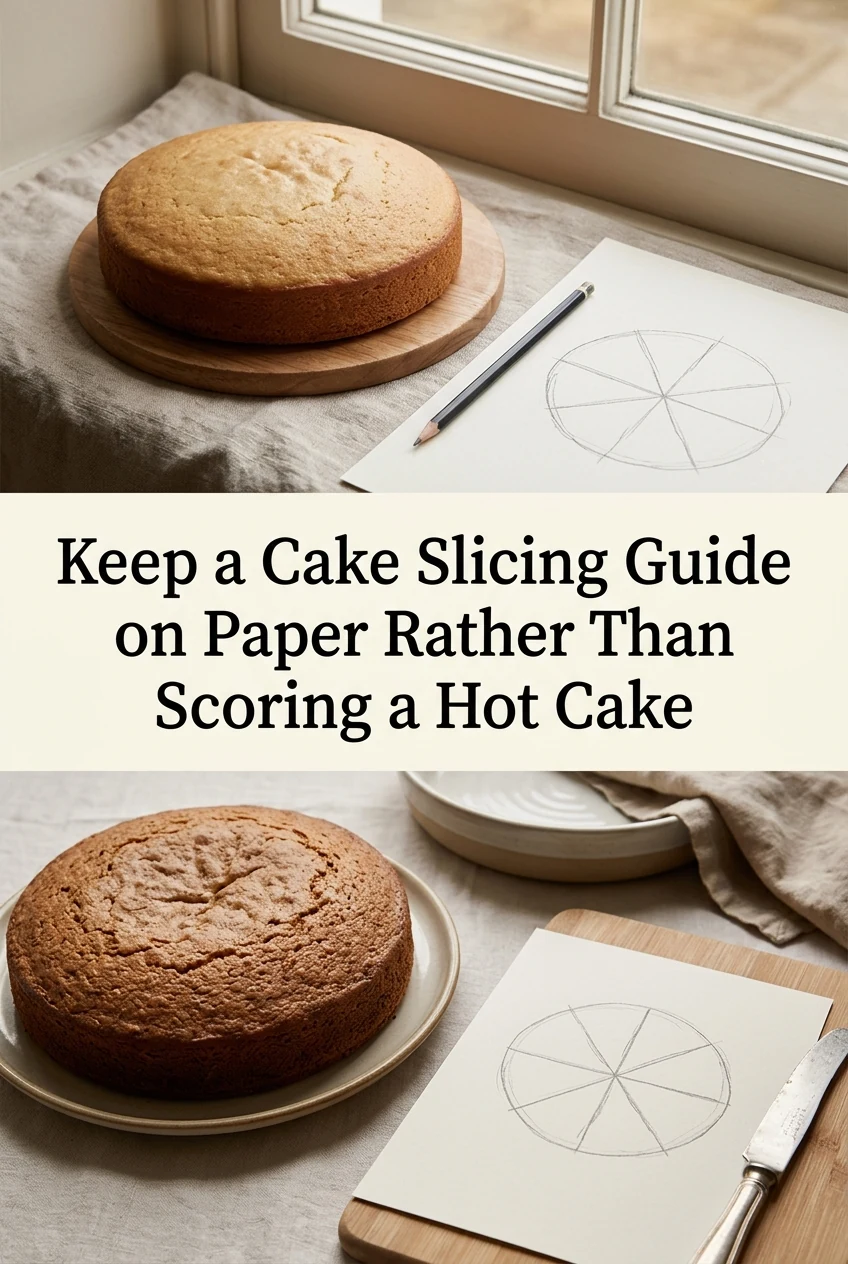
AI-generated editorial concept created for this article. The image is not a technical diagram or a tested result.
Why a Paper Guide Instead of Scoring
Pressing a knife or skewer into a hot or even warm cake to mark future cut lines can drag the crumb, pull frosting, and leave grooves that widen as the cake cools and contracts. A paper guide avoids all of that because the marks stay on paper, not on the cake. You plan the geometry in advance, keep the guide flat on the counter, and transfer those measurements to the actual cake only when the recipe instructs you to slice. This is a planning and presentation technique, not a claim about cutting precision or crumb quality.
Sketching Equal Portions Before You Bake
Take a plain sheet of paper and draw a circle or rectangle that represents your tin size. For a round 20 cm cake intended to serve eight people, draw a circle and mark the centre point. Draw one diameter line across the full width, then a second line perpendicular to it, giving four quarters. Bisect each quarter with one more line to produce eight equal wedges. Label each wedge with a number so you can track them when plating. For a rectangular 20 cm by 30 cm tray cake serving twelve, draw the rectangle to a rough scale, divide the 30 cm length into four equal columns of 7.5 cm each, then divide the 20 cm width into three equal rows of approximately 6.7 cm, producing twelve pieces. Write the column and row measurements directly on the sketch so you have a ready reference. This is an illustrative plan based on simple arithmetic; actual piece sizes depend on how evenly you execute each cut.
A Worked Example: Vanilla Sponge for Eight
Imagine a two-layer vanilla sponge made with alcohol-free vanilla flavoring, baked in two 20 cm round tins following the recipe's stated bake time and temperature. Once both layers are out of the oven, follow your recipe's own cooling and assembly directions completely before considering any cuts. While the cake cools on the rack as directed, your paper guide is already drawn: a circle with eight equal wedges, each spanning 45 degrees, with a small dot marking the centre. When the recipe confirms the cake is assembled and at the appropriate stage for slicing, place the paper guide beside the board. Use a long knife to find the centre of the cake visually, make your first cut through the full diameter, rotate the cake 90 degrees, make the second cut, then bisect each quarter. The paper guide reminds you of the geometry without any marks having touched the cake at any earlier stage.
Refrigerating Perishable Cakes Promptly
Cakes filled or frosted with dairy cream, cream cheese, or halal-certified gelatin-set layers are perishable and should be refrigerated promptly once they reach the stage your recipe describes as safe to chill. Do not leave them at room temperature for longer than your recipe specifies. If you are slicing a refrigerated cake, remove it from the refrigerator and slice according to your recipe's guidance on serving temperature. Your paper guide works equally well for a chilled cake: the sketch does not change, and no cooling time is assumed to be universal because recipes and fillings vary.
Storing and Reusing Your Paper Guides
A paper slicing guide for a standard round or rectangular cake takes under five minutes to draw and can be kept in a folder for future reference. If you bake the same cake regularly for a home-cafe setting, laminate the guide or slip it into a clear sleeve so it can be wiped clean and reused. Write the tin size and portion count on the guide so there is no confusion when you reach for it weeks later. You can build a small collection of guides for different tin shapes and serving numbers, making portion planning consistent across bakes without relying on memory or on marks made at the wrong moment.
A little more
to know.
Can I use the paper guide directly under the cake board as a tracing template?
You can place the guide beneath a thin, clean board and use it as a visual reference for where to position your knife, provided the board is flat and the guide is visible through or around it. The guide is a reference tool kept beside or under the board, not pressed onto the cake surface itself. Always follow your recipe's instructions for when to cut.
What if my cake layers are different heights and the portions look uneven?
A paper guide plans the top-down footprint of each slice, not the height. If layers vary in thickness due to baking, that is a separate consideration addressed during assembly. The guide helps you cut equal surface-area portions; how the layers align inside each slice depends on how the cake was assembled and levelled before frosting.
Original editorial guidance and recipe formulations, not independently kitchen-tested. Times are estimates and depend on equipment and product directions. Cooked bases need additional cooling and refrigeration before cold serving. Images are AI-generated illustrations; appearance and yield may vary. Check actual ingredient labels, allergens, and any certification you require. We do not certify products. Read our approach.
Save to Pinterest ↗ANOTHER IDEA FOR THE COUNTER