Eliminate Starch Gels on Stovetop Cocoa Pots
Thick European-style stovetop hot chocolate relies on pure cornstarch to achieve a luxurious, spoon-coating body, but starch granules tend to gelatinize unevenly against hot metal pans. Scorched bottom layers and rubbery, jelly-like clumps occur when heat increases too quickly or when dry powders are added directly into warm liquid. Controlling starch activation requires preparing a cold slurry, regulating thermal conductivity, and maintaining constant pan-bottom agitation. Mastering these basic physical boundaries yields a glossy, uniform cocoa emulsion free from burnt residues and unappealing gelatinous strands.
Read the note ↓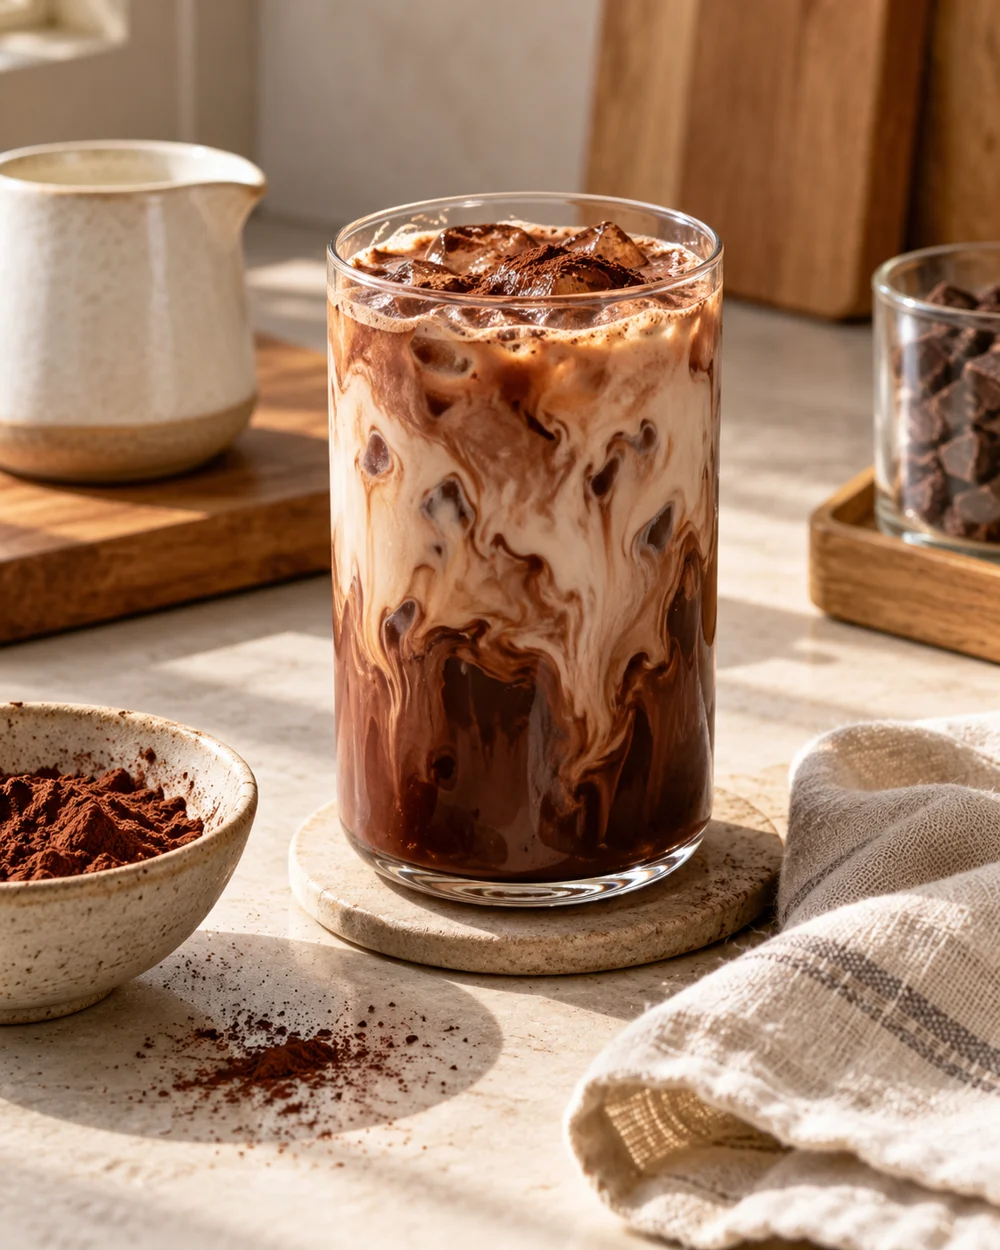
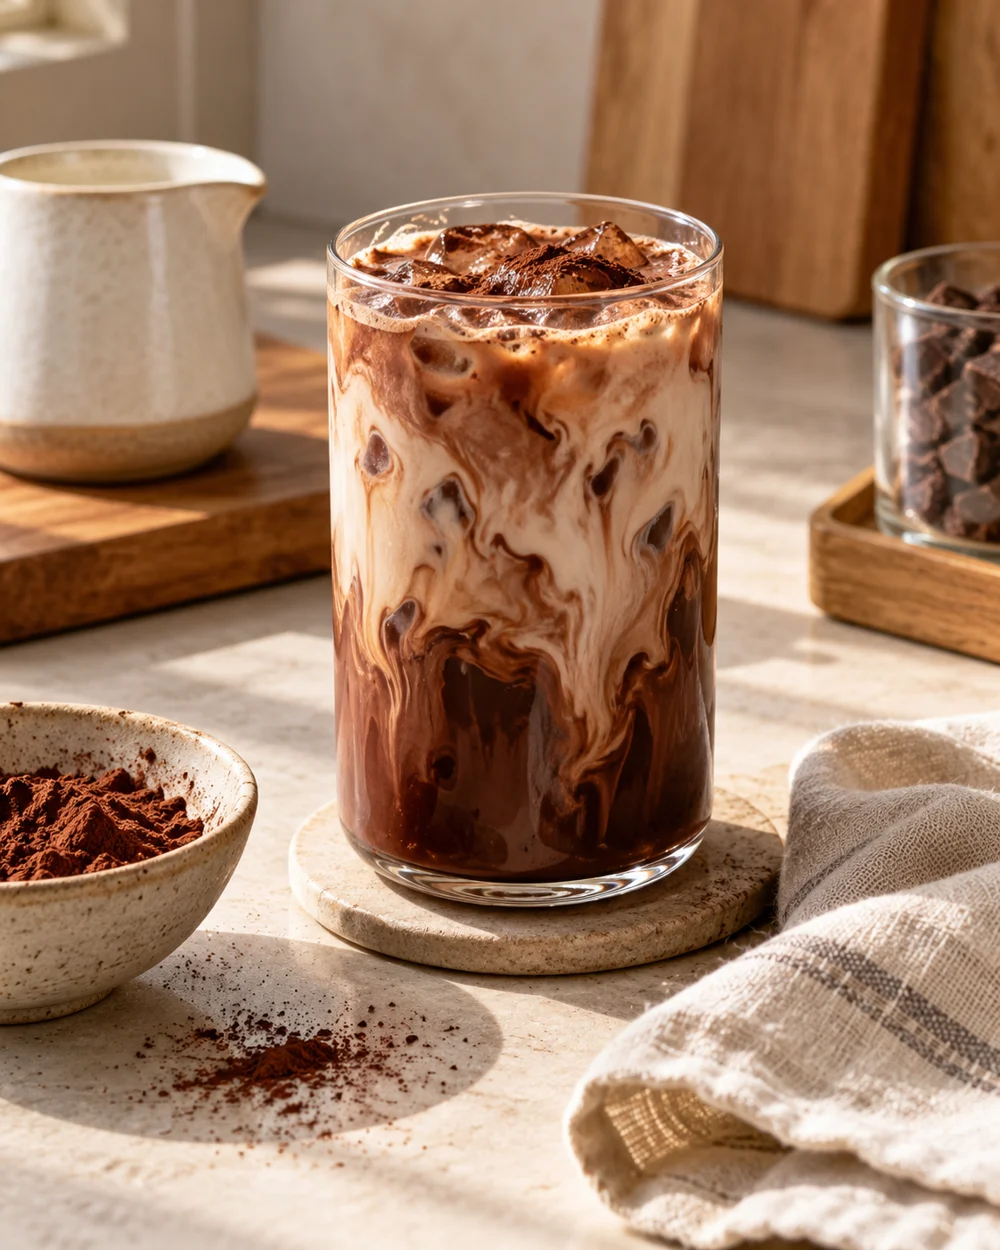
Representative category illustration reused from our editorial library; it does not depict this specific project or a tested result.
Disperse Cornstarch in a Cold Fluid Slurry
Cornstarch granules do not dissolve in hot liquids; instead, their outer walls swell rapidly, fusing into gummy clusters that resist smoothing. Always blend measured cornstarch into a small portion of cold, pasteurized milk in a separate ramekin before heating. Stir thoroughly with a small fork until completely fluid and milky. Creating this smooth slurry separates individual starch granules in cold suspension, ensuring they hydrate and swell independently once introduced to the warming cocoa base in your saucepan.
Select Heavy-Bottomed Cookware
Thin stainless steel or lightweight aluminum cookware develops localized thermal hot spots directly over stove burners. These intense focal points rapidly cook starch onto the metal interior before the rest of the cocoa heats, creating an adhesive scorched crust. Use a small, heavy-bottomed saucepan or enameled cast iron pot with balanced heat distribution. Slower, uniform thermal conductivity allows the milk suspension to rise in temperature evenly, giving you precise control over starch gelatinization thresholds.
Integrate Slurry at Sub-Gelatinization Temperatures
Combine your Dutch-process cocoa powder, sugar, and the bulk of the pasteurized milk in the saucepan over low heat, whisking until powders dissolve completely. As an illustrative recipe, blend 200 milliliters of whole milk with 15 grams of cocoa and 12 grams of sugar. Once warm to the touch but well below simmering, slowly pour in a slurry of 5 grams cornstarch and 25 milliliters cold milk while whisking steadily to prevent thermal shock.
Maintain Continuous Figure-Eight Whisking
As the liquid approaches 80C to 85C (176F to 185F), cornstarch begins to absorb liquid and swell into a thick network. Circular stirring allows heavy starch particles to migrate outward and settle along the bottom corner of the pan. Use a silicone-coated wire whisk to trace continuous figure-eight patterns across the pan bottom. This motion sweeps the center, flat base, and corner transitions systematically, dislodging settling starch before it bonds to the cooking surface.
Recognize Peak Viscosity and Terminate Heat
Cornstarch reaches full thickening potential right as the mixture achieves a low, gentle simmer with slow-bursting bubbles. Sustaining high heat past this point fractures the starch molecules, thinning the drink while scorching the base. As soon as the cocoa coats the back of a spoon with a glossy sheen, remove the pan entirely from the heat element. Decant into a pre-warmed ceramic mug immediately, wiping out the pot base promptly to confirm clean release.
A little more
to know.
Can I substitute arrowroot or tapioca starch using the same technique?
While the slurry step remains identical, arrowroot and tapioca activate at slightly lower temperatures and become slimy or stringy if subjected to high stove heat. Cornstarch yields a significantly cleaner, pudding-like cocoa texture.
How do I store and reheat leftover thickened cocoa safely?
Pour leftover cocoa into an airtight container and chill to 4C or below within two hours. Reheat gently over low heat, whisking constantly while adding a splash of pasteurized milk to restore its pourable texture.
Original editorial guidance and recipe formulations, not independently kitchen-tested. Times are estimates and depend on equipment and product directions. Cooked bases need additional cooling and refrigeration before cold serving. Images are AI-generated illustrations; appearance and yield may vary. Check actual ingredient labels, allergens, and any certification you require. We do not certify products. Read our approach.
Save to Pinterest ↗ANOTHER IDEA FOR THE COUNTER