Distinguish Plain Flour from Self-Raising Flour Before Mixing
Two bags of white flour sitting side by side in a home-cafe pantry can look identical once the original packaging is set aside. Plain flour and self-raising flour behave very differently in a batter or dough, and reaching for the wrong one before you mix can alter the texture of an entire small batch. This article walks through a practical identification routine so you always know what is in the bag before a single gram is weighed out.
Read the note ↓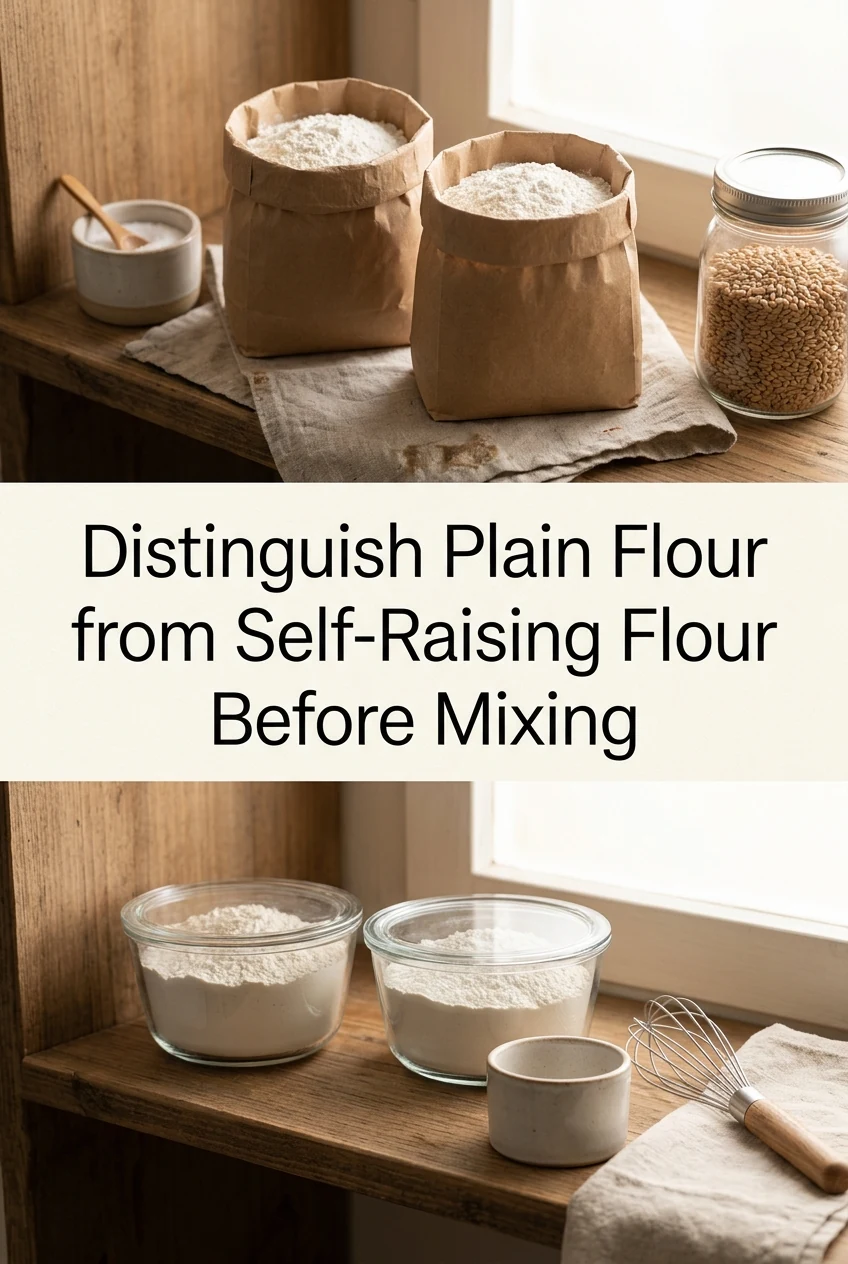
AI-generated editorial concept created for this article. The image is not a technical diagram or a tested result.
Why the Distinction Matters for Small-Batch Work
Self-raising flour already contains a leavening blend — typically a raising agent and salt — measured by the manufacturer to suit a standard recipe ratio. Plain flour contains neither. When a recipe specifies plain flour and you add your own baking powder separately, you control the exact quantity. If you accidentally use self-raising flour in that same recipe, the batch receives a double dose of leavening, which can cause excessive rise followed by collapse, a coarse crumb, or an unpleasant salty taste. The reverse error — using plain flour where self-raising is called for — produces a dense, flat result. Neither outcome is correctable once mixing begins, which is why identification happens before the bowl is touched.
Reading the Package First
The most reliable method is always the label. Self-raising flour packages list raising agents and salt in the ingredients panel; plain flour lists only wheat flour. If the original bag is present, read the ingredients list rather than relying on the product name printed on the front, because naming conventions vary between brands and regions. Some brands print 'self-raising' clearly; others use abbreviations or regional spellings. When you decant flour into a storage container, transfer the label or write the full product name and the brand on a piece of tape fixed to the container immediately — before the original bag is discarded. This single habit prevents the most common mix-up in a home-cafe setting.
Matching Flour to the Recipe Requirement
Once you have confirmed what is in the container, compare it to what the recipe actually states. Do not substitute one type for the other by title alone and do not attempt to invent a universal conversion ratio, because the quantity of raising agent already present in self-raising flour varies by brand and is not published as a universal figure. If your recipe calls for plain flour plus a specified amount of baking powder, use plain flour and weigh the baking powder as directed. If the recipe calls for self-raising flour with no added leavening, use self-raising flour from a package whose label confirms it contains a raising agent. If you do not have the correct type on hand, note the gap and source the right flour before proceeding rather than improvising.
A Worked Example: Small-Batch Vanilla Cupcakes
Consider a recipe for eight vanilla cupcakes that lists 120 g plain flour, 1 teaspoon baking powder, a pinch of salt, and alcohol-free vanilla flavoring. You open your pantry and find two unlabeled containers. You check your tape labels: one reads 'plain flour, Brand A' and the other reads 'self-raising flour, Brand B.' You select the plain flour container, weigh 120 g, then weigh the baking powder and salt separately as the recipe states. The alcohol-free vanilla flavoring is added at the quantity the recipe specifies. This approach follows the recipe exactly as written. Had you reached for the self-raising flour, you would have introduced an unknown additional quantity of raising agent and extra salt beyond what the recipe accounts for, producing a different and unpredictable result in that small batch of eight.
Storing and Labeling Flour in a Home-Cafe Setup
Keep plain flour and self-raising flour in clearly labeled, airtight containers stored separately — ideally on different shelves or in different sections of the pantry so they are never adjacent without a visible label. Write the flour type, brand name, and the date you decanted it on the label. Follow the storage guidance printed on the original package for the expected use-by period, and do not invent your own shelf-life estimate. If you are unsure whether a container holds plain or self-raising flour and no label is present, do not use it for a recipe until you can confirm its identity by sourcing a fresh, clearly labeled package. Discarding uncertain flour is a straightforward decision when the cost of a failed small batch is considered.
A little more
to know.
Can I use the look or feel of the flour to tell the two types apart?
Visual and tactile checks are not reliable for distinguishing plain flour from self-raising flour because both are fine white powders with a very similar appearance and texture. The only dependable identification method in a home-cafe setting is reading the ingredients list on the original package or a label you have transferred accurately from that package to your storage container.
What should I do if my recipe calls for self-raising flour but I only have plain flour?
Do not attempt to create a substitute using an invented ratio. Different brands of self-raising flour contain different quantities of raising agents, and a homemade approximation will not reliably match the flour the recipe developer used. The straightforward approach is to source a package of self-raising flour whose label confirms it contains a raising agent, then follow the recipe as written. If that is not immediately possible, set the recipe aside until you have the correct ingredient.
Original editorial guidance and recipe formulations, not independently kitchen-tested. Times are estimates and depend on equipment and product directions. Cooked bases need additional cooling and refrigeration before cold serving. Images are AI-generated illustrations; appearance and yield may vary. Check actual ingredient labels, allergens, and any certification you require. We do not certify products. Read our approach.
Save to Pinterest ↗ANOTHER IDEA FOR THE COUNTER