Decide How to Split a Single Moka Pot Brew Between Two Different Cup Sizes
A moka pot produces a fixed volume determined by its basket and chamber size, and that volume rarely divides neatly into two identical servings. When two people want different amounts, or when the available cups are mismatched, guessing the split by eye usually leaves one cup noticeably short or one person with more than they wanted. Measuring the total brew first and then dividing deliberately takes under a minute and removes the guesswork entirely.
Read the note ↓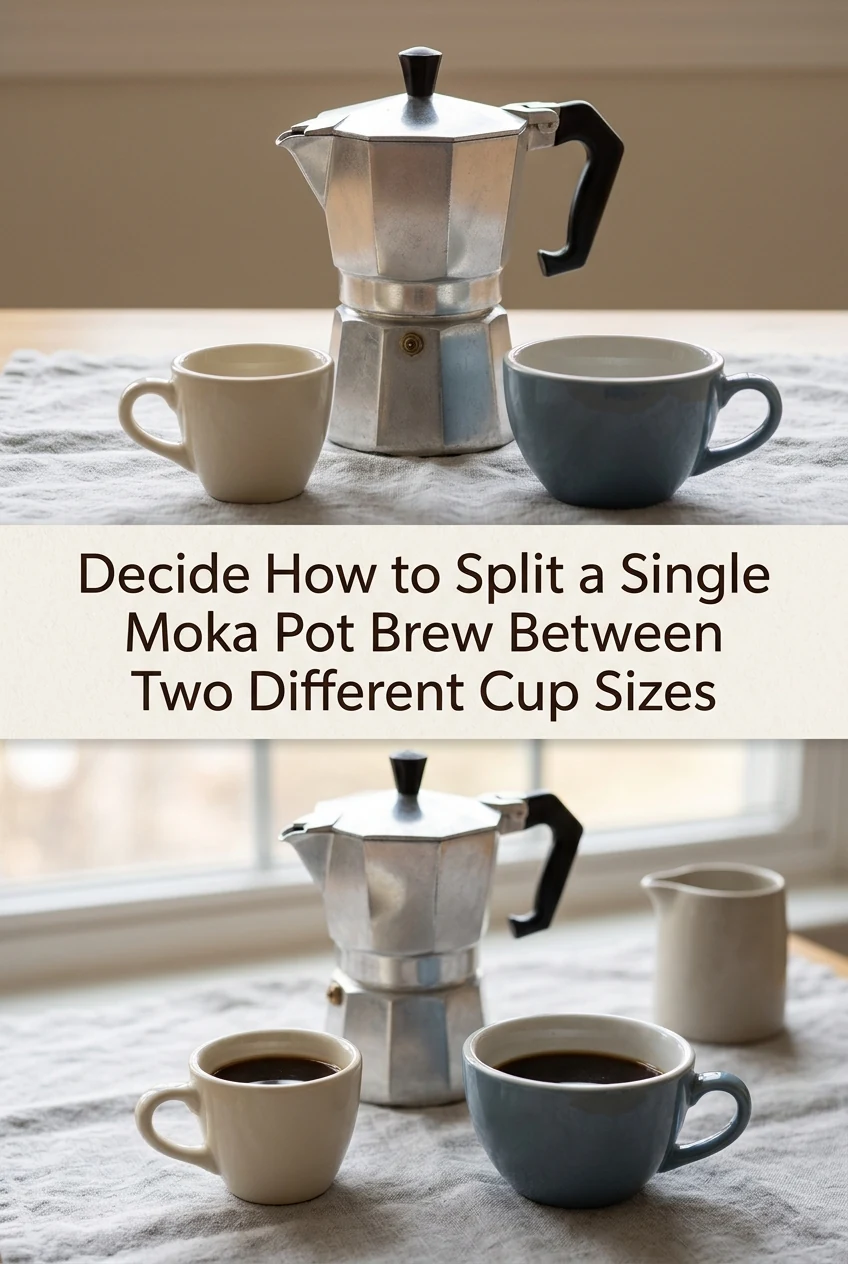
AI-generated editorial concept created for this article. The image is not a technical diagram or a tested result.
Measure the total brewed volume before splitting
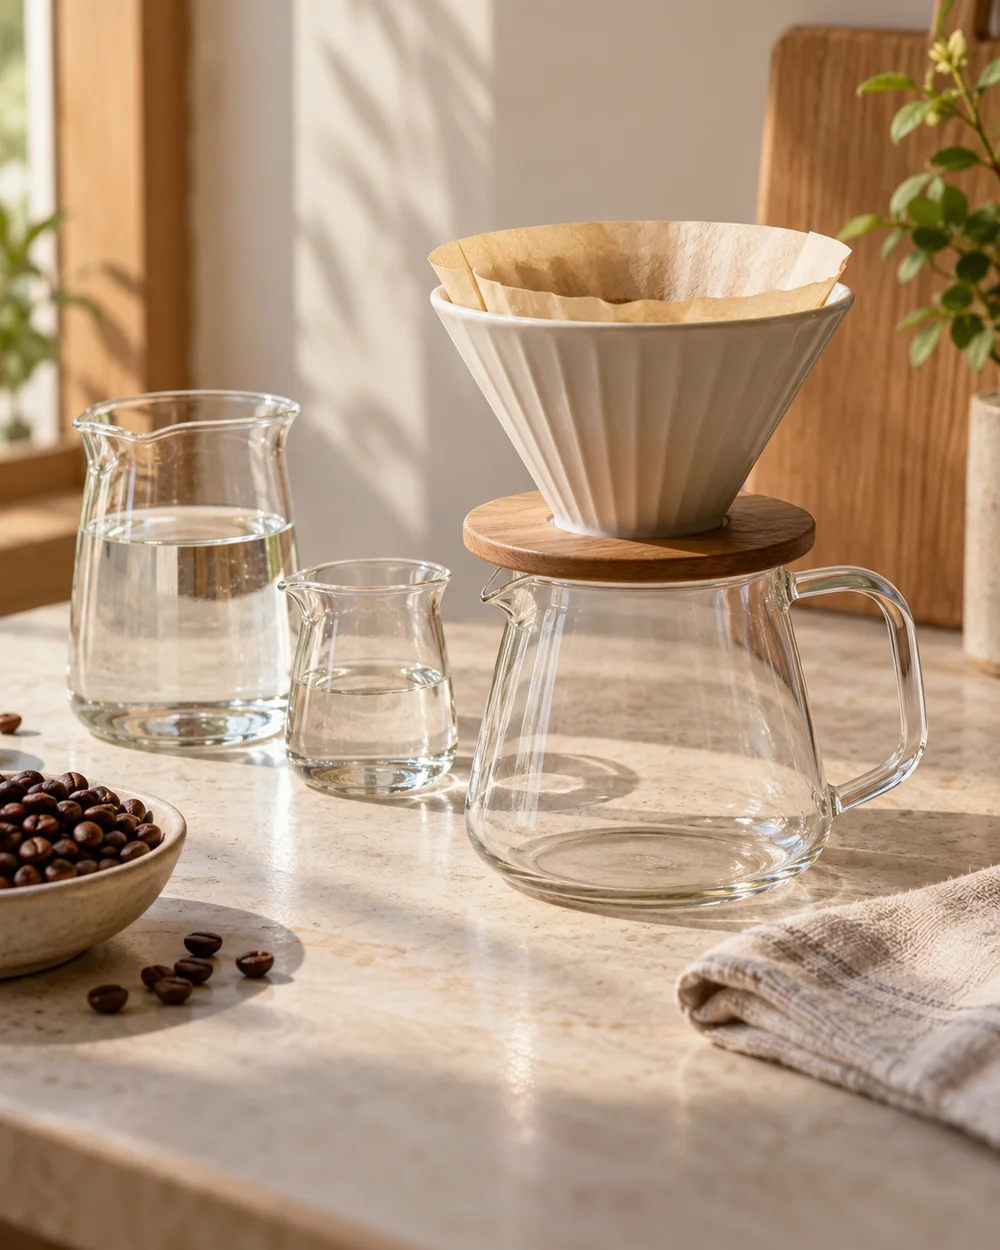
Brew the moka pot as you normally would, then pour the entire yield into a heatproof measuring jug rather than directly into the cups. Decanting the pot also mixes the dense, rich early extract with the lighter finishing liquid, creating an even concentration. Read the volume at eye level. A standard three-cup moka pot typically yields between 100 and 130 millilitres depending on the model and coffee dose, but treat your actual measured reading as the reference for this session. This step gives you a precise number to divide rather than a rough visual estimate.
Decide the split ratio before pouring
Ask both people what proportion they want, or decide based on cup capacity. As an illustrative example, if the jug shows 150 millilitres and one person wants a smaller 60-millilitre portion and the other wants the remainder, the split is 60 millilitres and 90 millilitres. Write nothing down; simply pour the smaller portion first into a cup placed on the scale, tare, and pour until the scale reads the agreed amount. The remainder goes into the second cup.
Pour the smaller portion first to preserve accuracy
Pouring the smaller amount first into a weighed cup is more precise than trying to stop at the larger amount. Targeting the smaller volume on the scale requires monitoring only one cutoff point. Once the smaller cup reaches its target, the remaining coffee in the jug empties into the second cup without requiring any second measurement. This sequence minimizes hesitation, reduces the chance of over-pouring, and avoids redistributing coffee between cups.
Account for the jug residue when the total volume is small
A measuring jug retains a small amount of liquid on its inner walls, typically 2 to 4 millilitres for a standard glass jug. If you pour an exact target into the first cup, that retention means the remainder in the second cup will be slightly less than the initial reading suggested. For ordinary drinking, this minor shortfall is barely noticeable. If you need a strictly equal split, subtract 2 millilitres from your target pour for the first cup so both servings share the loss, or swirl the jug well to drain as much liquid as possible.
Serve promptly and do not leave brewed coffee in the jug
Because moka pot coffee is concentrated and brewed in modest volumes, it cools quickly when transferred into an uninsulated measuring jug. Leaving the coffee to sit allows heat to escape and causes aromatics to dissipate. Once you have measured the volume, split and serve within two to three minutes. If one cup needs hot water or milk added, have those prepared in advance so the coffee can be mixed immediately at the proper drinking temperature.
A little more
to know.
Does pouring into a measuring jug first cool the coffee too much before serving?
A preheated jug, rinsed with hot water and emptied just before use, loses minimal heat during the brief measuring step. The temperature difference in the final cup is small enough that most people do not notice it compared to a direct pour.
What if one person wants an Americano-style drink with added hot water?
Split the brew as described, then add hot water to that person's cup after pouring their measured portion. Adding water before splitting would change the total volume and make the ratio calculation less straightforward.
Original editorial guidance and recipe formulations, not independently kitchen-tested. Times are estimates and depend on equipment and product directions. Cooked bases need additional cooling and refrigeration before cold serving. Images are AI-generated illustrations; appearance and yield may vary. Check actual ingredient labels, allergens, and any certification you require. We do not certify products. Read our approach.
Save to Pinterest ↗ANOTHER IDEA FOR THE COUNTER