Clean a Coffee Grinder the Way Its Maker Describes
Fine coffee dust settles into every gap of a grinder, and old grounds left in the burr area turn rancid and affect the taste of every subsequent batch. The uncertainty most people face is not whether to clean the grinder but which parts can safely go near water and which must stay completely dry. The answer is in the manual that came with the machine, and following it prevents damage that voids the warranty and creates safety risks.
Read the note ↓
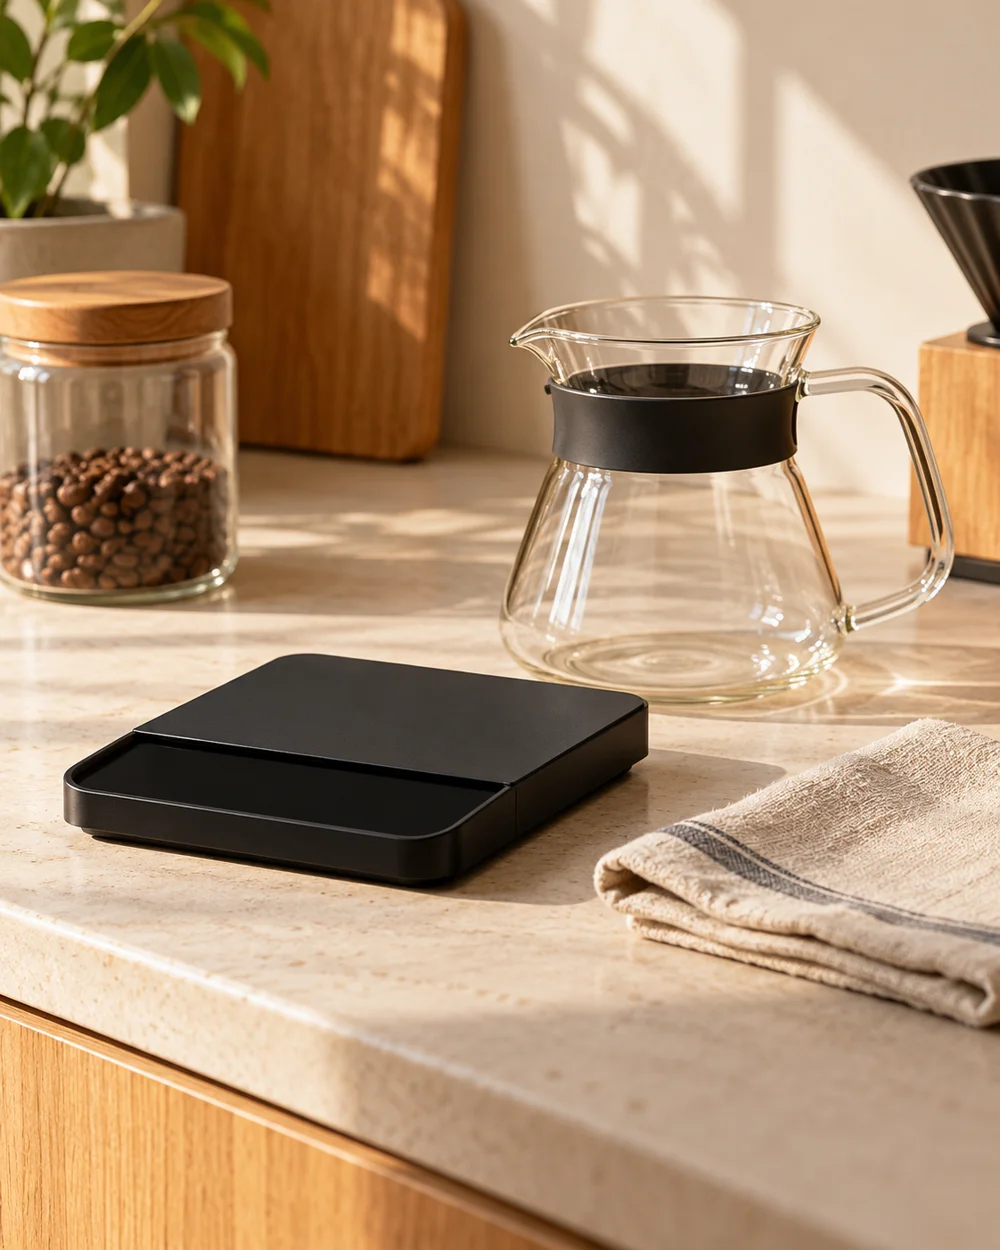
AI-generated editorial concept created for this article. The image is not a technical diagram or a tested result.
Unplug the Grinder Before You Touch Any Part
Pull the plug from the wall before removing any component. This applies even if the grinder has an off switch, because a switch does not disconnect the machine from the power supply. Set the power cord aside so it is not near the sink while you work. This single step is non-negotiable and takes two seconds. Everything else in the cleaning process follows from it. Do not attempt to clean around the burrs while the grinder is plugged in.
Read the Manual to Sort Parts into Three Groups
Most electric grinder manuals identify three categories: parts that are removable and washable, parts that are removable but must be brushed only, and parts that must stay in place and be wiped. The hopper on many models is removable and hand-washable. The grounds container is often washable too. The burr assembly and the chute area are typically brush-only zones. Your manual is the authority on your specific model. If you no longer have the manual, check the maker's website for the current version.
Wash Removable Parts Correctly and Dry Them Fully
Wash hopper and grounds container parts by hand in warm water with a small amount of dish soap, then rinse thoroughly. Do not put any grinder part in a dishwasher unless the manual explicitly states it is dishwasher-safe. Dry each washed part with a clean towel and then leave it to air-dry fully before reassembly. Reassembling with any moisture present risks rust on metal burrs and can cause electrical problems if moisture reaches internal components.
Brush the Burr Area and Chute with the Supplied Brush
Use the small brush that came with the grinder, or a dry soft-bristle brush of similar size, to sweep ground coffee from the burr surfaces and the chute. Work from the centre outward and tap loosened grounds into a bin. Do not use compressed air unless the manual permits it, as this can push fine particles into motor components. Do not introduce any liquid into the burr area. If grounds are compacted, a dry brush pass repeated two or three times is the correct approach.
Wipe the Outside and Reassemble in the Correct Order
Wipe the exterior of the grinder body with a cloth wrung out until barely damp, then immediately follow with a dry cloth. Pay attention to the area around the on-off switch and the cord entry point, keeping moisture away from both. Reassemble parts in the reverse of the order you removed them, which the manual typically illustrates. Once reassembled and fully dry, plug the grinder back in. Run a small amount of coffee through it before making a drink to clear any brush fibres or loosened dust.
A little more
to know.
How often should I do a full clean including washing the hopper?
Follow the frequency your manual recommends, which varies by model and usage level. Many makers suggest a full clean monthly for regular home use, but your manual's guidance takes priority over any general recommendation.
Can I use dry rice or bread to absorb oils and clean the burrs?
Some people do this, but it is not a method described in most grinder manuals and can leave starch residue in the burr area. Stick to the brush method your maker specifies to avoid introducing materials that were not intended for the mechanism.
Original editorial guidance and recipe formulations, not independently kitchen-tested. Times are estimates and depend on equipment and product directions. Cooked bases need additional cooling and refrigeration before cold serving. Images are AI-generated illustrations; appearance and yield may vary. Check actual ingredient labels, allergens, and any certification you require. We do not certify products. Read our approach.
Save to Pinterest ↗ANOTHER IDEA FOR THE COUNTER