Choose a Serving Glass Size Before Writing a Drink Recipe
Writing a drink recipe without first confirming the volume of the serving glass is a common source of overflow, underfill, and inconsistent presentation. The glass is not a flexible variable; it is a fixed container that determines every quantity in the recipe. Selecting the physical glass first, measuring its usable volume in milliliters, and then working backward to assign quantities to each component produces a recipe that fits reliably from the first attempt.
Read the note ↓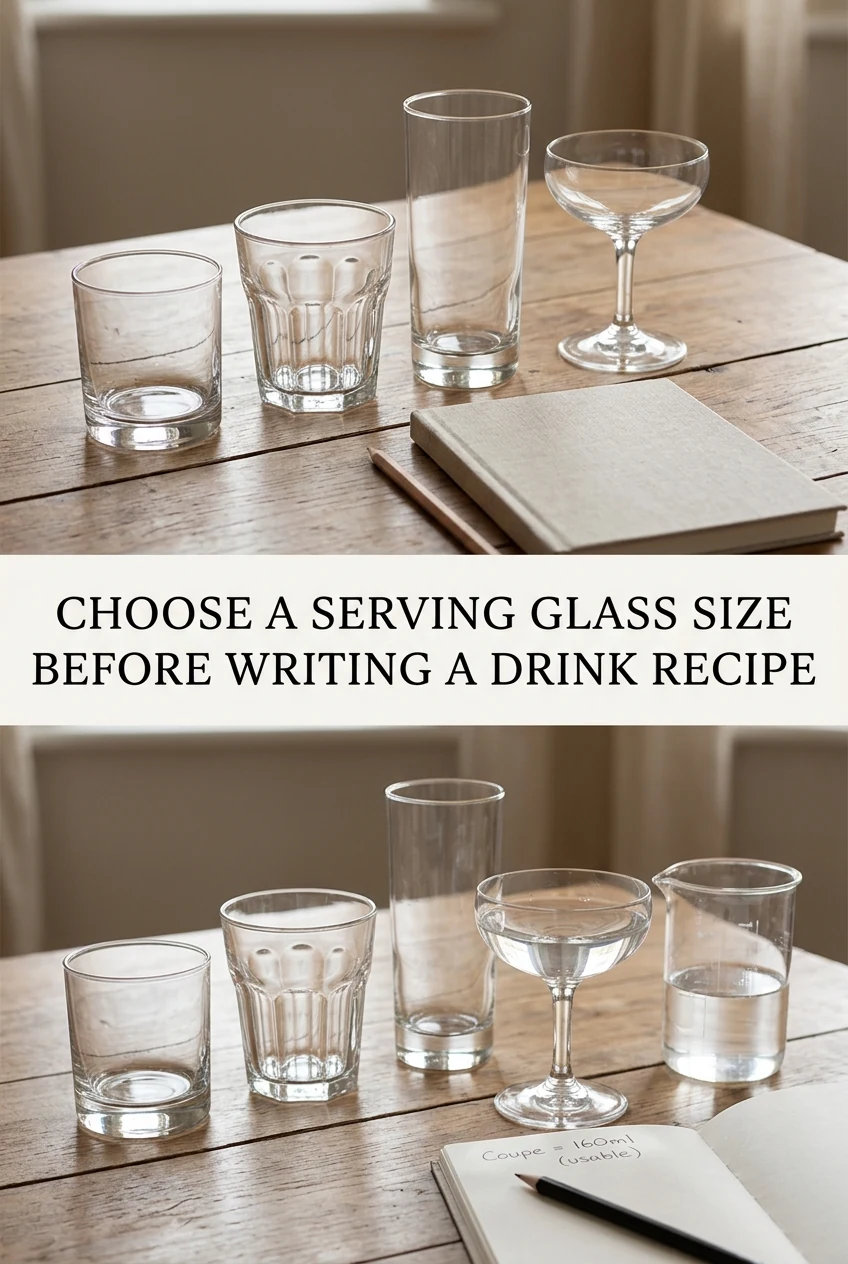
AI-generated editorial concept created for this article. The image is not a technical diagram or a tested result.
Measure the Actual Usable Volume of Your Glass
Fill the chosen glass with water to the point where you would realistically stop pouring during service, typically 10 to 15 mm below the rim. Pour that water into a measuring jug and note the volume. This is your usable capacity. For a tall 400 ml glass filled to 15 mm below the rim, the usable volume might be approximately 360 ml. All recipe components, including ice, liquid, foam, and garnish, must fit within this figure.
Account for Ice Volume Before Assigning Liquid Quantities
Ice displaces liquid volume significantly. A standard 80 g portion of cubed ice in a 360 ml usable glass occupies roughly 90 to 100 ml of space, leaving approximately 260 ml for liquid. This is an illustrative estimate; actual displacement depends on cube size and shape. Measure your specific ice portion in your specific glass with water to find the real displacement before finalizing any recipe quantities. Do not assume a standard figure applies universally.
Allocate Space for Foam or Floating Garnish
If the drink includes a milk foam layer or a floating fruit slice, reserve 20 to 30 ml of visual space at the top of the glass for that element. A foam layer that is compressed by a lid or that spills over the rim looks unfinished and creates a mess during service. Decide at the recipe-writing stage whether the drink will be served open or with a lid, as a lid compresses foam and changes how the drink is experienced.
Work Backward From Total Volume to Component Quantities
Once you know the usable liquid volume, assign proportions to each component. For a layered fruit milk drink in a glass with 260 ml of liquid space, you might allocate 80 ml to fruit juice, 160 ml to milk, and 20 ml to syrup. Write these amounts as fixed milliliter quantities rather than ratios at this stage, because ratios without a reference volume still produce inconsistent results when a different team member makes the drink.
Test the Recipe in the Physical Glass Before Finalizing
Assemble the drink exactly as written and observe whether it fills the glass to the intended level with all components in place. If the drink is underfilled, increase the primary liquid by 10 to 20 ml and retest. If it overflows, reduce the largest component first. Document the final quantities alongside the glass name or code so that the recipe is always paired with the correct vessel. Switching glass styles later requires repeating this process.
A little more
to know.
What if the same drink is served in two different glass sizes depending on the order?
Write two separate recipes, one for each glass, with quantities scaled to each vessel's usable volume. Do not scale by a simple multiplier without retesting, as ice displacement and foam proportions do not scale linearly with glass size.
Should I measure the glass volume once and rely on that number permanently?
Remeasure if you switch glass suppliers or receive a new batch, as nominal sizes vary between manufacturers. A glass labeled 400 ml by one supplier may have a different actual capacity than one labeled 400 ml by another.
Original editorial guidance and recipe formulations, not independently kitchen-tested. Times are estimates and depend on equipment and product directions. Cooked bases need additional cooling and refrigeration before cold serving. Images are AI-generated illustrations; appearance and yield may vary. Check actual ingredient labels, allergens, and any certification you require. We do not certify products. Read our approach.
Save to Pinterest ↗ANOTHER IDEA FOR THE COUNTER