Check Whether a Measuring Jug's Markings Start Above the Needed Dose
A measuring jug sitting on your counter might look perfectly capable of handling any small volume, but its lowest printed graduation often sits well above the base. If the dose you need falls below that first line, the jug gives you no reference at all and you are left guessing. This article walks through a straightforward home-cafe habit: read the jug before you pour, confirm the smallest volume it can actually mark, and swap to a correctly scaled measure whenever your dose falls short of that threshold.
Read the note ↓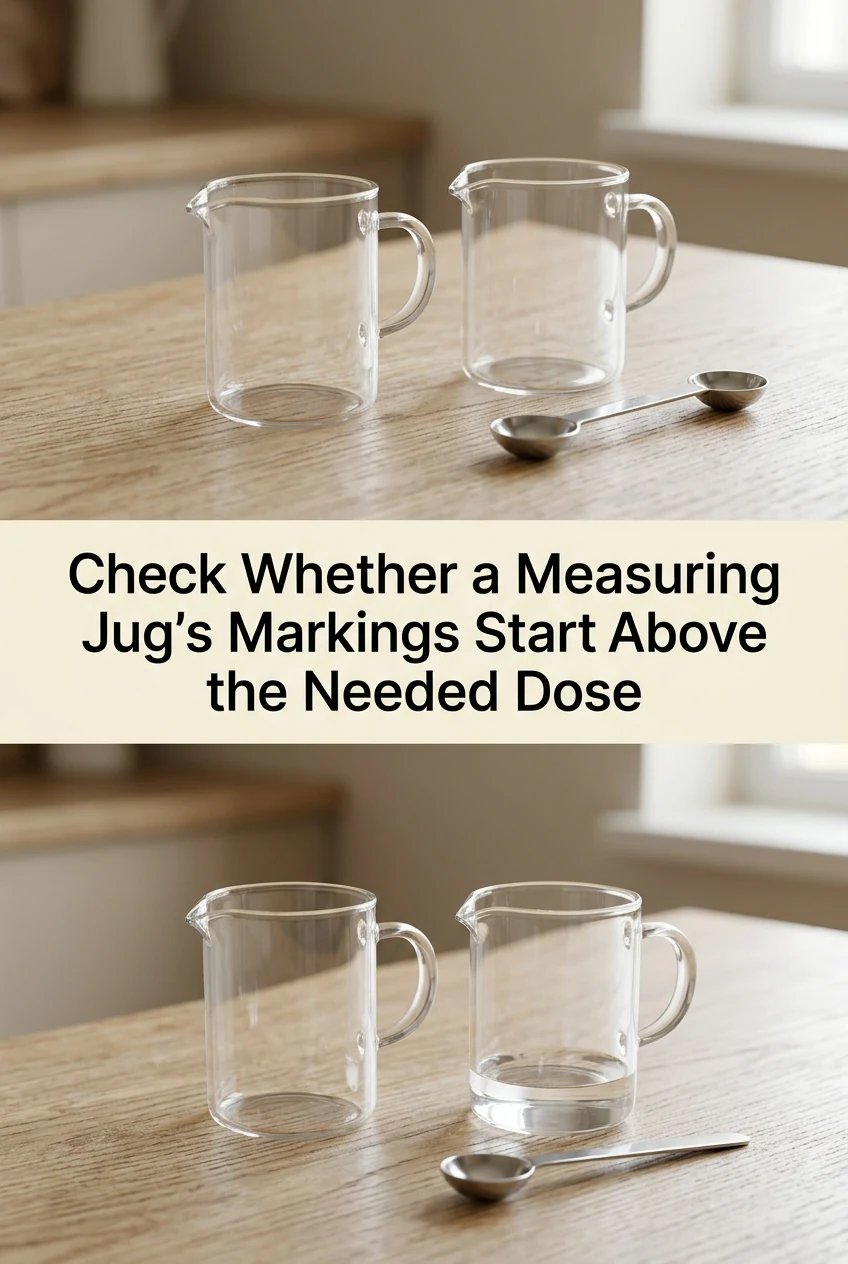
AI-generated editorial concept created for this article. The image is not a technical diagram or a tested result.
Why the Lowest Graduation Matters More Than the Jug's Total Capacity
Manufacturers print graduations at intervals that suit the jug's intended range. A 500 ml jug might begin its scale at 100 ml, leaving the bottom fifth of the vessel completely unmarked. Any liquid poured below that 100 ml line sits in an unscaled zone. You can see the liquid, but you cannot read its volume against any printed mark. For espresso-based drinks and cocoa recipes that call for 30 ml of a flavored syrup or 20 ml of a concentrated cocoa base, that unmarked zone is exactly where your dose lands. Recognising this before you start prevents the guesswork that throws a small-batch recipe off balance.
How to Read a Jug's Scale Before You Commit to Using It
Set the jug on a flat surface and look at it at eye level. Find the very first graduation line above the base and read the number printed beside it. That number is the lowest volume the jug can confirm. Next, check the interval between adjacent graduation lines to see the step size in that portion of the scale. If your recipe calls for a volume smaller than that first graduation, the jug cannot help you for that measurement. Write the lowest graduation on a small piece of tape stuck to the jug's handle if you find yourself forgetting it, so the check becomes instant next time.
Selecting a Smaller Measure That Actually Covers Your Dose
Once you know your jug's lowest graduation, compare it to the dose you need. If the dose is smaller, look for a measure whose scale begins at or below your required volume. A 50 ml graduated measuring glass with 5 ml graduations, a 30 ml medicine cup, or a small digital kitchen scale set to grams can each cover doses that a large jug cannot. Choose whichever tool has its lowest graduation at or below your target. Avoid stretching a large jug's scale downward by eye; the angle of the meniscus and the wide base of a big jug make visual estimation at low volumes particularly unreliable.
A Worked Example: Measuring 25 ml of Alcohol-Free Vanilla Syrup for a Cocoa Drink
Suppose a cocoa drink recipe asks for 25 ml of an alcohol-free vanilla syrup. You reach for a 500 ml jug and notice its first graduation is at 100 ml. Your 25 ml dose is 75 ml below the lowest mark, so the jug is not suitable for this step. You instead pick up a 50 ml medicine cup whose scale starts at 5 ml with 5 ml intervals. Pouring syrup to the 25 ml line on that cup is a straightforward, readable action. This is an illustrative plan showing how the selection process works in a home-cafe setting, not a laboratory-tested result. The principle is simply that the right tool is the one whose markings actually reach your dose. Once measured, add the syrup to your cocoa promptly. If the syrup or any other perishable component has been opened, follow the storage instructions on its label and refrigerate it as directed by the maker.
Building the Habit Into Your Home-Cafe Routine
Make jug-scale checking a two-second step that happens before any liquid is poured rather than after. Keep a small set of measures in graduated sizes, for example a 10 ml measure, a 30 ml measure, and a 100 ml measure, so you always have an option whose scale reaches a small dose. When you buy a new jug or cup, check its lowest graduation immediately and group it with tools of similar range. This simple sorting habit means you reach for the right measure instinctively rather than discovering mid-recipe that your jug's scale starts too high to be useful.
A little more
to know.
Can I just pour to a visual halfway point between two graduations if my dose falls slightly below the lowest line?
Splitting the gap between graduations by eye introduces uncertainty that grows as the jug gets wider and the liquid volume gets smaller. The more reliable approach is to switch to a smaller measure whose scale actually reaches your dose, so you are reading a printed line rather than estimating a fraction of an unmarked space.
Does this apply to digital scales as well as printed jugs?
Digital scales have a minimum reliable reading specified by the maker, sometimes called the minimum weighing capacity, which is different from the display's zero point. Check your scale's documentation for that figure. If your ingredient weighs less than the stated minimum, the reading may not be dependable and a more sensitive scale would be the appropriate tool to use instead.
Original editorial guidance and recipe formulations, not independently kitchen-tested. Times are estimates and depend on equipment and product directions. Cooked bases need additional cooling and refrigeration before cold serving. Images are AI-generated illustrations; appearance and yield may vary. Check actual ingredient labels, allergens, and any certification you require. We do not certify products. Read our approach.
Save to Pinterest ↗ANOTHER IDEA FOR THE COUNTER