Check the Stamped Capacity of Each End of a Double Measure
A double-ended kitchen measure is two separate cups joined at their bases. Each cup has its own closed bottom, its own open rim, and its own stated capacity stamped or moulded into the side. The two ends are almost always different sizes, which is the whole point of the tool. Before you fill either end, take a moment to read both markings while the measure is empty and dry, then decide which cavity you need and keep that end pointing upward for the entire fill.
Read the note ↓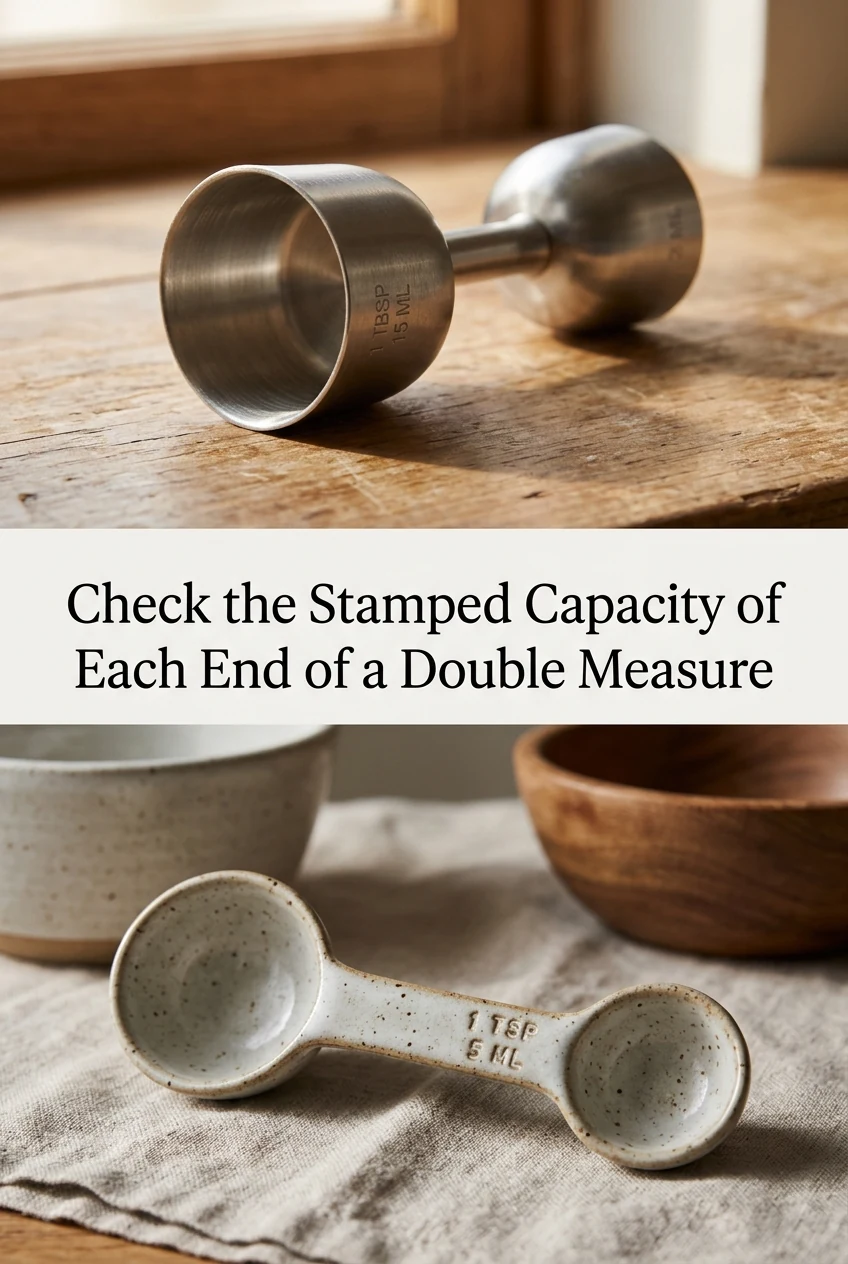
AI-generated editorial concept created for this article. The image is not a technical diagram or a tested result.
Understand the Physical Shape
Pick up the measure and look at it carefully. You will find two cup-shaped cavities that share a common base in the middle. Each cavity has a solid bottom where it meets that central join, and an open rim at the top. Neither cavity connects to the other on the inside. Liquid poured into one end stays entirely in that end and cannot travel through to the other. Both cups share a common central join, but their exterior dimensions reflect their different capacities: the two internal volumes are completely independent and, in most cases, unequal.
Read Both Capacity Markings Before You Fill
Hold the measure so that you can read the stamped or printed text on both ends. Common pairings include 15 ml and 30 ml, 30 ml and 60 ml, or equivalent teaspoon and tablespoon markings. Note the unit as well as the number, because some measures show millilitres on one end and a spoon-volume abbreviation on the other. If the markings are worn, faint, or ambiguous, set the double measure aside and use an ordinary graduated kitchen measure with clear, readable lines instead. Guessing at a capacity introduces errors that compound quickly when a recipe calls for multiple additions.
Choose One End and Keep It Upright
Once you have identified the capacity you need, orient the measure so that chosen end points upward and the other end points downward. Set it on the bench briefly if that helps you confirm the orientation. Fill the upward-facing cavity to its rim, which is the only fill line that applies to that end. The rim of one end has no relationship to any measurement inside the other end. Each cavity is designed to hold exactly its stated volume when filled level with its own rim. Do not attempt to fill the measure while it is tilted or while you are holding it at an angle, as liquid will not sit level and you will not achieve an accurate fill.
Empty Completely Before Turning the Tool
After you have dispensed the contents of the first fill, check that the cavity is fully empty before you rotate the tool to use the other end. Because that cavity will now be facing downward, any residual liquid left inside will drip onto your work surface or hands. If you are using the same end repeatedly, there is no need to flip the tool at all. Simply refill the same upward-facing cavity each time. Only turn the measure over when you genuinely want to switch to the other cavity, and ensure the end you have just used is drained so your work station stays clean.
A Worked Example Using a 30 ml and 60 ml Measure
Suppose a recipe calls for 120 ml of a liquid ingredient and you have a double-ended measure stamped 30 ml on one end and 60 ml on the other. Using the 60 ml end twice gives you 60 plus 60, which equals 120 ml in two fills. Using the 30 ml end four times gives you 30 plus 30 plus 30 plus 30, which also equals 120 ml in four fills. Both approaches reach the same total through straightforward repeated filling. What you cannot do is fill the 60 ml cavity and expect it to hold 120 ml, because its physical volume is 60 ml and no more. The 120 ml total is reached by counting fills, not by overfilling a single cavity. Choose whichever end requires fewer pours for convenience, and count each level fill carefully as you go.
A little more
to know.
Can I read the measurement from the lower end while the upper end is filled?
No. The two cavities are physically separate and their markings are independent. The stamped number on the lower end describes only the volume of that lower cavity when it is the one facing upward and being filled. It tells you nothing about the liquid sitting in the upper end. Always read and use the marking on whichever end is currently upright and being filled.
What should I do if I cannot make out the stamped numbers on my double measure?
Stop using the double measure for that task and reach for an ordinary graduated kitchen measure with clearly printed volume lines. Attempting to estimate a worn or illegible marking is likely to produce an inaccurate result, and in a recipe where proportions matter that error can affect the finished dish. A readable measure is always the safer choice.
Original editorial guidance and recipe formulations, not independently kitchen-tested. Times are estimates and depend on equipment and product directions. Cooked bases need additional cooling and refrigeration before cold serving. Images are AI-generated illustrations; appearance and yield may vary. Check actual ingredient labels, allergens, and any certification you require. We do not certify products. Read our approach.
Save to Pinterest ↗ANOTHER IDEA FOR THE COUNTER