Check the Maximum Load Before Placing a Full Jug on a Scale
A kitchen scale is one of the most useful tools in a home cafe setup, letting you track water volume and dose ground coffee by weight rather than by guesswork. The problem appears the moment you place a heavy glass jug full of water on the platform: the combined load of vessel plus liquid can quietly exceed the scale's rated maximum, either triggering an overload error or, in worse cases, stressing the internal load cell in ways the manufacturer did not intend. Checking the arithmetic before you brew costs nothing and keeps your equipment working as designed.
Read the note ↓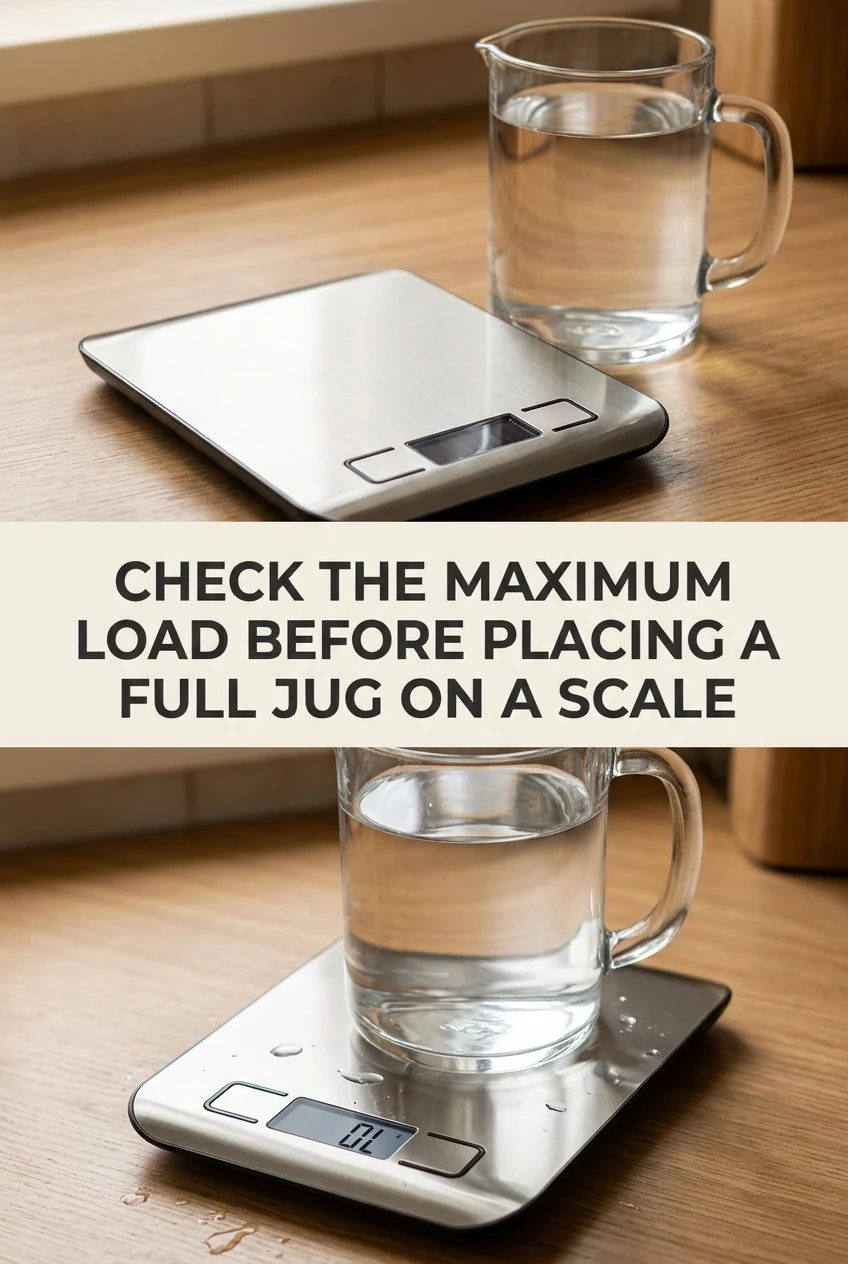
AI-generated editorial concept created for this article. The image is not a technical diagram or a tested result.
Understand What Maximum Load Actually Means
Every scale ships with a specification sheet or a label on the underside that states a maximum load, sometimes called capacity. This figure is the heaviest combined weight the platform is rated to measure. It covers everything sitting on the platform at once: the vessel, any liquid inside it, a portafilter, a lid, or a secondary container nested inside the first. The number is not a soft suggestion. Placing more than the rated load on a scale may cause an overload error, inaccurate readings, or damage to the load cell. Always locate this figure in your scale's documentation before you begin planning a brew session that involves a large vessel.
Weigh Your Empty Vessel First
Before filling anything, place the empty jug, carafe, or pitcher on the scale and note the reading. This is the tare weight of the vessel alone. Write it down. Next, find the maximum load from the specification sheet and subtract the vessel weight from it. The result is the maximum liquid mass you can add while staying within the rated capacity. For example, if your scale is rated to two kilograms and your glass jug weighs four hundred and eighty grams, the remaining headroom for liquid is one thousand five hundred and twenty grams, which is roughly one and a half litres of water. If your intended brew volume exceeds that figure, the vessel is too heavy for this scale at this fill level.
A Worked Illustrative Plan Using Common Numbers
Consider this as an illustrative plan, not a tested result. Suppose you want to brew nine hundred millilitres of coffee into a glass server resting on your scale. You check the server's empty weight on the scale: it reads five hundred and ten grams. Your scale's maximum load is one thousand five hundred grams. Subtracting five hundred and ten from one thousand five hundred leaves nine hundred and ninety grams of headroom. Nine hundred millilitres of water weighs approximately nine hundred grams, which fits within that headroom with ninety grams of margin. Remember that any brewing accessories resting on the vessel, such as a dripper, filter, and dry coffee grounds, also add weight to the platform and must be included in your headroom calculation. If the server alone weighed seven hundred grams instead, the headroom for liquid would drop to eight hundred grams, and adding nine hundred millilitres would exceed the rated capacity. In that scenario, the practical solution is to choose a lighter vessel, such as a lightweight stainless steel pitcher, before brewing begins.
Choosing a Lighter Vessel When the Numbers Do Not Fit
Vessel materials vary considerably in weight. A thick borosilicate glass carafe often weighs more than a thin stainless steel pitcher of the same volume. If your arithmetic shows that your preferred vessel pushes the combined load beyond the scale's rated maximum, look for an alternative container that holds the same liquid volume but weighs less when empty. Bring the candidate vessel to the scale, check its empty weight, and repeat the subtraction before committing to it. Some brewers keep a dedicated lightweight vessel specifically for scale work and transfer the finished brew to a heavier serving carafe afterward. That transfer step adds a moment of handling but protects the scale and keeps readings within the rated range.
Practical Habits That Protect Your Scale
Place the empty vessel on the scale and press tare before adding any liquid. Add liquid gradually if you are filling close to the calculated headroom, and watch the display for any overload indicator. Never rest additional items on the platform while a heavy vessel is already there. After brewing, move perishable drinks such as cold brew concentrate or milk-based preparations promptly to the refrigerator rather than leaving them at room temperature. Store your scale on a flat, stable surface away from moisture, and consult the manufacturer's care instructions for cleaning the platform. Following the maker's directions for your specific model is always the correct approach.
A little more
to know.
What should I do if my scale shows an overload error mid-brew?
Remove the vessel from the platform immediately and do not continue adding liquid while the error is displayed. Check the combined weight of the vessel and its current contents against the scale's rated maximum load. If the load already exceeds the specification, transfer some liquid to a separate container to reduce the weight before placing anything back on the platform. Consult your scale's manual for any reset procedure the manufacturer recommends after an overload event.
Does the type of liquid affect how I calculate the load?
For practical home cafe purposes, water and brewed coffee are close enough in density that one millilitre is approximately one gram, which makes the arithmetic straightforward. If you are working with a significantly denser liquid, check whether the manufacturer of that product provides a density figure and adjust your calculation accordingly. The key principle remains the same: the combined weight of vessel plus liquid must stay at or below the scale's rated maximum load.
Original editorial guidance and recipe formulations, not independently kitchen-tested. Times are estimates and depend on equipment and product directions. Cooked bases need additional cooling and refrigeration before cold serving. Images are AI-generated illustrations; appearance and yield may vary. Check actual ingredient labels, allergens, and any certification you require. We do not certify products. Read our approach.
Save to Pinterest ↗ANOTHER IDEA FOR THE COUNTER