Build a Layered Iced Tea and Juice Drink in a Tall Glass
Pouring brewed tea and fruit juice into a glass without thinking about density produces a murky, blended drink rather than the clean visual layers that make this style of drink appealing. The two liquids separate or stay mixed based on their relative sugar content and how you introduce the second liquid. Understanding which layer goes first and how to slow the pour keeps the boundary visible at serving without any special equipment.
Read the note ↓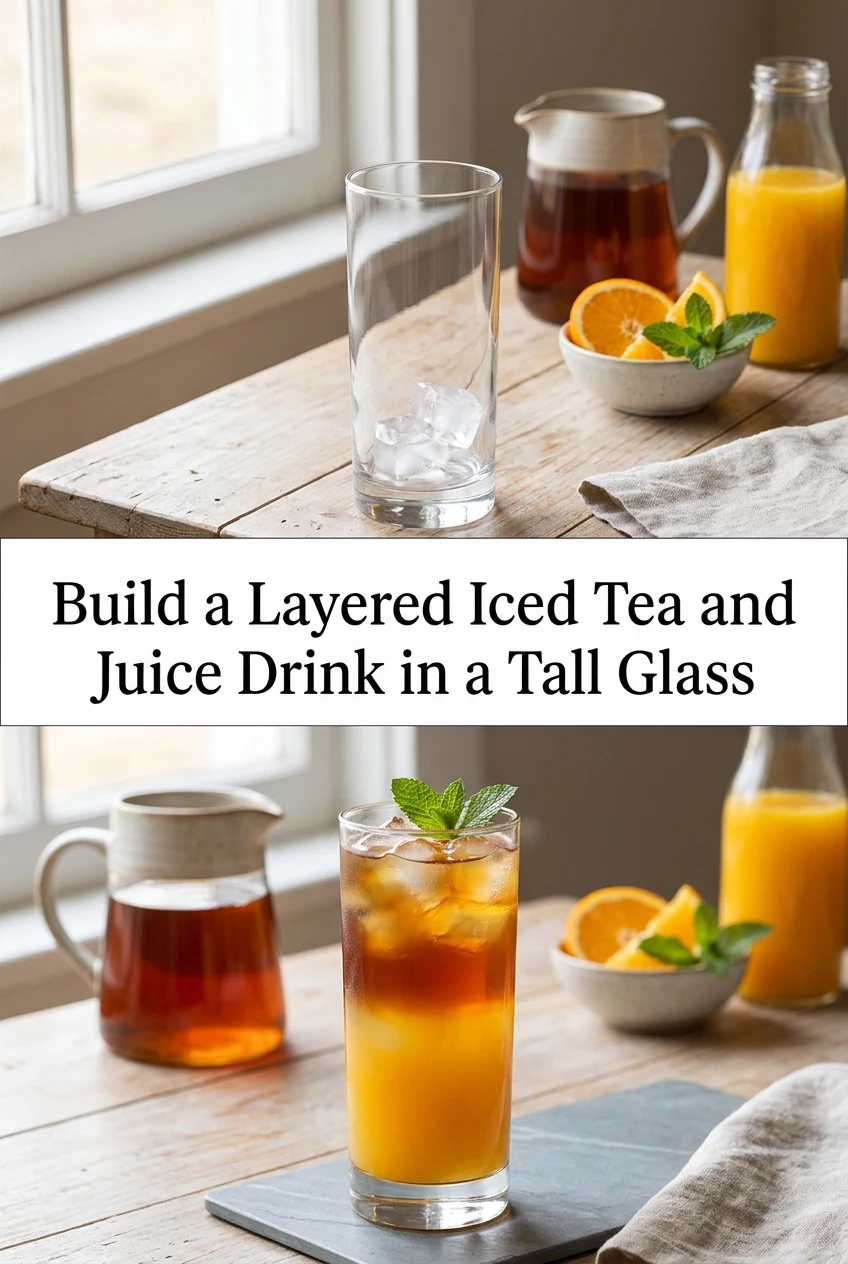
AI-generated editorial concept created for this article. The image is not a technical diagram or a tested result.
Understanding Density Order Before You Pour
The denser liquid, meaning the one with more dissolved sugar, sinks to the bottom. Most fruit juices, particularly apple, grape, and cranberry, are denser than a lightly sweetened or unsweetened brewed tea. An illustrative example: a standard commercial apple juice reads around 10 to 12 grams of sugar per 100 milliliters, while an unsweetened black tea has near zero. This difference is enough to maintain a visible layer if the pour is controlled. Adding sugar to your tea narrows that gap and makes layering harder to hold.
Building the Base Layer With Ice and Juice
Fill a tall glass, roughly 400 to 450 milliliters capacity, with ice first. Pour the juice directly over the ice to a depth of about one third of the glass, approximately 100 to 120 milliliters. The ice slows the juice from warming and also acts as a partial barrier when the tea is added above it. Let the juice settle for a few seconds before moving to the next step. Do not stir at any point during assembly.
The Back-of-Spoon Pour for the Tea Layer
Hold a large spoon, bowl-side down, just above the surface of the juice layer with the edge of the spoon touching the inside of the glass. Pour the chilled brewed tea slowly onto the domed back of the spoon so it spreads out and descends gently rather than plunging straight down. The spoon disperses the kinetic energy of the pour, which is what causes the two liquids to mix. Pour 150 to 180 milliliters of tea this way for a proportionate top layer.
Choosing Teas and Juices That Hold the Layer
Strong-brewed, unsweetened black tea or hibiscus tea works well as the upper layer because both are low in sugar and visually distinct in color from most juices. Avoid adding simple syrup to the tea if you want the layer to hold; sweeten the juice side instead if needed. Citrus juices like orange juice are less dense than apple or grape juice and produce a softer, less defined boundary. The layer will always be an approximation rather than a sharp line.
Serving and Handling the Finished Glass
Carry the glass to the table without tilting it sharply, as the layer is not stable under agitation. Serve with a long straw and, if presenting to a guest, mention that the drink is designed to be stirred before drinking so the flavors combine. The visual layer is a presentation feature, not a permanent state. Once the straw breaks the boundary, the two liquids mix quickly. Refrigerate any pre-built glasses at 4 degrees Celsius or below if not serving immediately, and serve within one hour.
A little more
to know.
Can I build the layers in reverse, with tea on the bottom and juice floating on top?
Only if the juice is less dense than the tea, which requires the tea to be heavily sweetened. In most practical combinations, juice is denser and will sink through tea if poured on top, collapsing the layer immediately. Work with density rather than against it.
Why does my layer disappear within a minute even when I pour carefully?
The density difference between your two liquids is likely too small to hold a stable boundary. This happens when the tea is sweetened or when a low-sugar juice is used. Try switching to an unsweetened tea and a higher-sugar juice to widen the density gap.
Original editorial guidance and recipe formulations, not independently kitchen-tested. Times are estimates and depend on equipment and product directions. Cooked bases need additional cooling and refrigeration before cold serving. Images are AI-generated illustrations; appearance and yield may vary. Check actual ingredient labels, allergens, and any certification you require. We do not certify products. Read our approach.
Save to Pinterest ↗ANOTHER IDEA FOR THE COUNTER