Build a Layered Iced Oolong and Peach Cooler Using Two Separate Pours
A two-layer iced drink stays visually distinct because the two liquids have different densities, and pouring technique controls whether those layers blend immediately or hold long enough to serve. This guide covers how to prepare a chilled oolong concentrate and a peach base, how to build the glass in the correct order and how to execute the slow second pour that keeps the boundary visible. The approach works with a standard tall glass and no specialist equipment.
Read the note ↓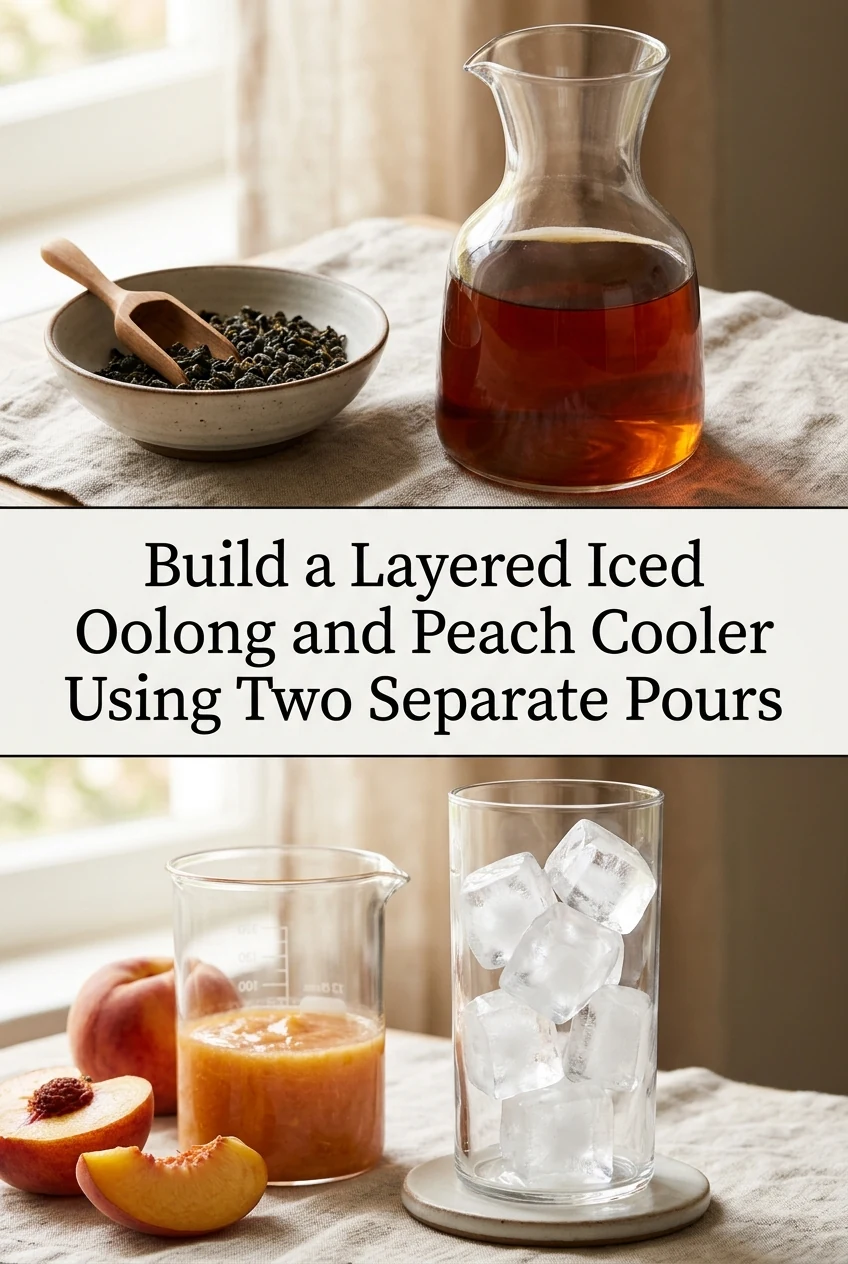
AI-generated editorial concept created for this article. The image is not a technical diagram or a tested result.
Prepare the oolong concentrate ahead of time
Steep 8 grams of loose oolong leaf in 200 millilitres of water heated to approximately 90 degrees Celsius for 3 to 4 minutes, then strain and allow to cool to room temperature before refrigerating. Do not steep longer to compensate for a weaker tea, as extended steeping at this temperature makes oolong bitter. The concentrate should be noticeably stronger than a regular cup because it will be diluted by ice and the peach base. Chill it fully before building the drink.
Build the peach base in the glass first
Pour 80 millilitres of chilled peach nectar or peach juice into a tall glass, then add ice to fill the glass roughly two-thirds full. The peach layer sits at the bottom because it is denser than the tea concentrate. Using a juice with some natural sugar content rather than a very thin peach water helps maintain the density difference. Fill the ice after adding the juice so the ice is already surrounded by the peach base, which anchors it and slows dilution of the lower layer.
Execute the slow second pour over a spoon
Hold a large spoon, bowl side down, just above the surface of the ice. Pour the chilled oolong concentrate slowly over the back of the spoon so it spreads across the ice surface rather than driving straight down into the peach layer. Use approximately 120 millilitres of concentrate poured over 10 to 15 seconds. The spoon disperses the kinetic energy of the pour, which is what keeps the two liquids from mixing immediately. This is an illustrative technique; results vary with pour speed and glass shape.
Reading the layer boundary and adjusting
After the pour, look at the glass from the side. A clear amber-to-orange gradient at the boundary is the expected result. If the layers have already blended significantly, the concentrate was likely poured too quickly or was not cold enough. A warm concentrate has lower viscosity and mixes more readily than a fully chilled one. For a cleaner boundary on a second attempt, chill the concentrate for longer and slow the pour further. The layer will always begin to blend gradually as the drink sits.
Serving and timing considerations
Serve the drink within two to three minutes of building it if the visual layer is the point. The boundary softens as the ice melts and the liquids equilibrate in temperature. Provide a long stirring spoon alongside the glass so the drinker can combine the layers themselves before drinking, which gives a balanced flavour throughout. If you are making several glasses in sequence, prepare all the peach bases and ice first, then do all the tea pours in one pass to keep the timing consistent.
A little more
to know.
Can I use a peach syrup instead of peach juice as the base layer?
A peach syrup diluted with a small amount of water works and increases the density difference, which can make the layer boundary more stable. Use it sparingly as undiluted syrup makes the drink very sweet and the lower layer visually opaque.
Does the type of oolong affect whether the layer holds?
Lightly oxidised green oolongs produce a paler concentrate that creates a subtler colour contrast with peach juice. Darker roasted oolongs give a deeper amber that makes the two-tone boundary more visually pronounced when viewed through the glass.
Original editorial guidance and recipe formulations, not independently kitchen-tested. Times are estimates and depend on equipment and product directions. Cooked bases need additional cooling and refrigeration before cold serving. Images are AI-generated illustrations; appearance and yield may vary. Check actual ingredient labels, allergens, and any certification you require. We do not certify products. Read our approach.
Save to Pinterest ↗ANOTHER IDEA FOR THE COUNTER