Brew a Single Moka Pot Cup and Keep It From Tasting Bitter
A one-cup moka pot produces a small, concentrated brew that turns harsh quickly if left on heat after the coffee finishes rising. The bitter, scorched taste most people associate with moka pot coffee is almost always a timing problem rather than a grind or coffee quality problem. This guide covers the practical steps from filling the boiler to the moment you should pull the pot from the burner, so the cup in front of you tastes balanced rather than burnt.
Read the note ↓
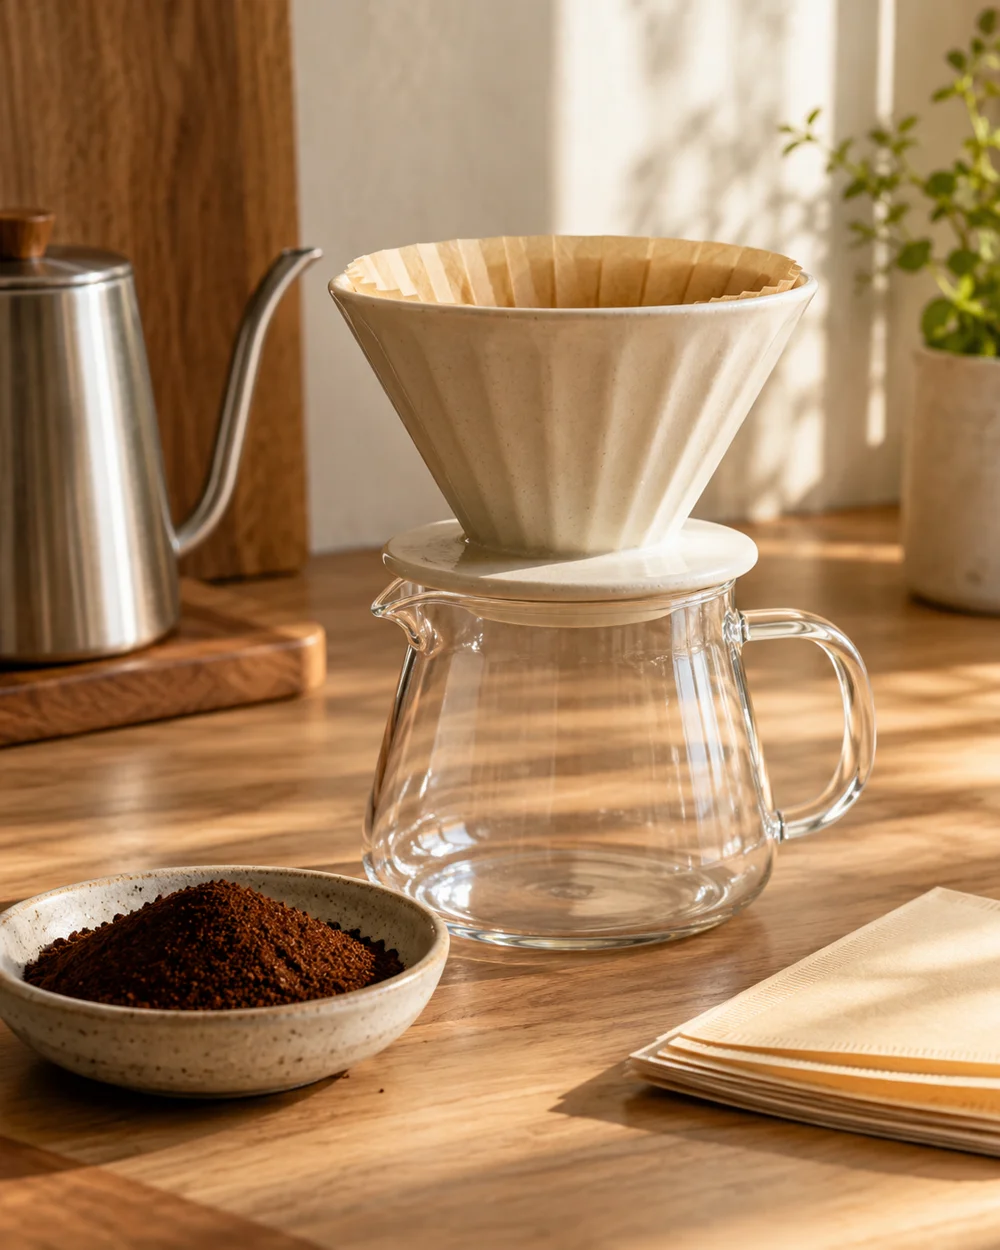
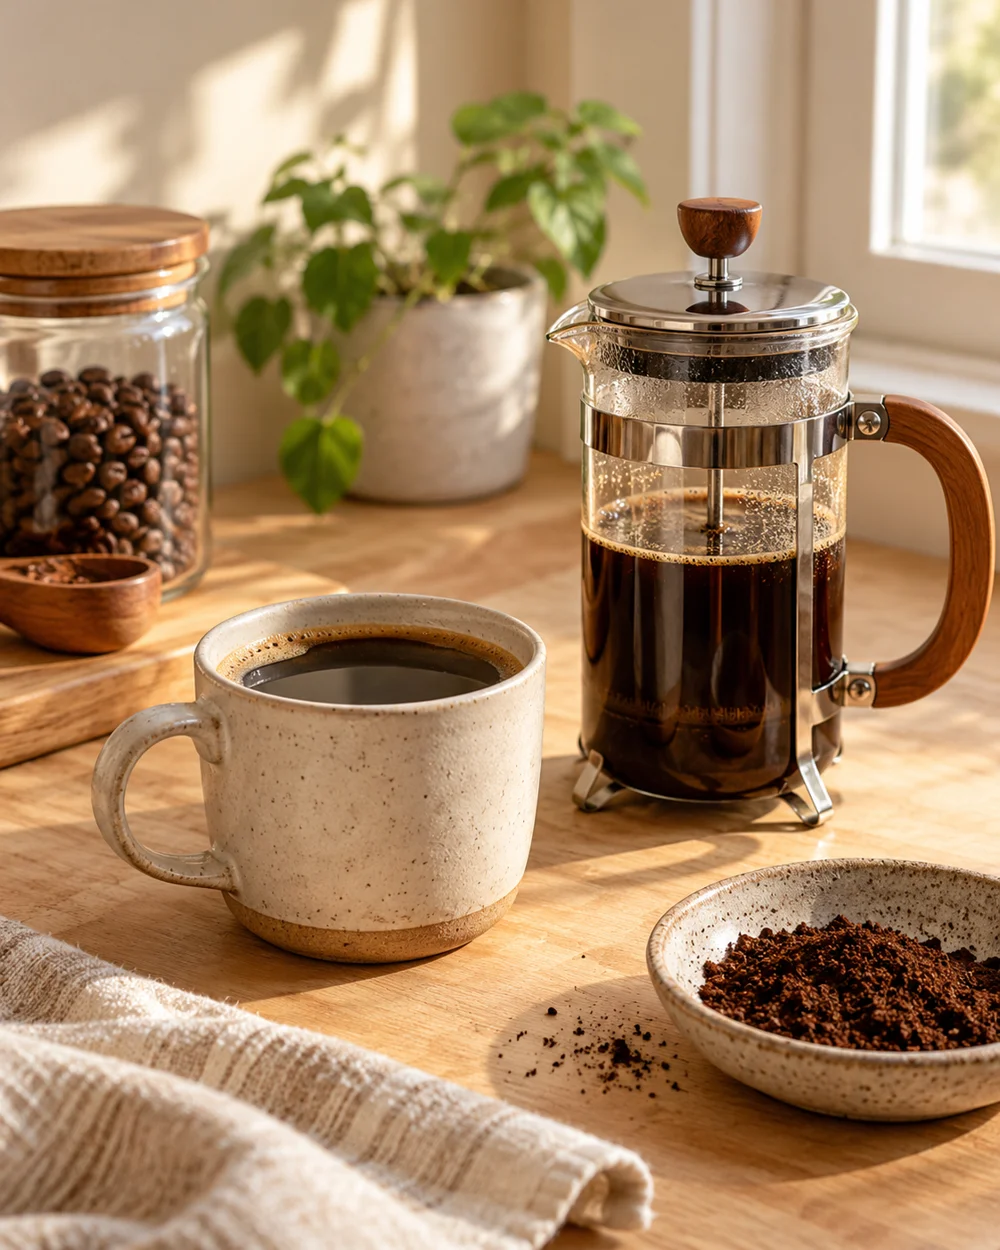
AI-generated editorial concept created for this article. The image is not a technical diagram or a tested result.
Fill the Boiler to the Correct Level
The lower chamber of a one-cup moka pot has a small pressure-relief valve on the side. Fill the boiler with cold water up to just below that valve, not above it. Overfilling raises pressure beyond the pot's designed operating range and can affect both safety and brew quality. Using pre-heated water from a kettle reduces total time on the burner, which gives you a slightly shorter window during which the coffee can overheat. This is a practical adjustment, not a guaranteed bitterness fix.
Load the Basket Without Tamping
Spoon ground coffee into the filter basket until it is level with the rim, then gently tap the basket once on the counter to settle the grounds. Do not tamp or press the coffee down. Moka pots are not espresso machines; they operate at lower pressure, and compressing the grounds restricts water flow in a way that extends brew time and increases the chance of bitter extraction. A level, untamped basket allows water to move through the grounds at the rate the pot is designed for.
Use Low to Medium Heat and Watch the Lid
Place the assembled pot on the smallest burner available and use low to medium heat. High heat rushes water through the grounds faster than the pot can manage evenly and heats the upper chamber before all the coffee has risen, scorching what is already there. Keep the lid open so you can see and hear the brew. Coffee rises with a steady, quiet gurgle. A sputtering, hissing sound means the boiler is running low on water and the brew is nearly or fully done.
Remove From Heat Before the Chamber Fills Completely
This is the step most home brewers miss. Pull the moka pot off the burner when the upper chamber is about three quarters full and the gurgle is still steady but beginning to slow. Residual heat in the metal will push the last of the coffee up without the burner adding more energy. Leaving the pot on heat until the gurgling stops entirely means the final portion of coffee passes through grounds that are already spent and hot, which is the primary source of bitter, harsh flavour.
Cool the Base and Pour Promptly
After removing the pot from heat, briefly run the base under cold tap water for five to ten seconds. This stops residual heat from continuing to cook the coffee sitting in the upper chamber. Dry the outside, then pour immediately into a warmed cup. Moka pot coffee sitting in the upper chamber continues to extract faintly even off heat, so prompt pouring preserves the balance you worked to achieve. Do not leave it standing for several minutes before serving.
A little more
to know.
Does the grind size affect bitterness in a moka pot?
Grind size influences extraction rate, and a very fine grind can slow water flow enough to over-extract. However, timing the removal from heat addresses the most common bitterness cause. Grind adjustments are worth exploring after you have the timing consistent.
Can I use the moka pot on an induction hob?
Only if the pot is specifically labelled as induction-compatible by the manufacturer. Standard aluminium moka pots are not induction-compatible. Using an incompatible pot on induction will not heat correctly and may damage the hob surface.
Original editorial guidance and recipe formulations, not independently kitchen-tested. Times are estimates and depend on equipment and product directions. Cooked bases need additional cooling and refrigeration before cold serving. Images are AI-generated illustrations; appearance and yield may vary. Check actual ingredient labels, allergens, and any certification you require. We do not certify products. Read our approach.
Save to Pinterest ↗ANOTHER IDEA FOR THE COUNTER