Arrange a Small Tray for Pour-Over Tools So Each Item Returns to a Fixed Spot
A single-cup pour-over session involves several small items that need to be picked up and set down in a short window of time. Without fixed positions, a kettle placed slightly off-center or a scale pushed aside during the bloom pour can interrupt the rhythm of the brew. Assigning each tool a specific spot on the tray before you begin is a simple organizational step that keeps your hands moving predictably and your attention on the pour rather than on locating equipment.
Read the note ↓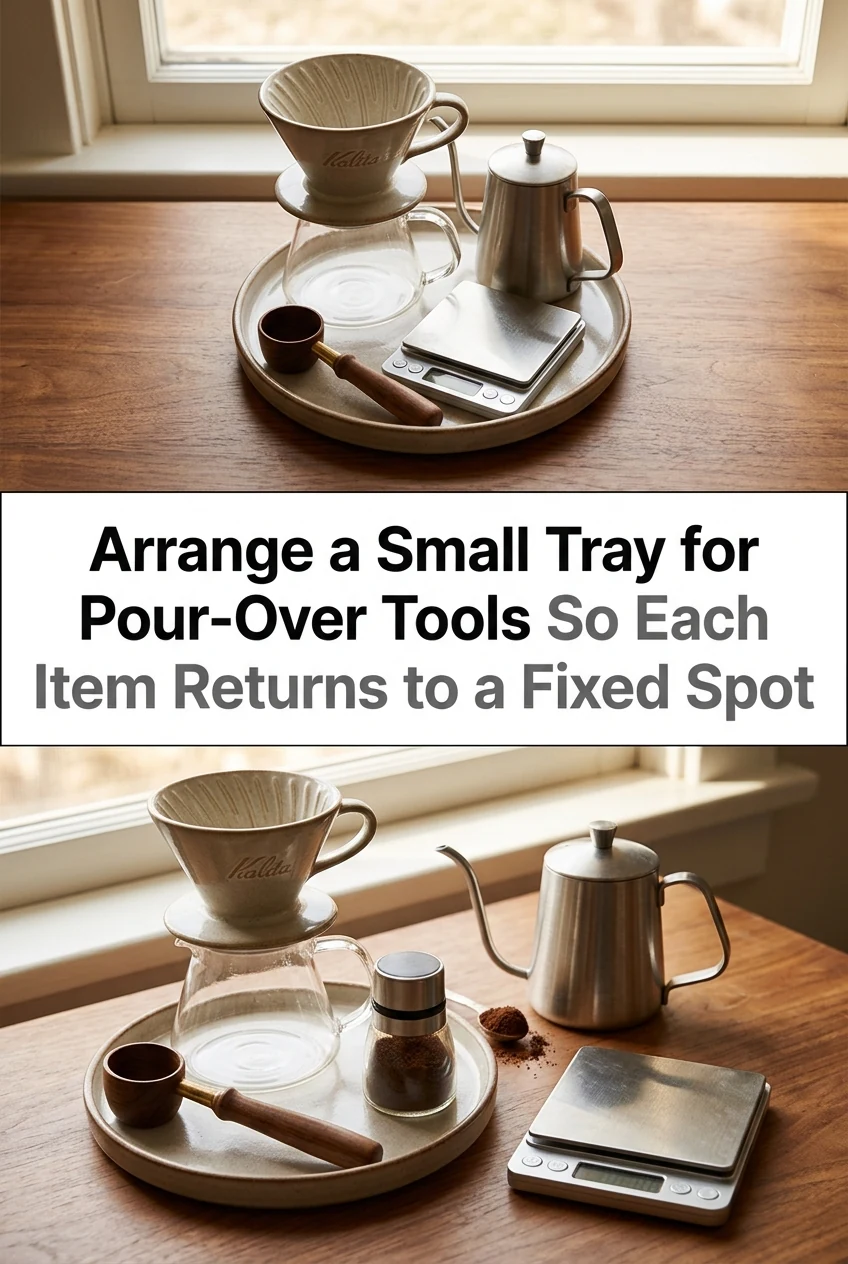
AI-generated editorial concept created for this article. The image is not a technical diagram or a tested result.
Choose a Tray Size That Fits Without Crowding
A tray roughly 40 by 30 centimeters accommodates a gooseneck kettle, a flat scale, a dripper seated on a decanter, and a small vessel for spent grounds without items overlapping. If your tray is smaller, remove the grounds vessel and use a nearby counter position for it instead. The goal is that every item you reach for during the brew sits within one arm movement, and nothing needs to be shifted to access something behind it.
Assign Positions Based on the Order of Use
Place the kettle at the back right if you are right-handed, because it is the first and most frequently used item. The scale goes at the front center with the dripper and decanter on top of it. The filter rinse cup, if you use one, sits at the back left and is removed from the tray after rinsing, before brewing begins. This sequence means your hand travels in a consistent arc: kettle, pour, return kettle, check scale, repeat.
Mark Positions With Low-Profile Indicators
Thin cork pads or small silicone trivets placed at each assigned position give tactile and visual cues for returning items correctly. A cork pad under the kettle also protects the tray surface from heat. You do not need permanent markings. The pads themselves define the spots. After each session, returning every item to its pad before cleaning reinforces the layout so it becomes automatic across multiple brewing sessions.
Handle the Scale Display During the Pour
Position the scale so its display faces you directly when you are standing at the tray. If the display is angled away, you will tilt your head or shift position mid-pour, which affects kettle angle. A scale with a large display is easier to read at a glance than one with small digits. Tare the scale after adding the ground coffee to the dripper, so your only live reading during the pour is the water weight accumulating.
Reset the Tray Immediately After Each Session
Once the brew is finished, move the decanter off the tray first, then return the dripper, empty and rinse the kettle, and place each item back on its designated pad before wiping the tray surface. Resetting immediately rather than leaving items wherever they landed means the tray is ready for the next session without a reorganization step. This is especially useful when brewing for a guest shortly after a first cup.
A little more
to know.
Does the tray layout need to change if I switch to a larger dripper?
Yes. A larger dripper raises the center of gravity of the dripper-decanter stack and may require the scale to sit slightly further from the tray edge for stability. Re-check that the stack does not overhang the scale platform before brewing with a new dripper size.
Should the timer be on the tray or somewhere else?
A separate timer placed just outside the tray, at eye level if possible, keeps the tray surface clear and lets you read elapsed time without looking down. A phone propped against a small stand works well as long as it does not sit on the scale platform.
Original editorial guidance and recipe formulations, not independently kitchen-tested. Times are estimates and depend on equipment and product directions. Cooked bases need additional cooling and refrigeration before cold serving. Images are AI-generated illustrations; appearance and yield may vary. Check actual ingredient labels, allergens, and any certification you require. We do not certify products. Read our approach.
Save to Pinterest ↗ANOTHER IDEA FOR THE COUNTER